
Table of Contents:
- How to Plan a Backpacking Elopement
- 1. Choose your location + trail
- 2. Choose a time of year
- 3. Research permits
- 4. Budget for your elopement costs
- 5. Hire your photographer
- 6. Hire the rest of your vendors
- 7. Invite your guests
- 8. Apply for permits
- 9. Reserve your campsites/book a place to stay
- 10. Plan your backpacking elopement timeline
- 11. Get your marriage license
- 12. Pick your outfits
- Final Backpacking Elopement Tips
- BONUS: Backpacking Elopement Packing List
Todayyyy we are talking about one of my personal fav types of elopements: backpacking elopements!! I’m giving you all of my best tips and tricks that I’ve learned from shooting so many elopements to help YOU plan your dream backpacking elopement, from all the best locations to how to get your permits to a full backpacking elopement packing list.
Let’s start off with the 12 steps you need to follow in order to plan your epic day!
How to Plan a Backpacking Elopement
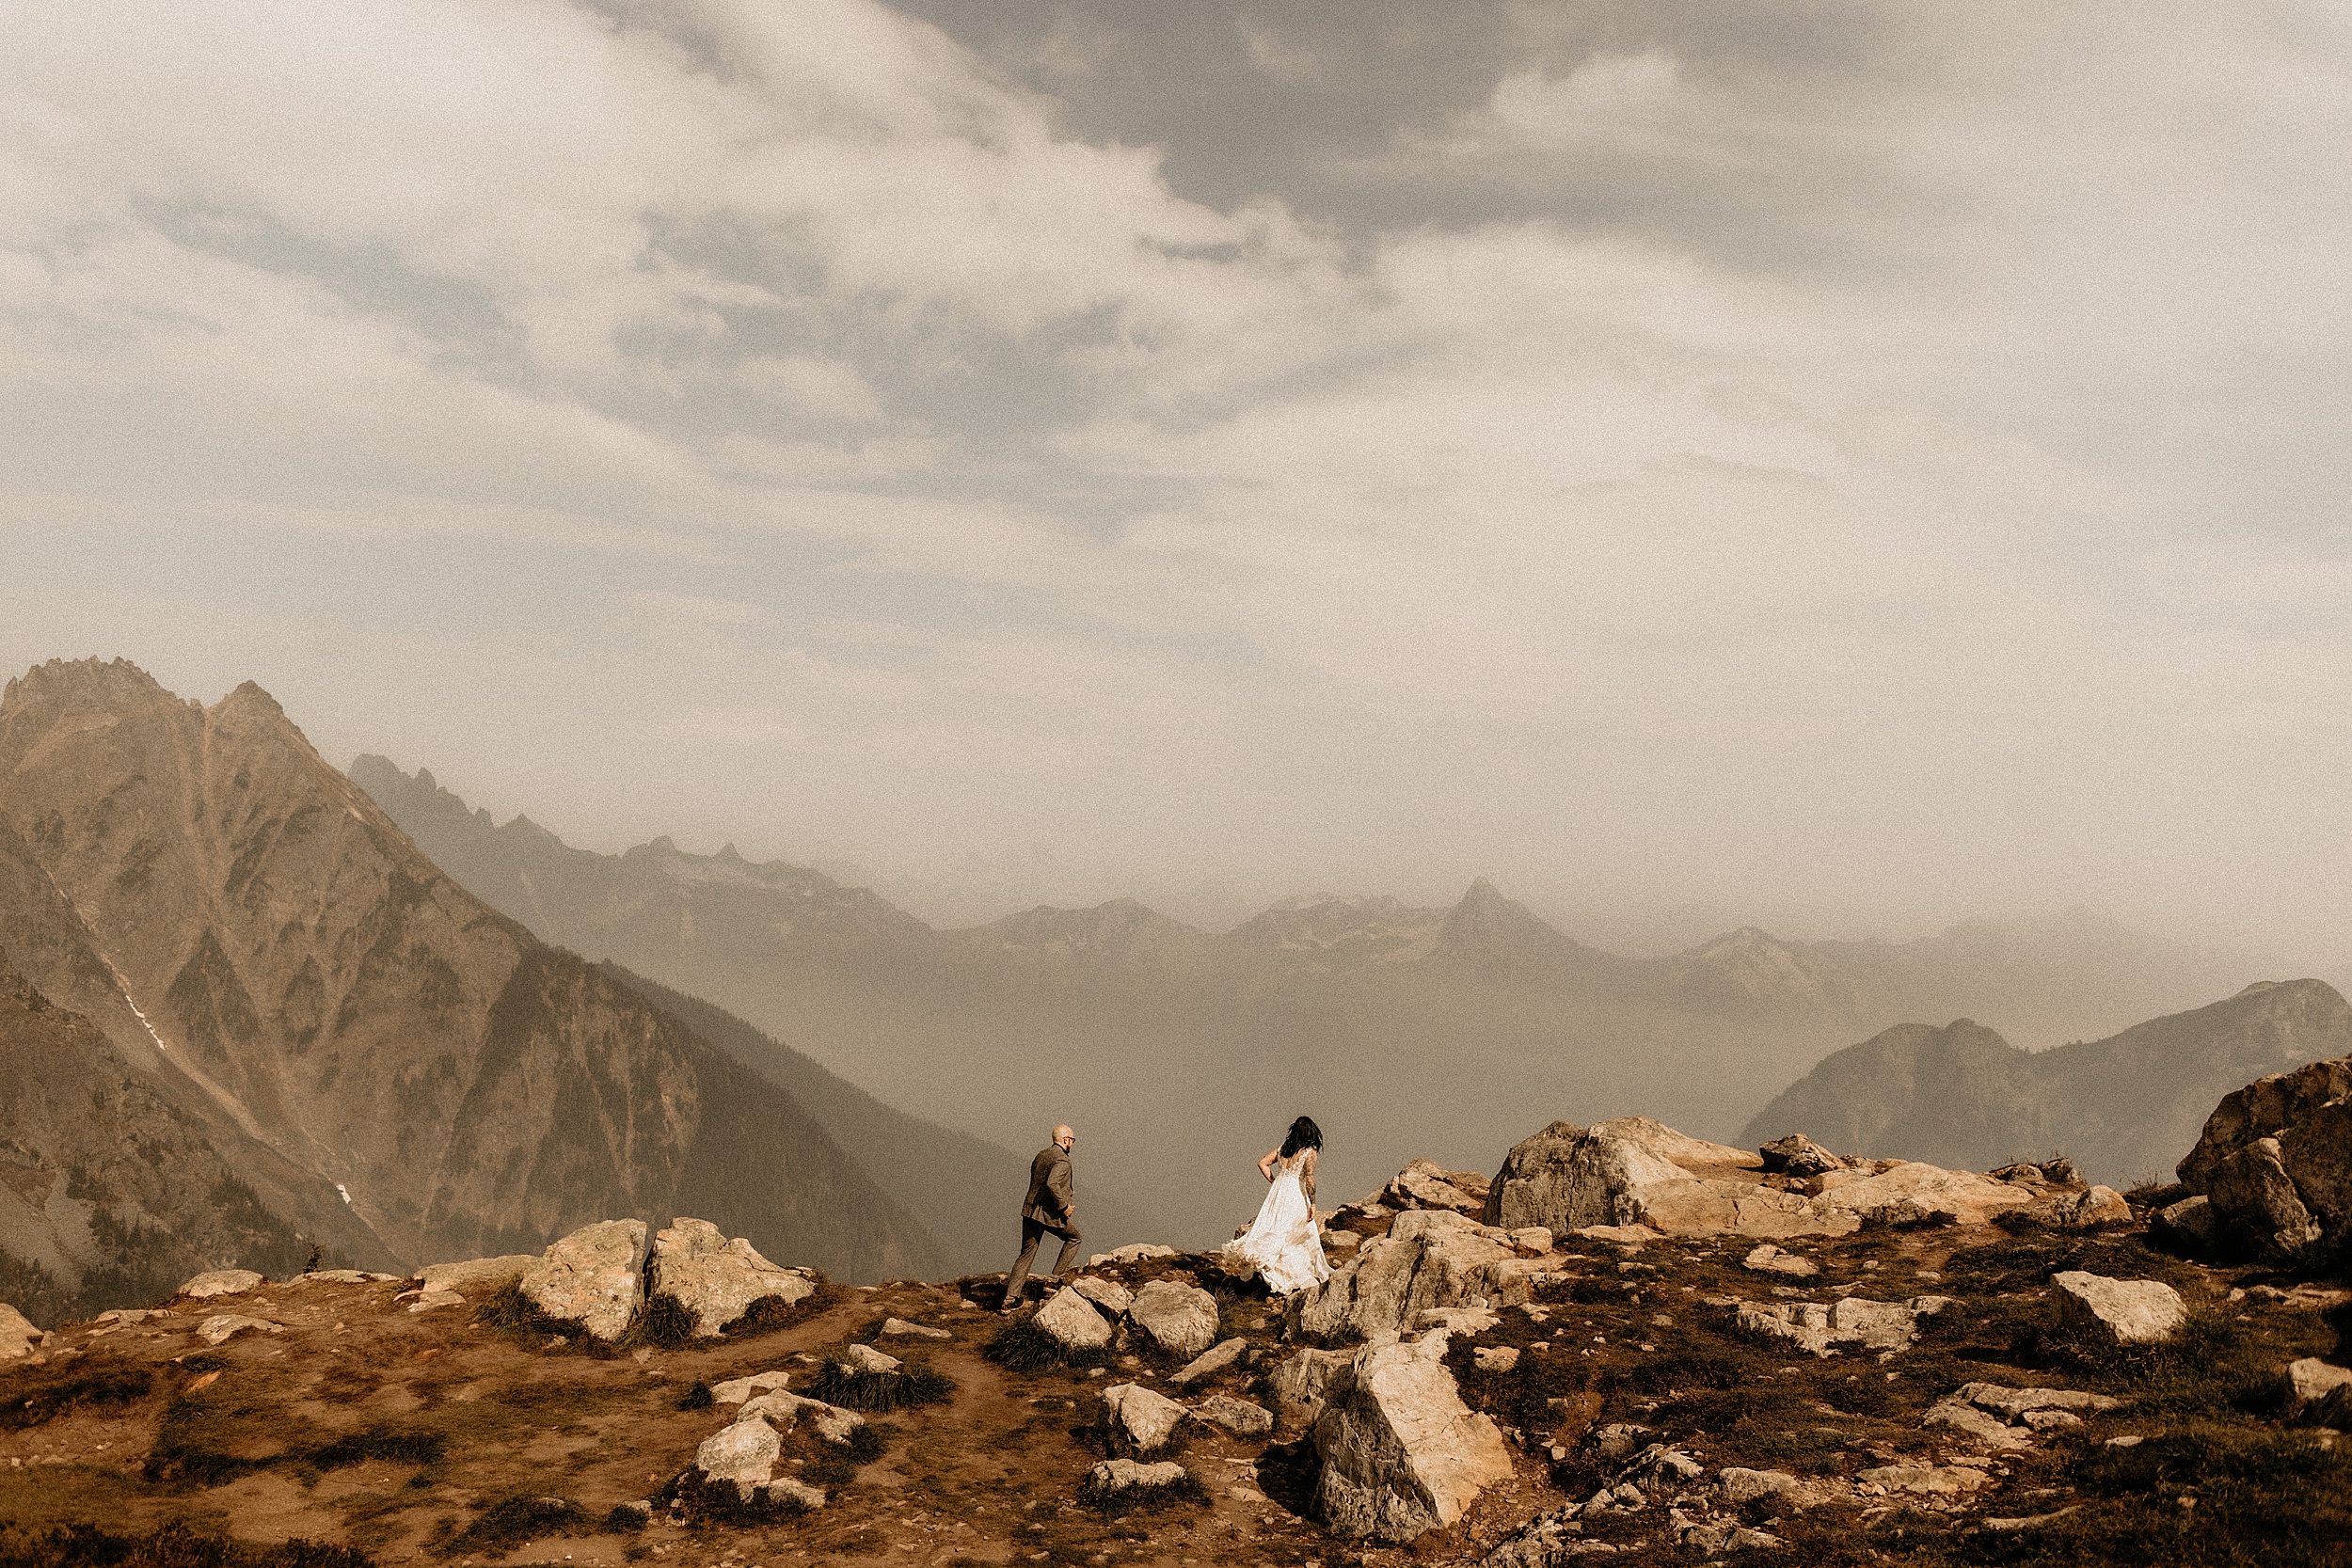
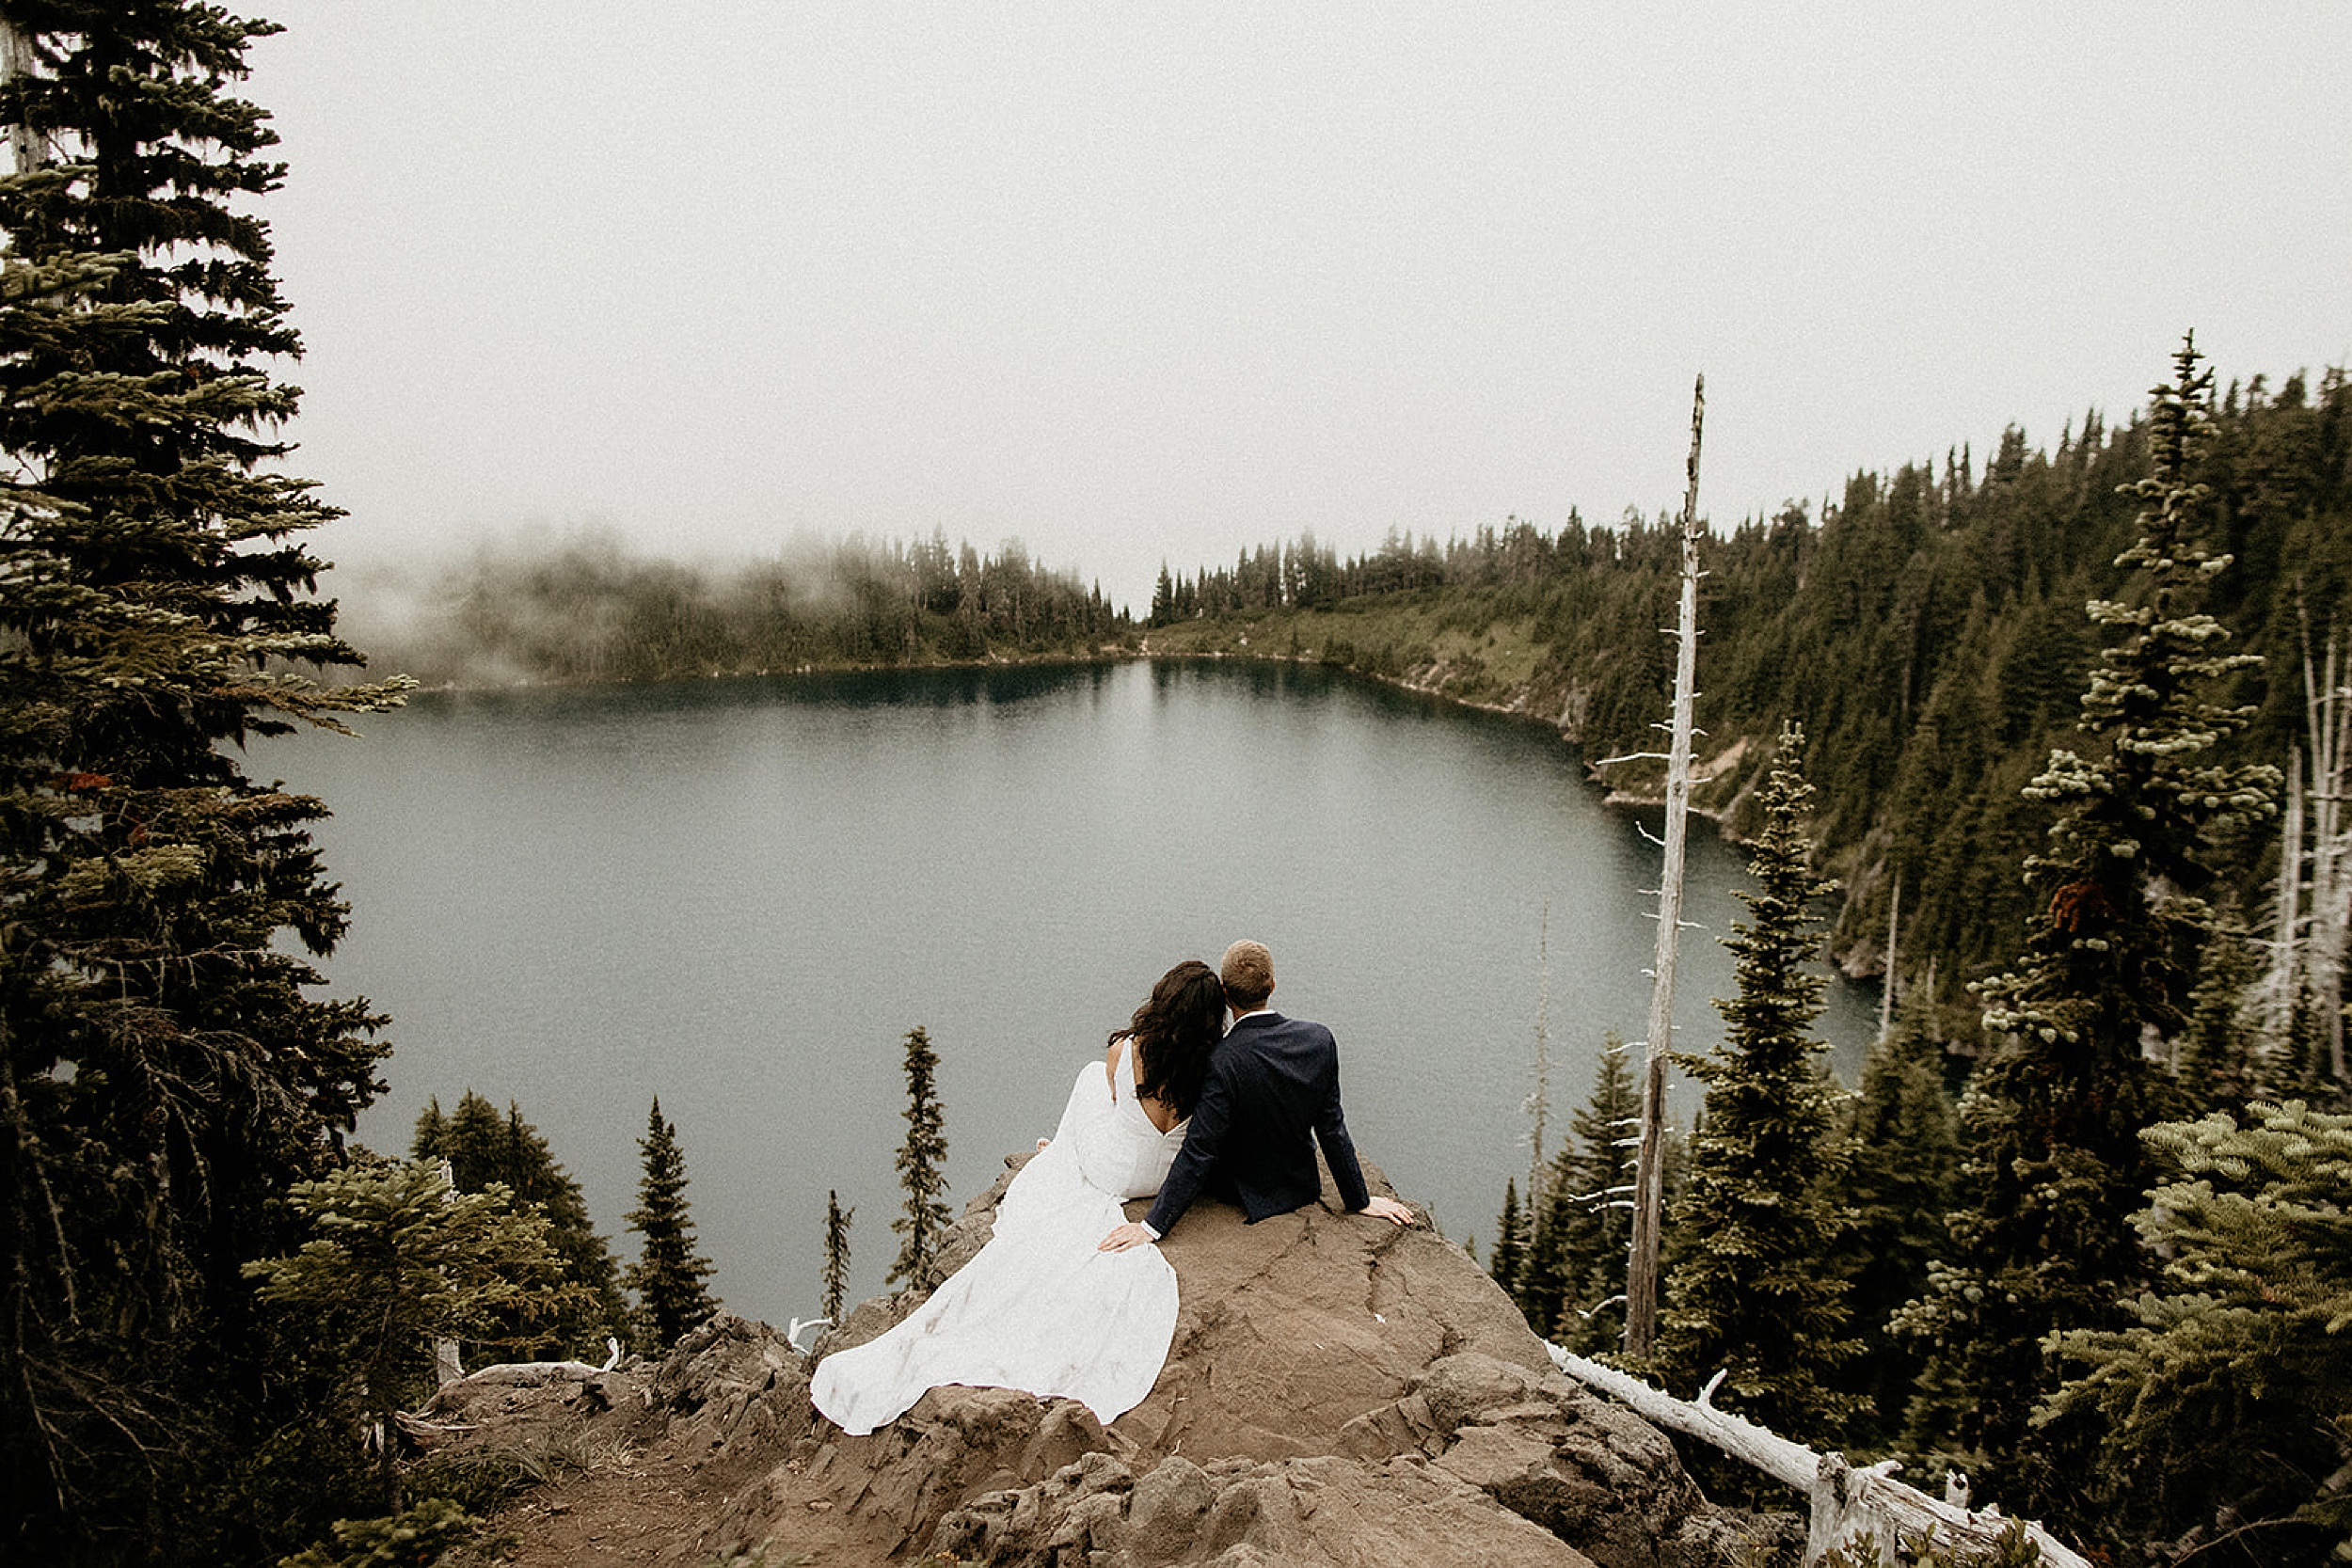
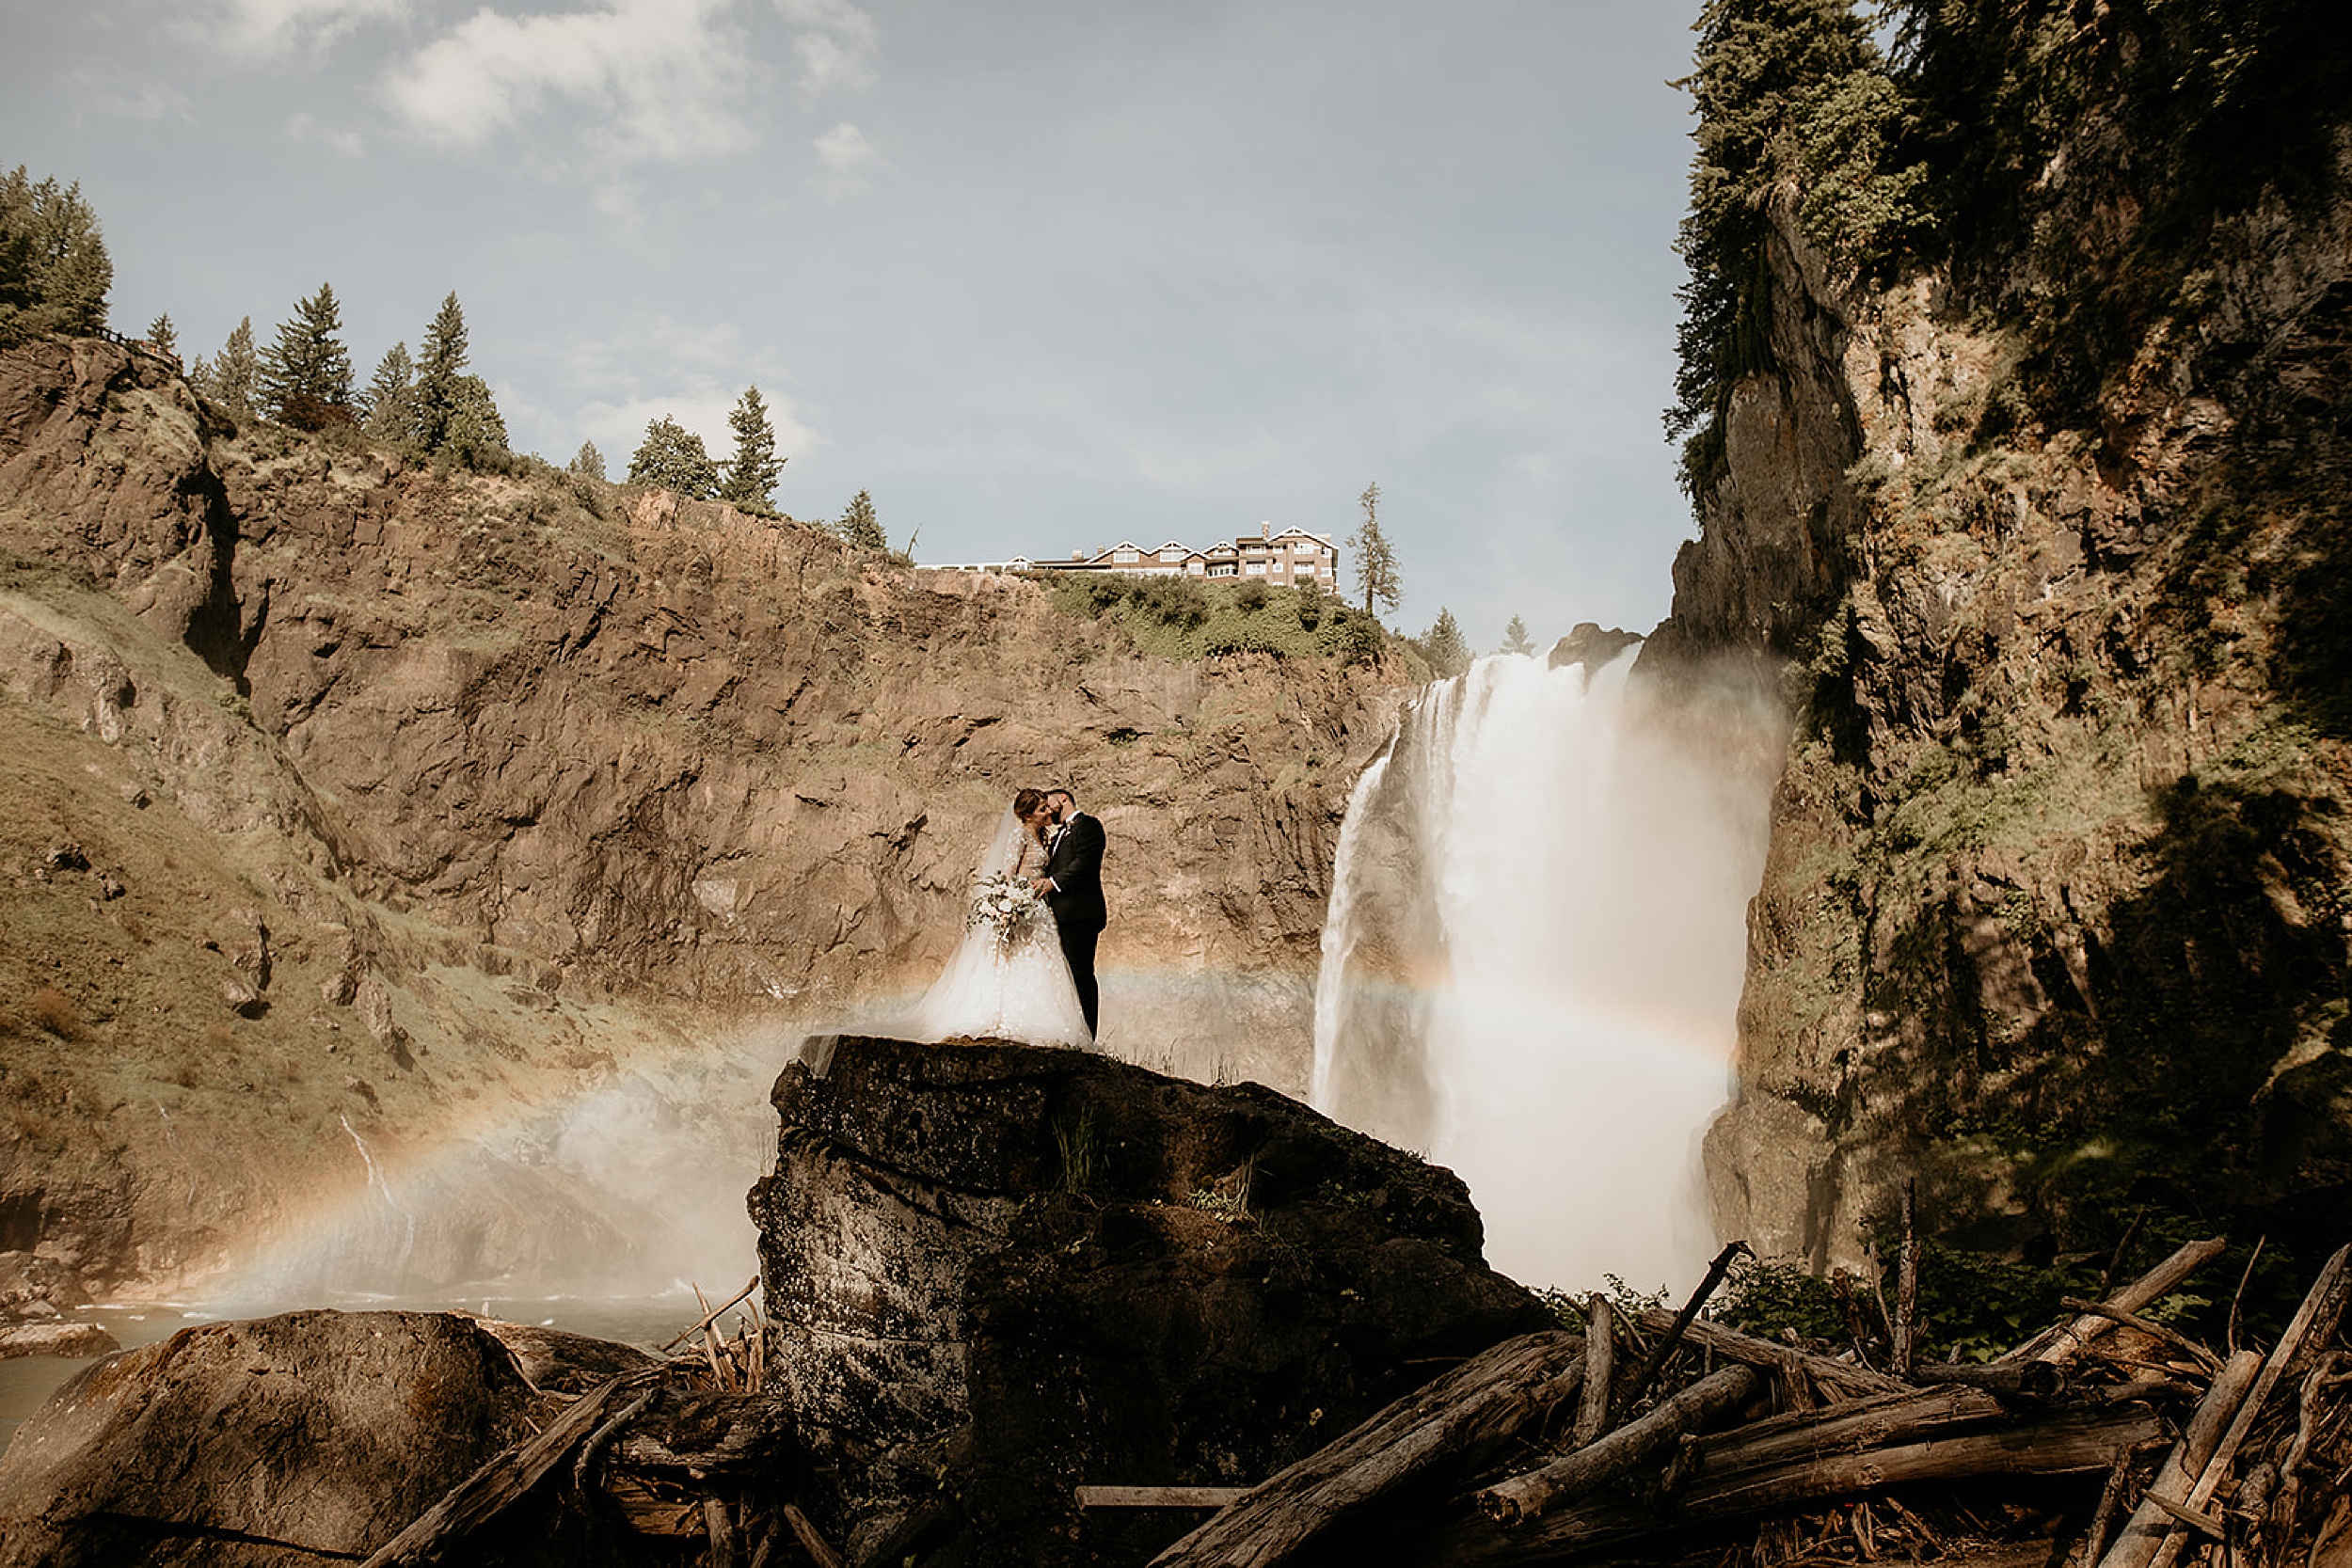
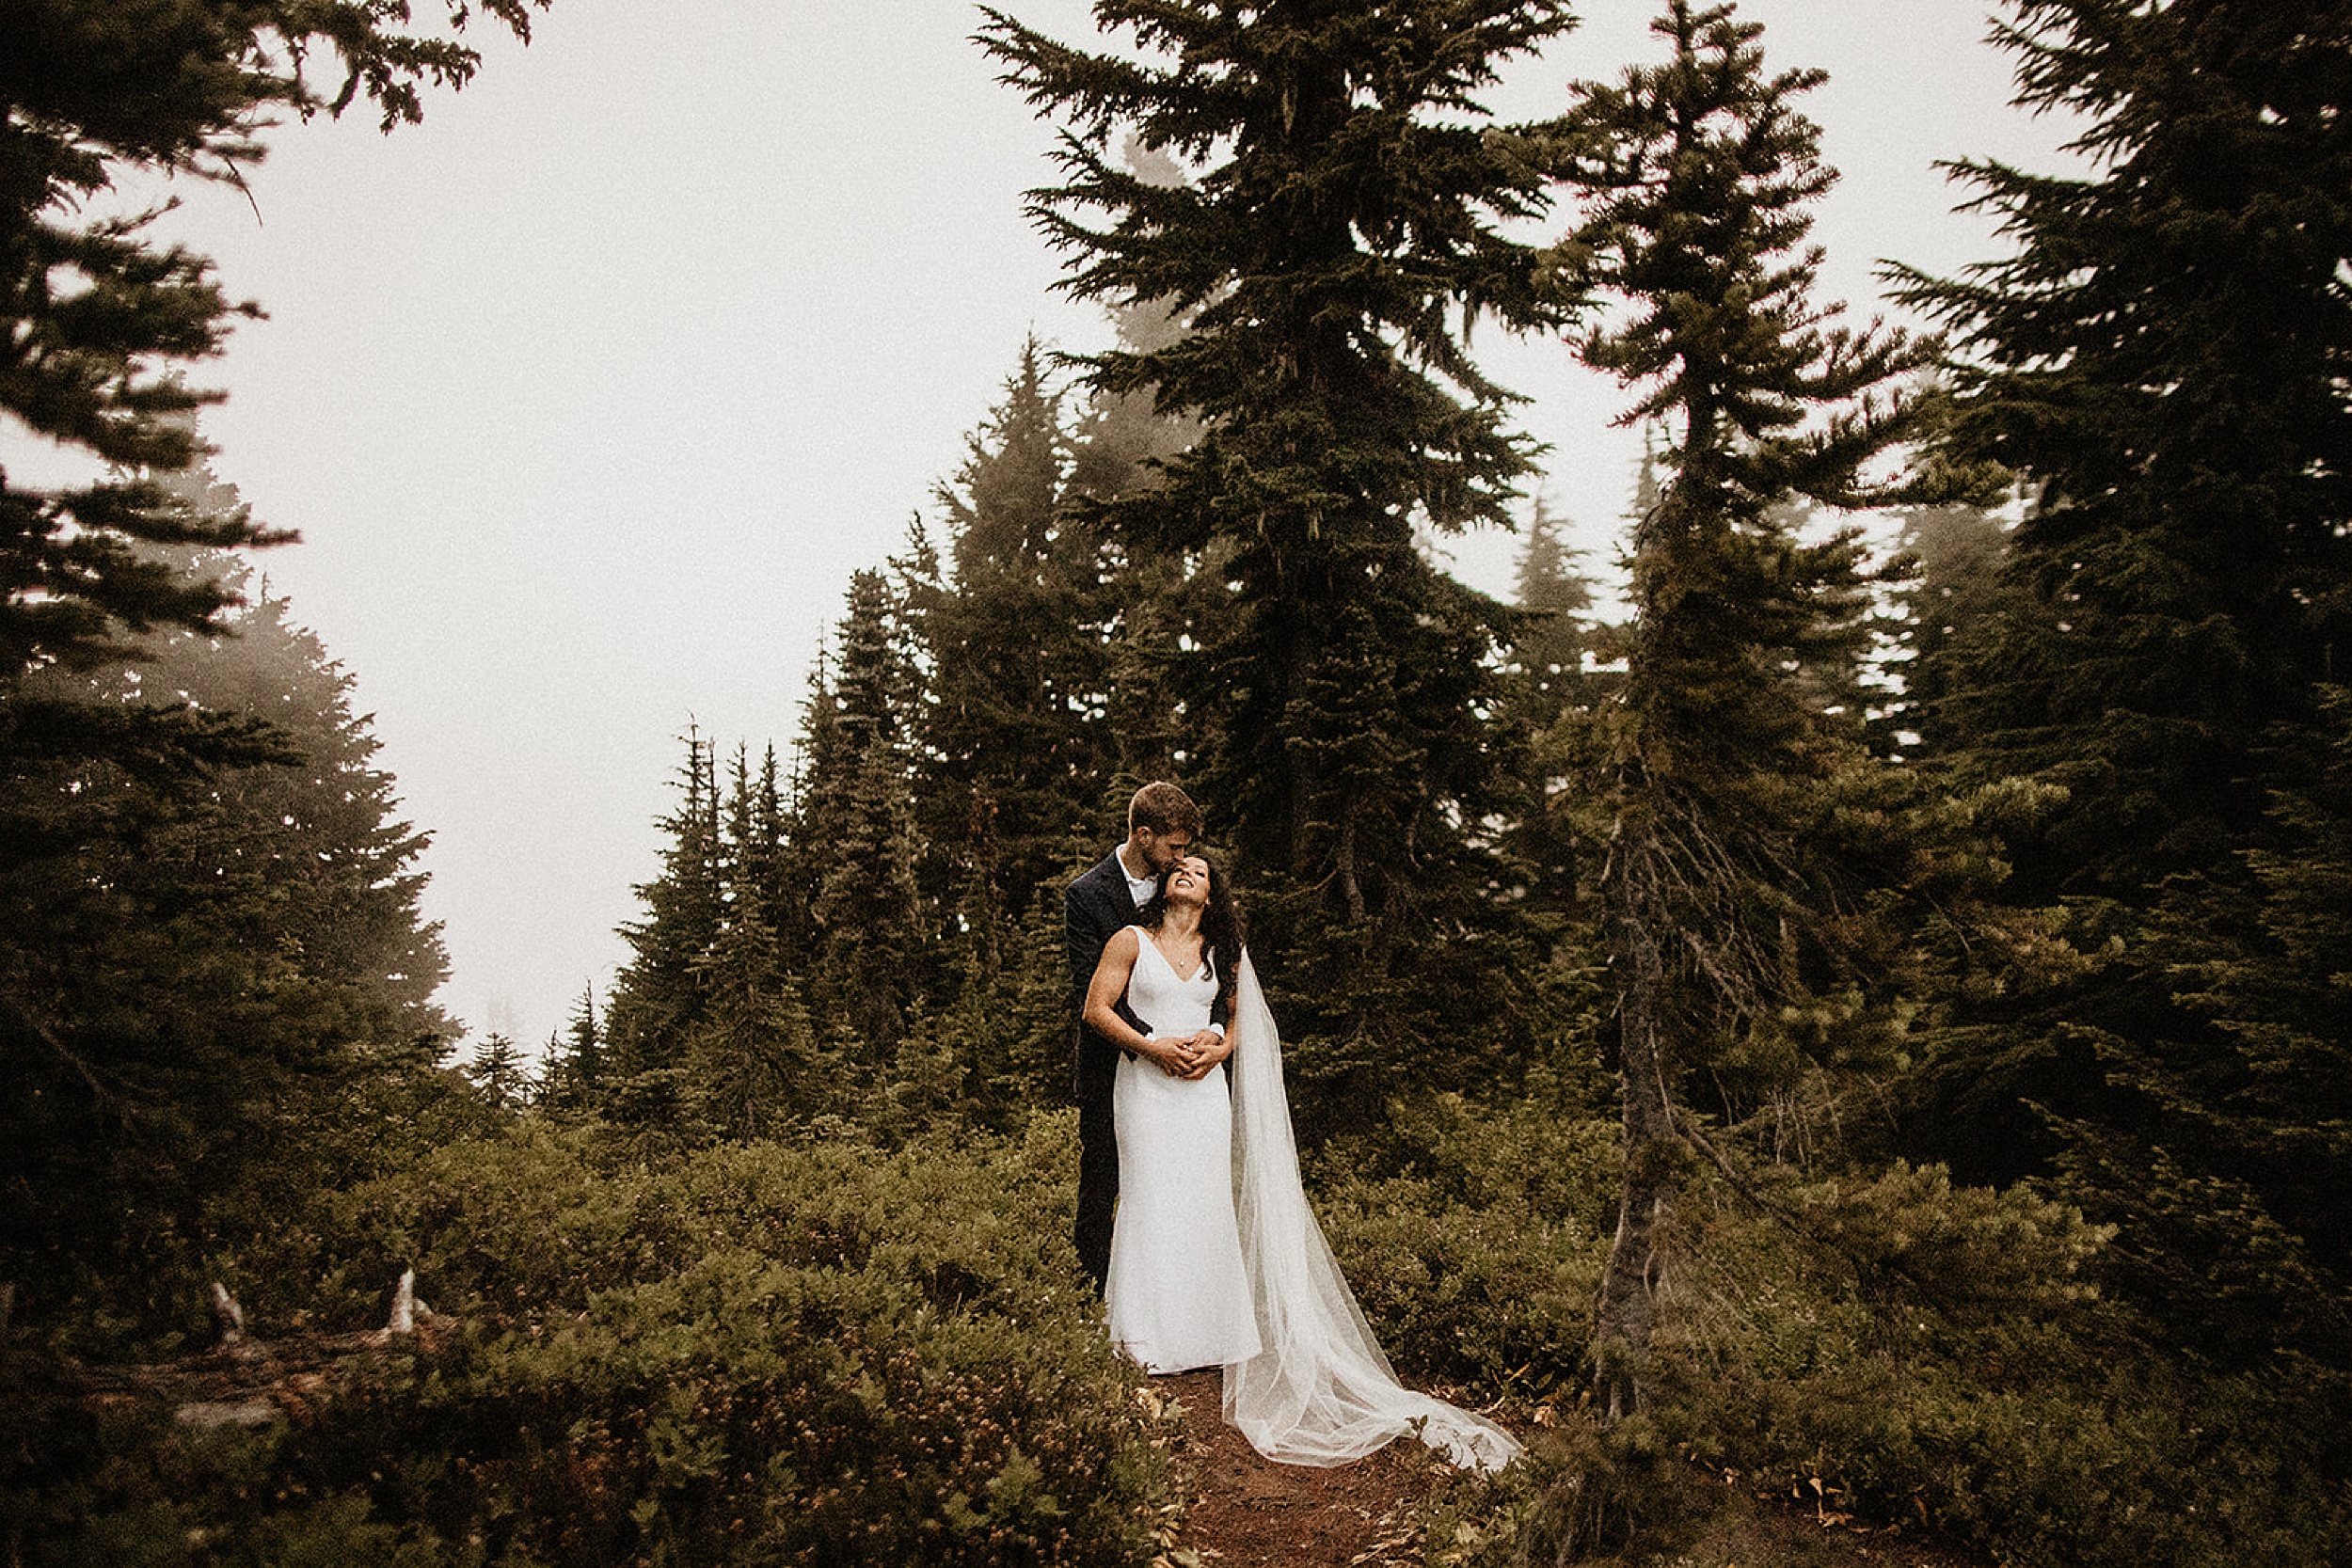
1. Choose your backpacking elopement location + trail
First, you obvi need to choose where you want to elope!! I’m partial to the PNW of course, because Washington & Oregon seriously have some of the most epic backpacking trails in the country. There are a few things you should consider when choosing your backpacking elopement location and trail:
- Scenery – what kind of backdrop do you want? Do you want one majestic mountain/volcano in the background or do you want to be in the middle of a mountain range, with layers of peaks behind you as you say your vows? Do you want to hike through a lush rainforest or more of a barren tundra?
- Temperatures
- Humidity/dryness
- Crowds/other hikers
- Difficulty – obviously you want to think through how difficult of a trail you want to take. Think realistically about what your hiking experience is like and what you’ll want to do on your big day together!
- Elevation gain
- Accessibility – if you’re inviting guests that can’t go uphill very easily, try to find a trail that’s flatter or at least has a flat, paved portion that they can take before you split up & you two continue on the rest of the trail.
Here are some of the top backpacking elopement locations + trails in the PNW:
- North Cascades National Park
- Olympic National Park
- Mount Rainier National Park
- Leavenworth
- Mt. Baker
- Mt. Hood
I recommend choosing two different locations at first, and 2-3 trails at each location – that way, you have plenty of backup options in place in case something changes while you’re planning. Maybe you have some guests that aren’t able to travel to one of the locations, or one of the trails ends up closing for some unexpected reason.
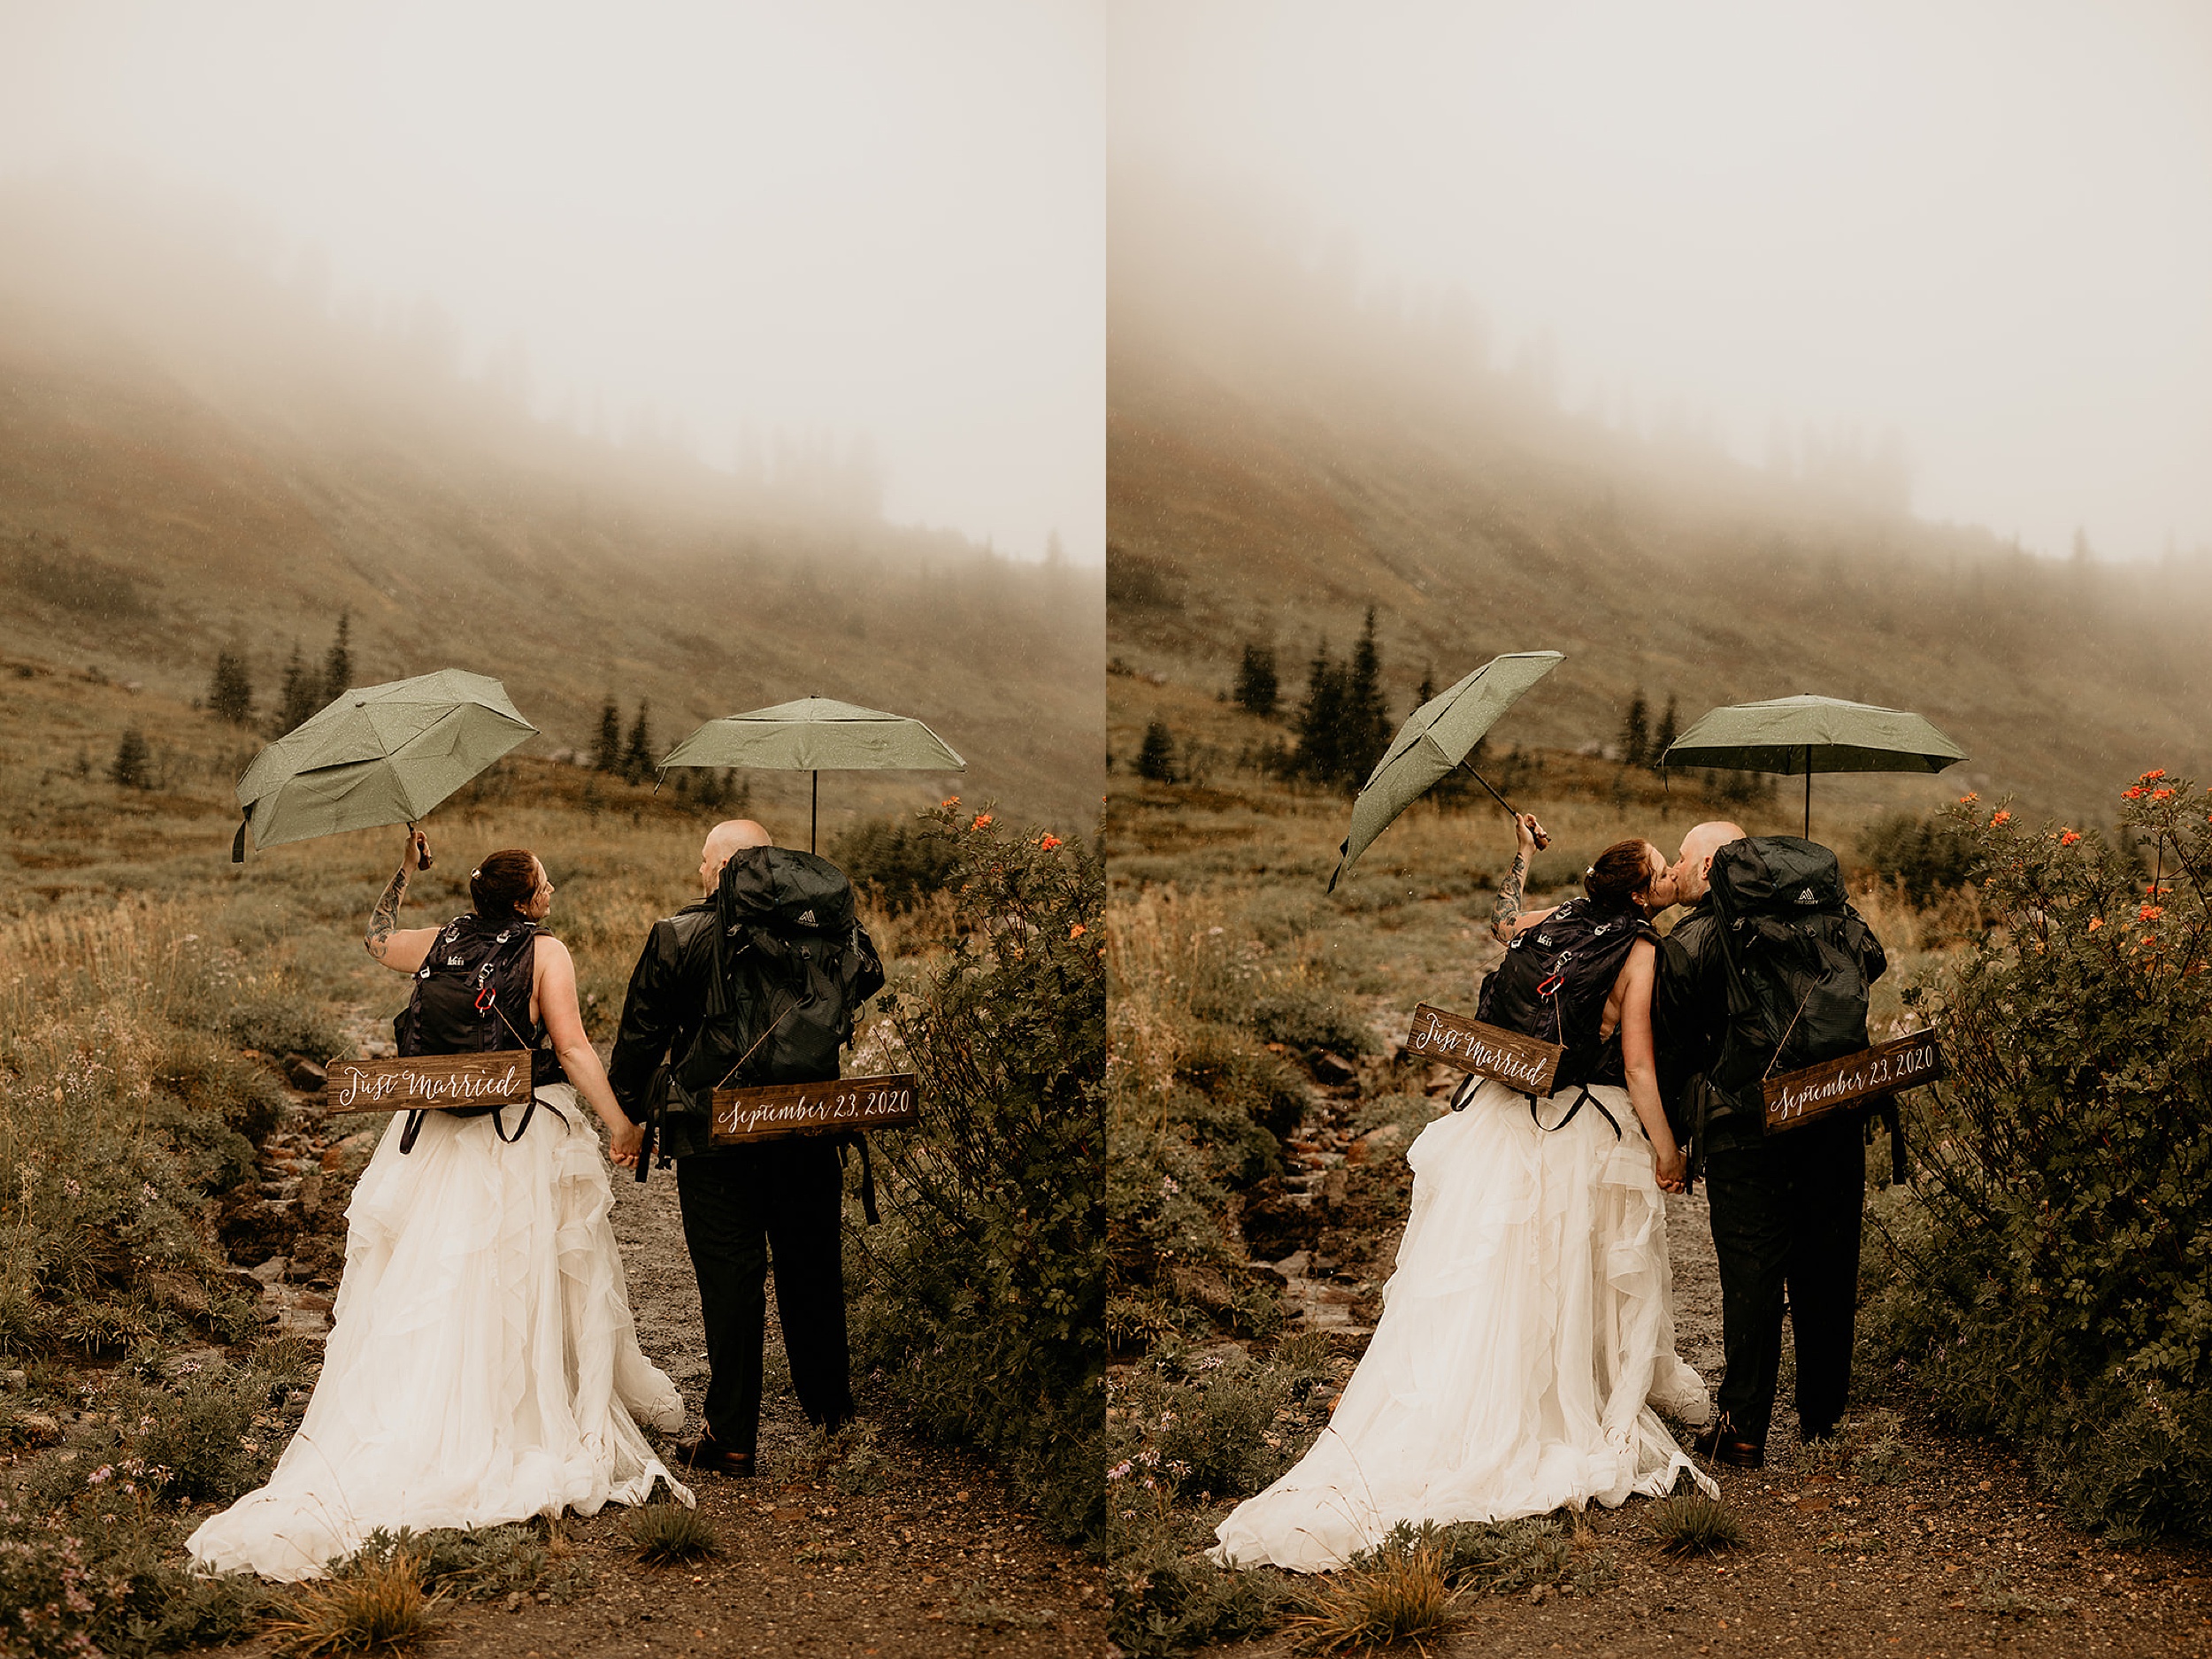
2. Choose a time of year for your backpacking elopement
Once you’ve narrowed down your location + trail (and have a couple backup ones in place), you need to choose what time of year you want to elope and pick a date!
Here are a few things to keep in mind as you choose a time of year for your backpacking elopement:
- Crowds: if you pick a super popular trail, you might not have much privacy since there will be other hikers. We can find a more secluded, lesser-known trail to avoid this! Or if your heart is really set on a popular trail, I recommend eloping on a weekday, during a less busy season (like early spring or late fall), or at least early in the morning to try and avoid as many people as possible.
- Weather: obviously you want to take weather into consideration! Usually if you’re hiking into the mountains it’s going to be pretty chilly no matter what, but you can definitely elope in the summer for the warmest weather. Summer is the overall best time for backpacking elopements besides the fact that there are more tourists! If you’re down for cooler temperatures & more cloudy skies then you can elope in the spring or fall and avoid some of those larger crowds.
- Seasonal closures: most backpacking trails & shorter trails at higher elevations close down during the winter, so you won’t want to have your backpacking elopement in the winter. Some roads may also close during the spring or fall, so do your research on common seasonal closures at whatever location you’re eloping!
- Permits/fees: some places limit the amount of backcountry/wilderness permits they give out during different seasons, so look up whether or not you’ll need a permit and then find out how easy it’ll be for you to get one. You might also have to pay different fees at different times of year.

3. Research what permits you’ll need
Speaking of permits, you should now start researching what permits you’ll need for your backpacking elopement! Typically, you will need some sort of backcountry or wilderness permit if you’re planning to stay overnight in any state/national park. These permits are usually given out in limited quantities during the busy season, so definitely do your research ahead of time to make sure you can get what you need!
If you elope in a national park, you’ll also need a Special Use Permit, and your photographer may need a separate Commercial Use Permit. If you elope in a state park, you’ll probably need some sort of entrance pass (e.g. in WA/OR you need a Northwest Forest Pass, or a Discover Pass).
It’s good to have multiple location options in case the permitting process ends up being too difficult, or permits are limited at the original location you were wanting!
For info about what permits you need to elope in Washington specifically, check out my Washington State Elopement Permit Guide!!
4. Budget for your backpacking elopement costs
Next, you should start budgeting for your elopement costs. It’s good to do this before you start looking at vendors so that you know what you can realistically spend, and know what your priorities are! For backpacking elopements specifically, remember to budget for backcountry permits, campsite fees, Special Use Permits, and entrance passes.
Backpacking elopements are typically pretty casual & minimal, so you likely won’t need a lot of the vendors that couples usually hire for traditional weddings, unless you’re holding some sort of reception/party afterward!
Here are some of the main costs to consider for your backpacking elopement:
- Officiant
- Planner/coordinator
- Photographer
- Videographer
- Stationery
- Hair/makeup
- Hiking outfits
- Elopement outfits
- Florist
- Meals/snacks/drinks
If you’re eloping in Washington and want more help when it comes to budgeting, take a look at this blog where I talk about Washington elopement costs, permit costs, and my top budgeting tips!!
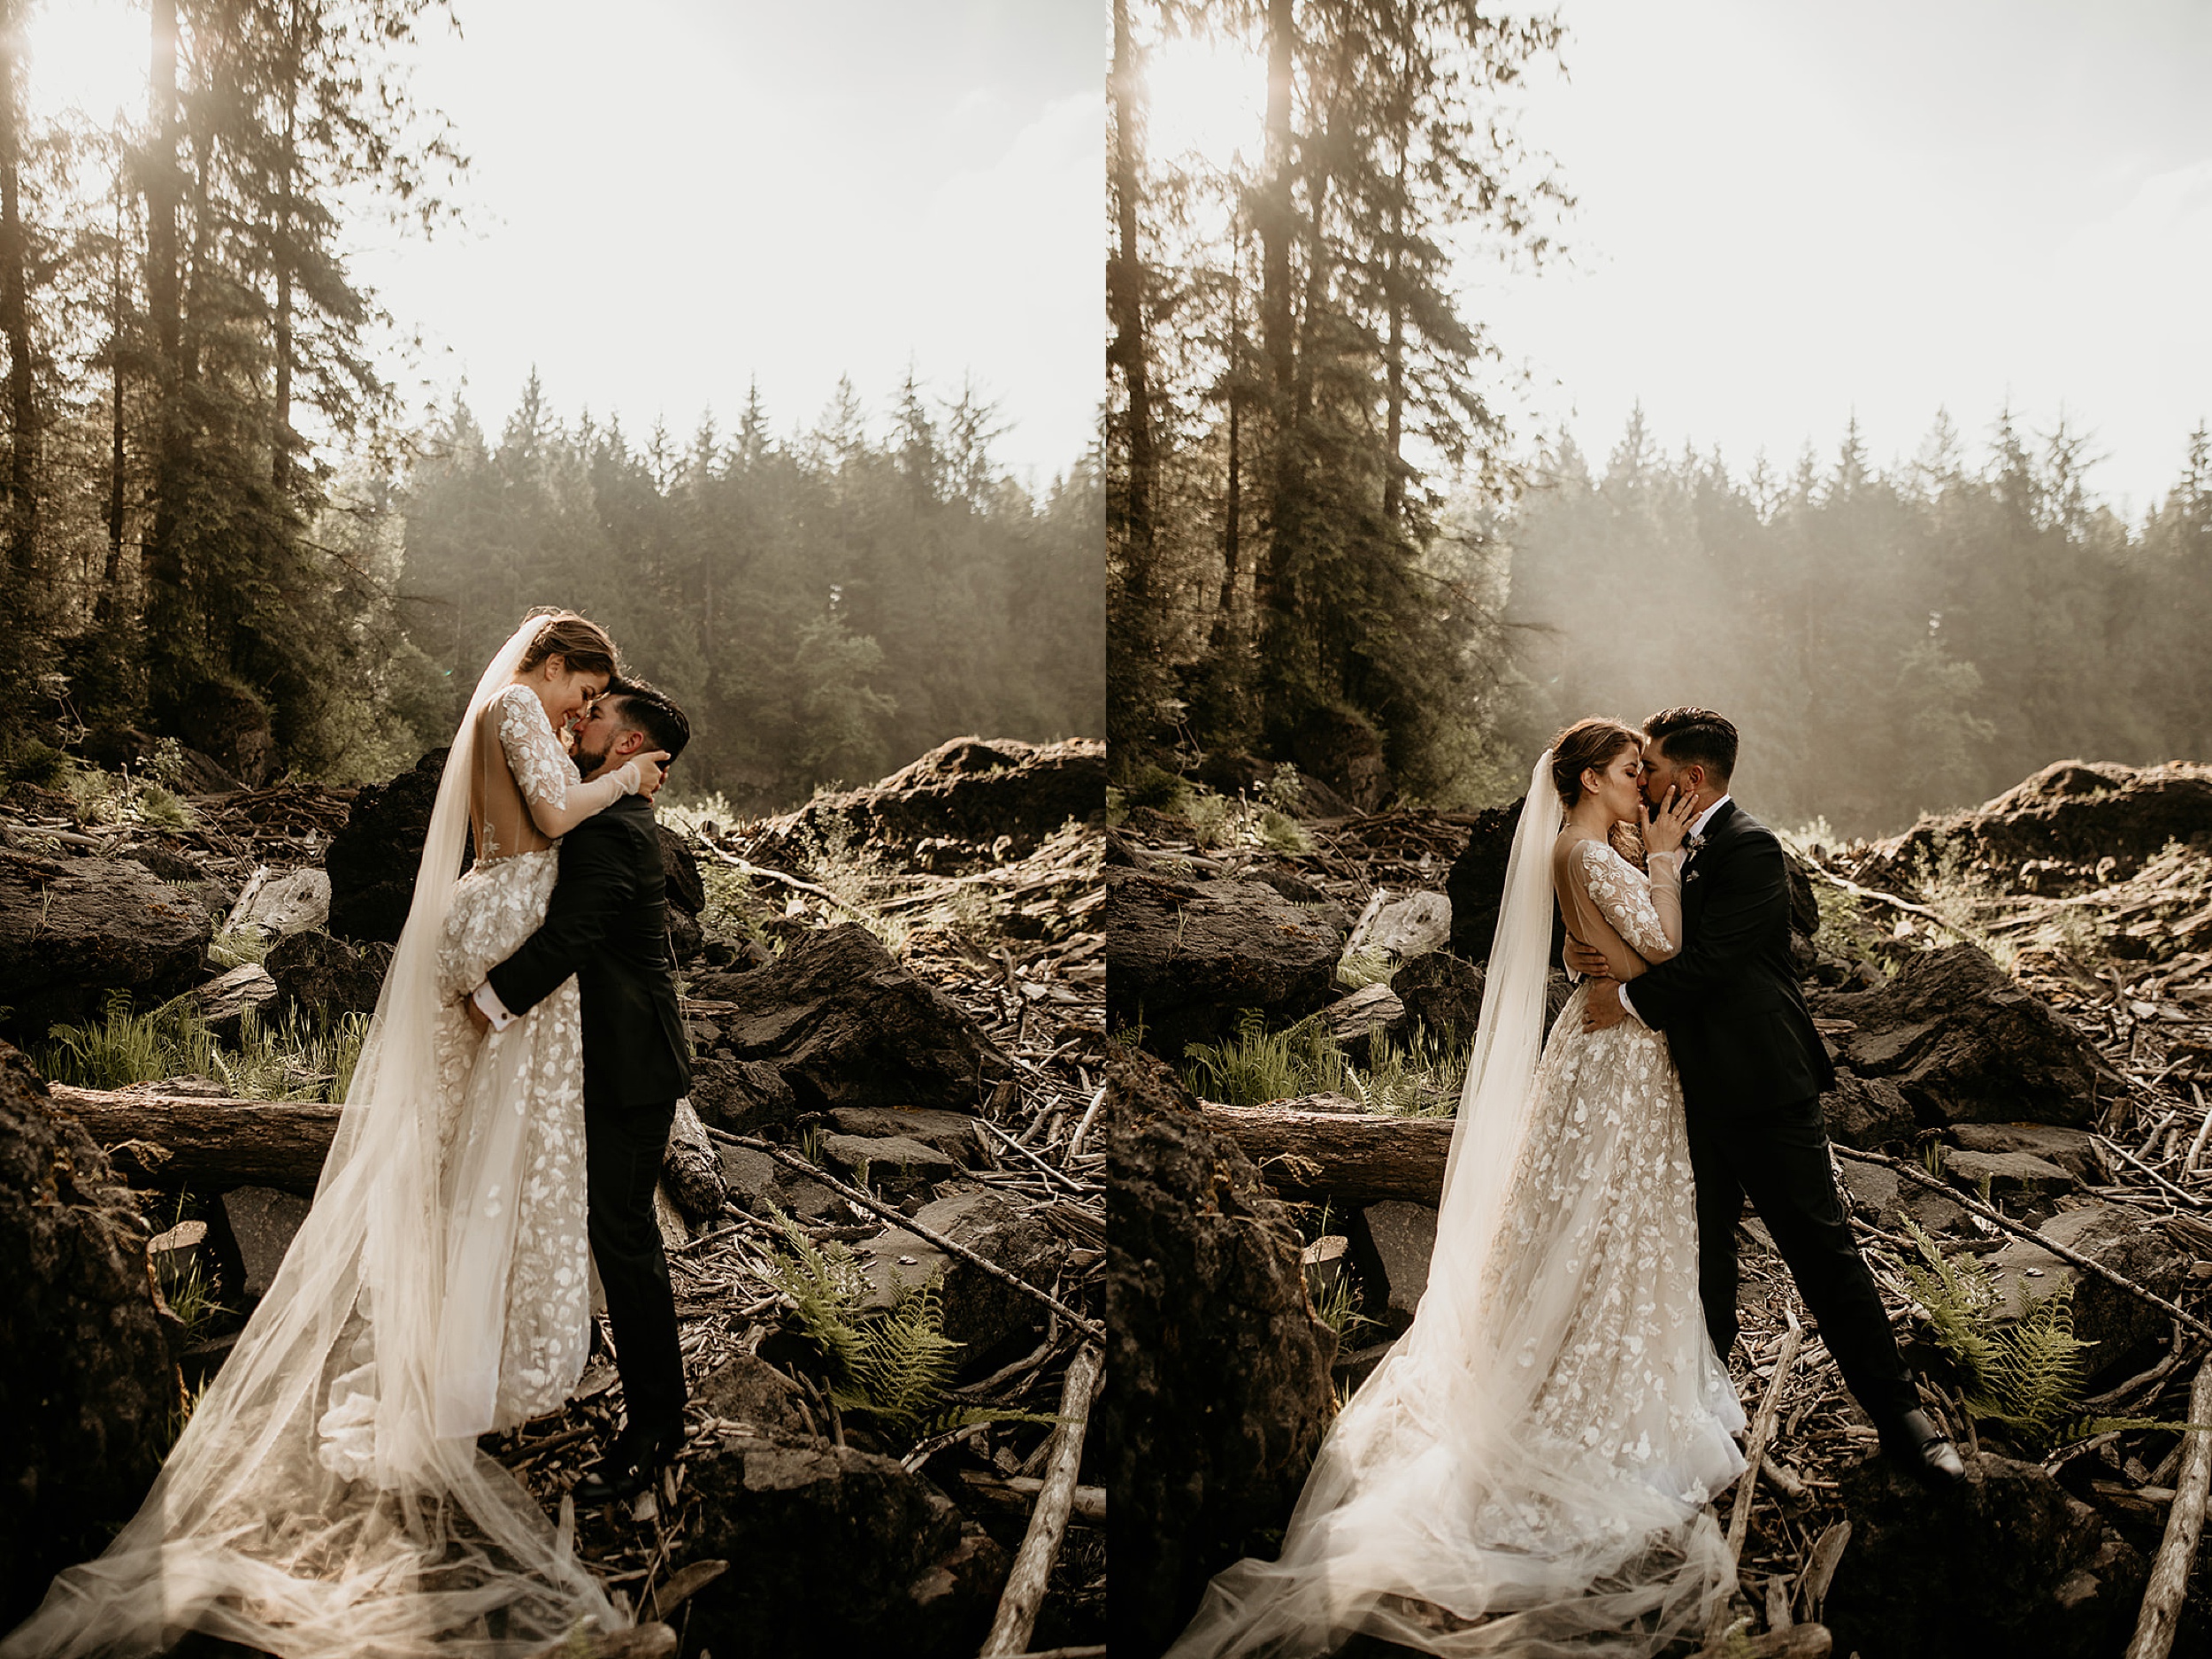
5. Hire your backpacking elopement photographer
That’s me!! You might be wondering why I’m telling you to hire your photographer before any other vendors – this is because us photographers tend to book out wayyyy farther in advance than most other vendors. So if you have your heart set on your DREAM backpacking elopement photographer, you should reach out to them as early in advance as possible! If you want to make sure they’re available for your big day, you could also have a few potential date options instead of just one solid date; that way, you can adapt to their schedule and ensure they can be there for you.
Same with your dream videographer if you’re hiring one! (Fun fact: I actually offer both photo + video so that you don’t have to spend time finding somebody else to film your big day 😉 )
6. Hire the rest of your vendors
Once you’ve hired your photographer and for SURE know your elopement date, as well as your budget, it’s time to hire the rest of your vendors! The only vendor you really need is an officiant, unless you’re eloping in a state where you can self-solemnize. Lucky for you I’m also ordained, so I can officiate your ceremony for you!!
You’ll probably also want to hire somebody to do your hair and makeup, and if you want extra help making sure your day goes as smoothly as possible, you can hire a planner or coordinator.
If you want a bouquet to carry around, a floral hairpiece for your ceremony/portraits, or a boutonniere, you can hire a florist! But if you’d rather not have to carry a bouquet in your backpack during your whole hike, you can opt out of having florals at all – and if you have a post-ceremony party or reception, you can always have gorgeous florals there.
If you’re not quite sure what vendors you really want (or need) for your elopement, you should read through this blog post where I go through what adventure elopements you should (and shouldn’t) hire!
7. Invite your guests
If you want to invite guests, now’s the time! Make sure to only invite as many people as your elopement location can fit, and only people who you REALLY want to be there to celebrate with you. You don’t have to invite anybody you don’t want to invite!
8. Apply for your permits
Now that your big day is getting closer, it’s time to actually APPLY for the permits you need!
Typically you need to apply for Special Use Permits (for national park elopements) at least a month in advance, sometimes even up to 6 months in advance, but I recommend doing it as early as you can to give yourselves & the park plenty of time. Backcountry/wilderness permits totally vary by location; sometimes you have to enter a lottery way ahead of time or make a reservation on a certain date. Other times you may just need to pay for your permit and you’re good to go!
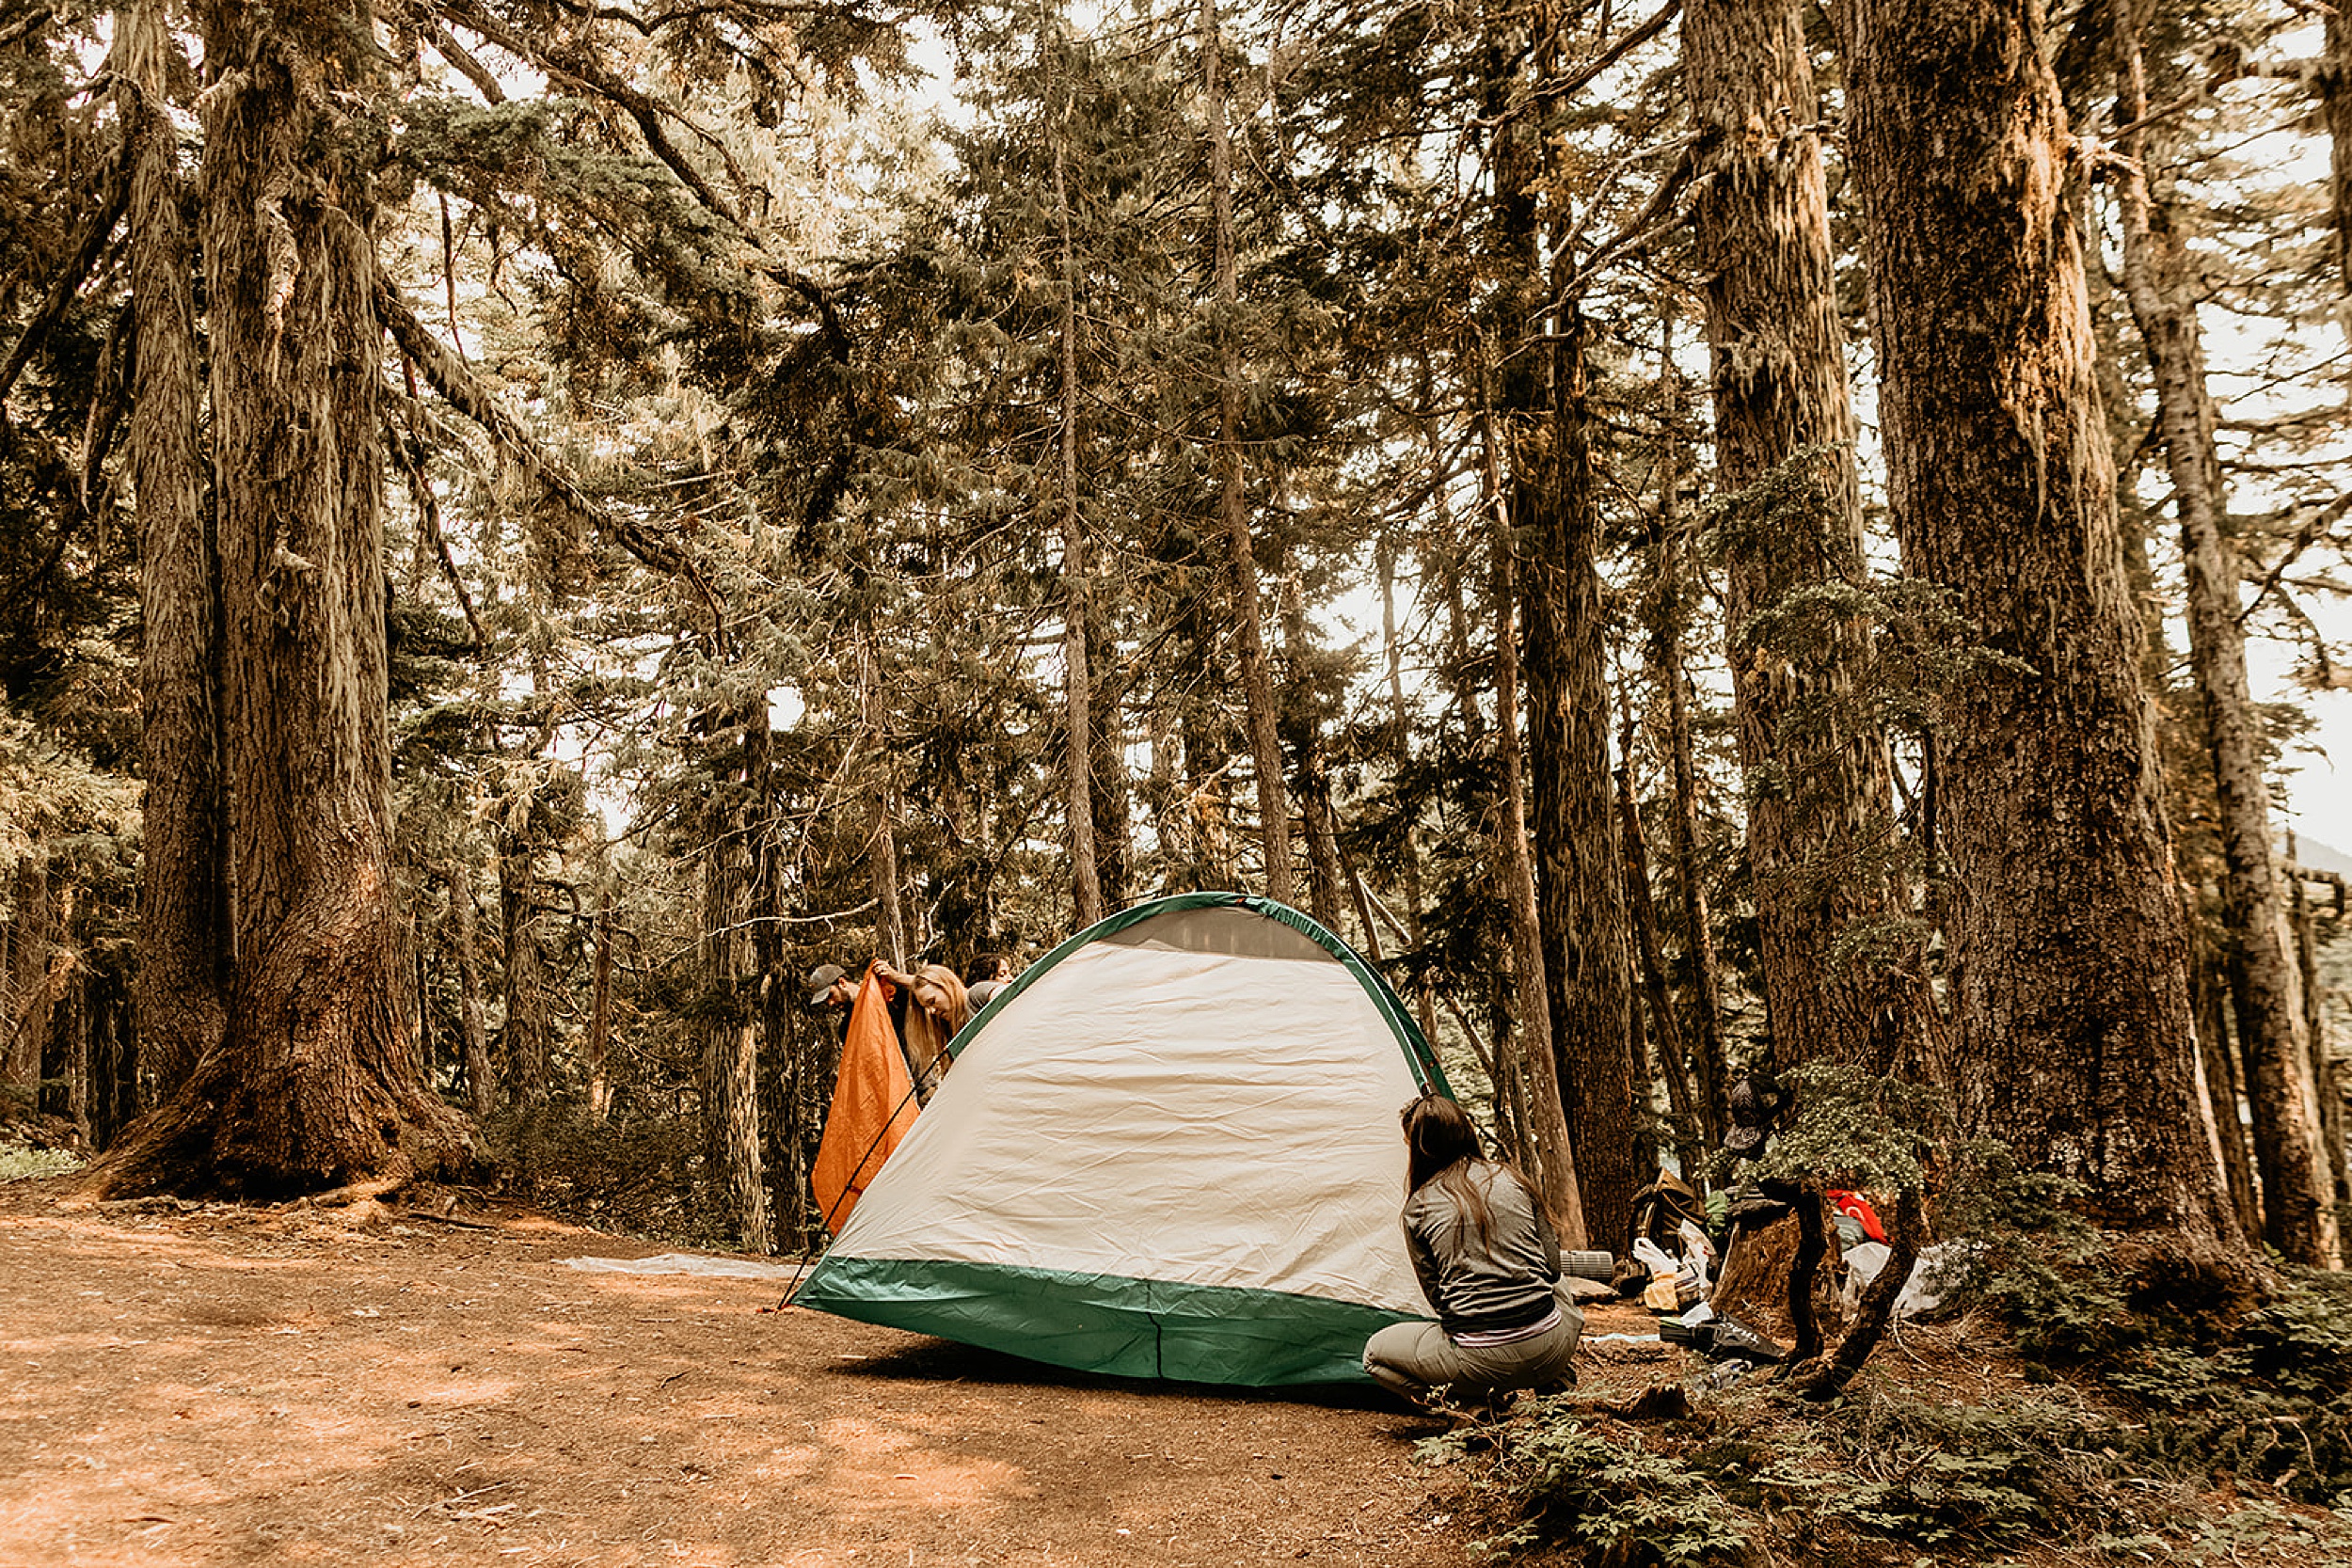
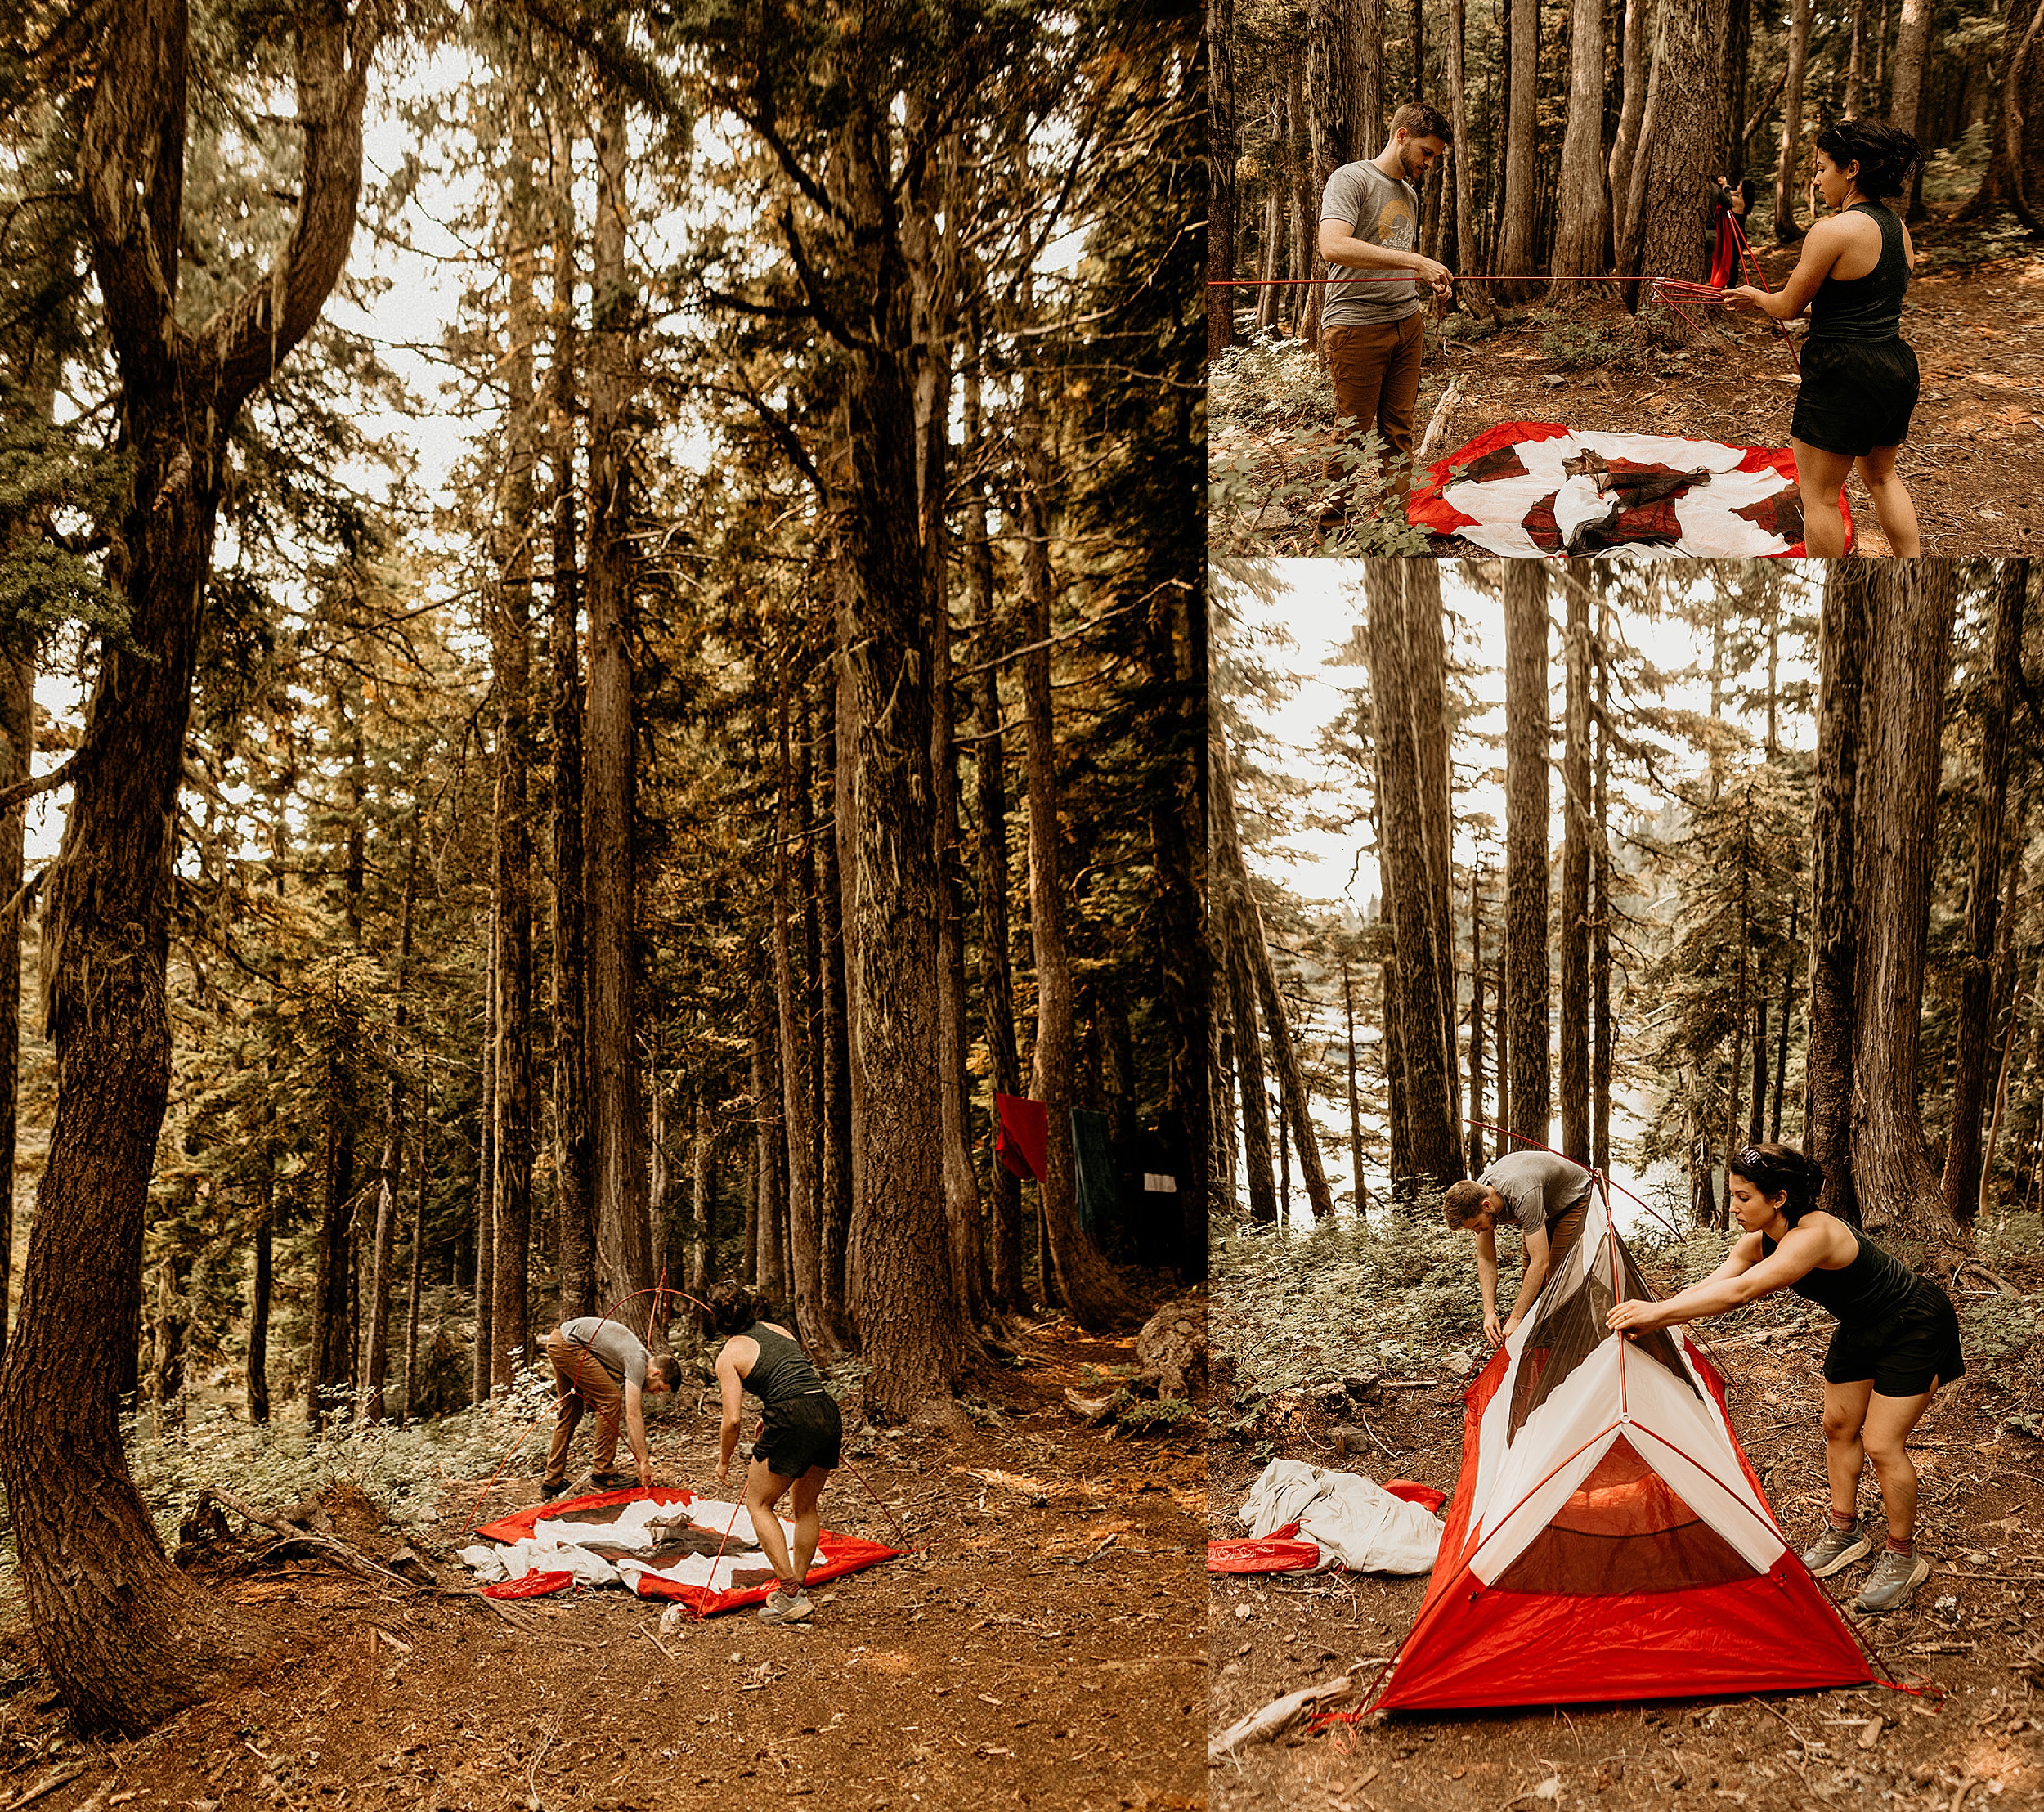
9. Reserve your campsites/book a place to stay
If you’re camping, you’ll most likely need to reserve your campsite ahead of time. Or if you’re booking an Airbnb, find a cozy place near your trail and get it booked! If you want to stay in the same place as your guests, you can either find a large enough Airbnb to fit all of you, or stay in a bigger resort/lodge/cabin.
Need help finding an epic place to stay in Washington? Here are the 5 Best Airbnbs in Washington State for Airbnb Elopements!
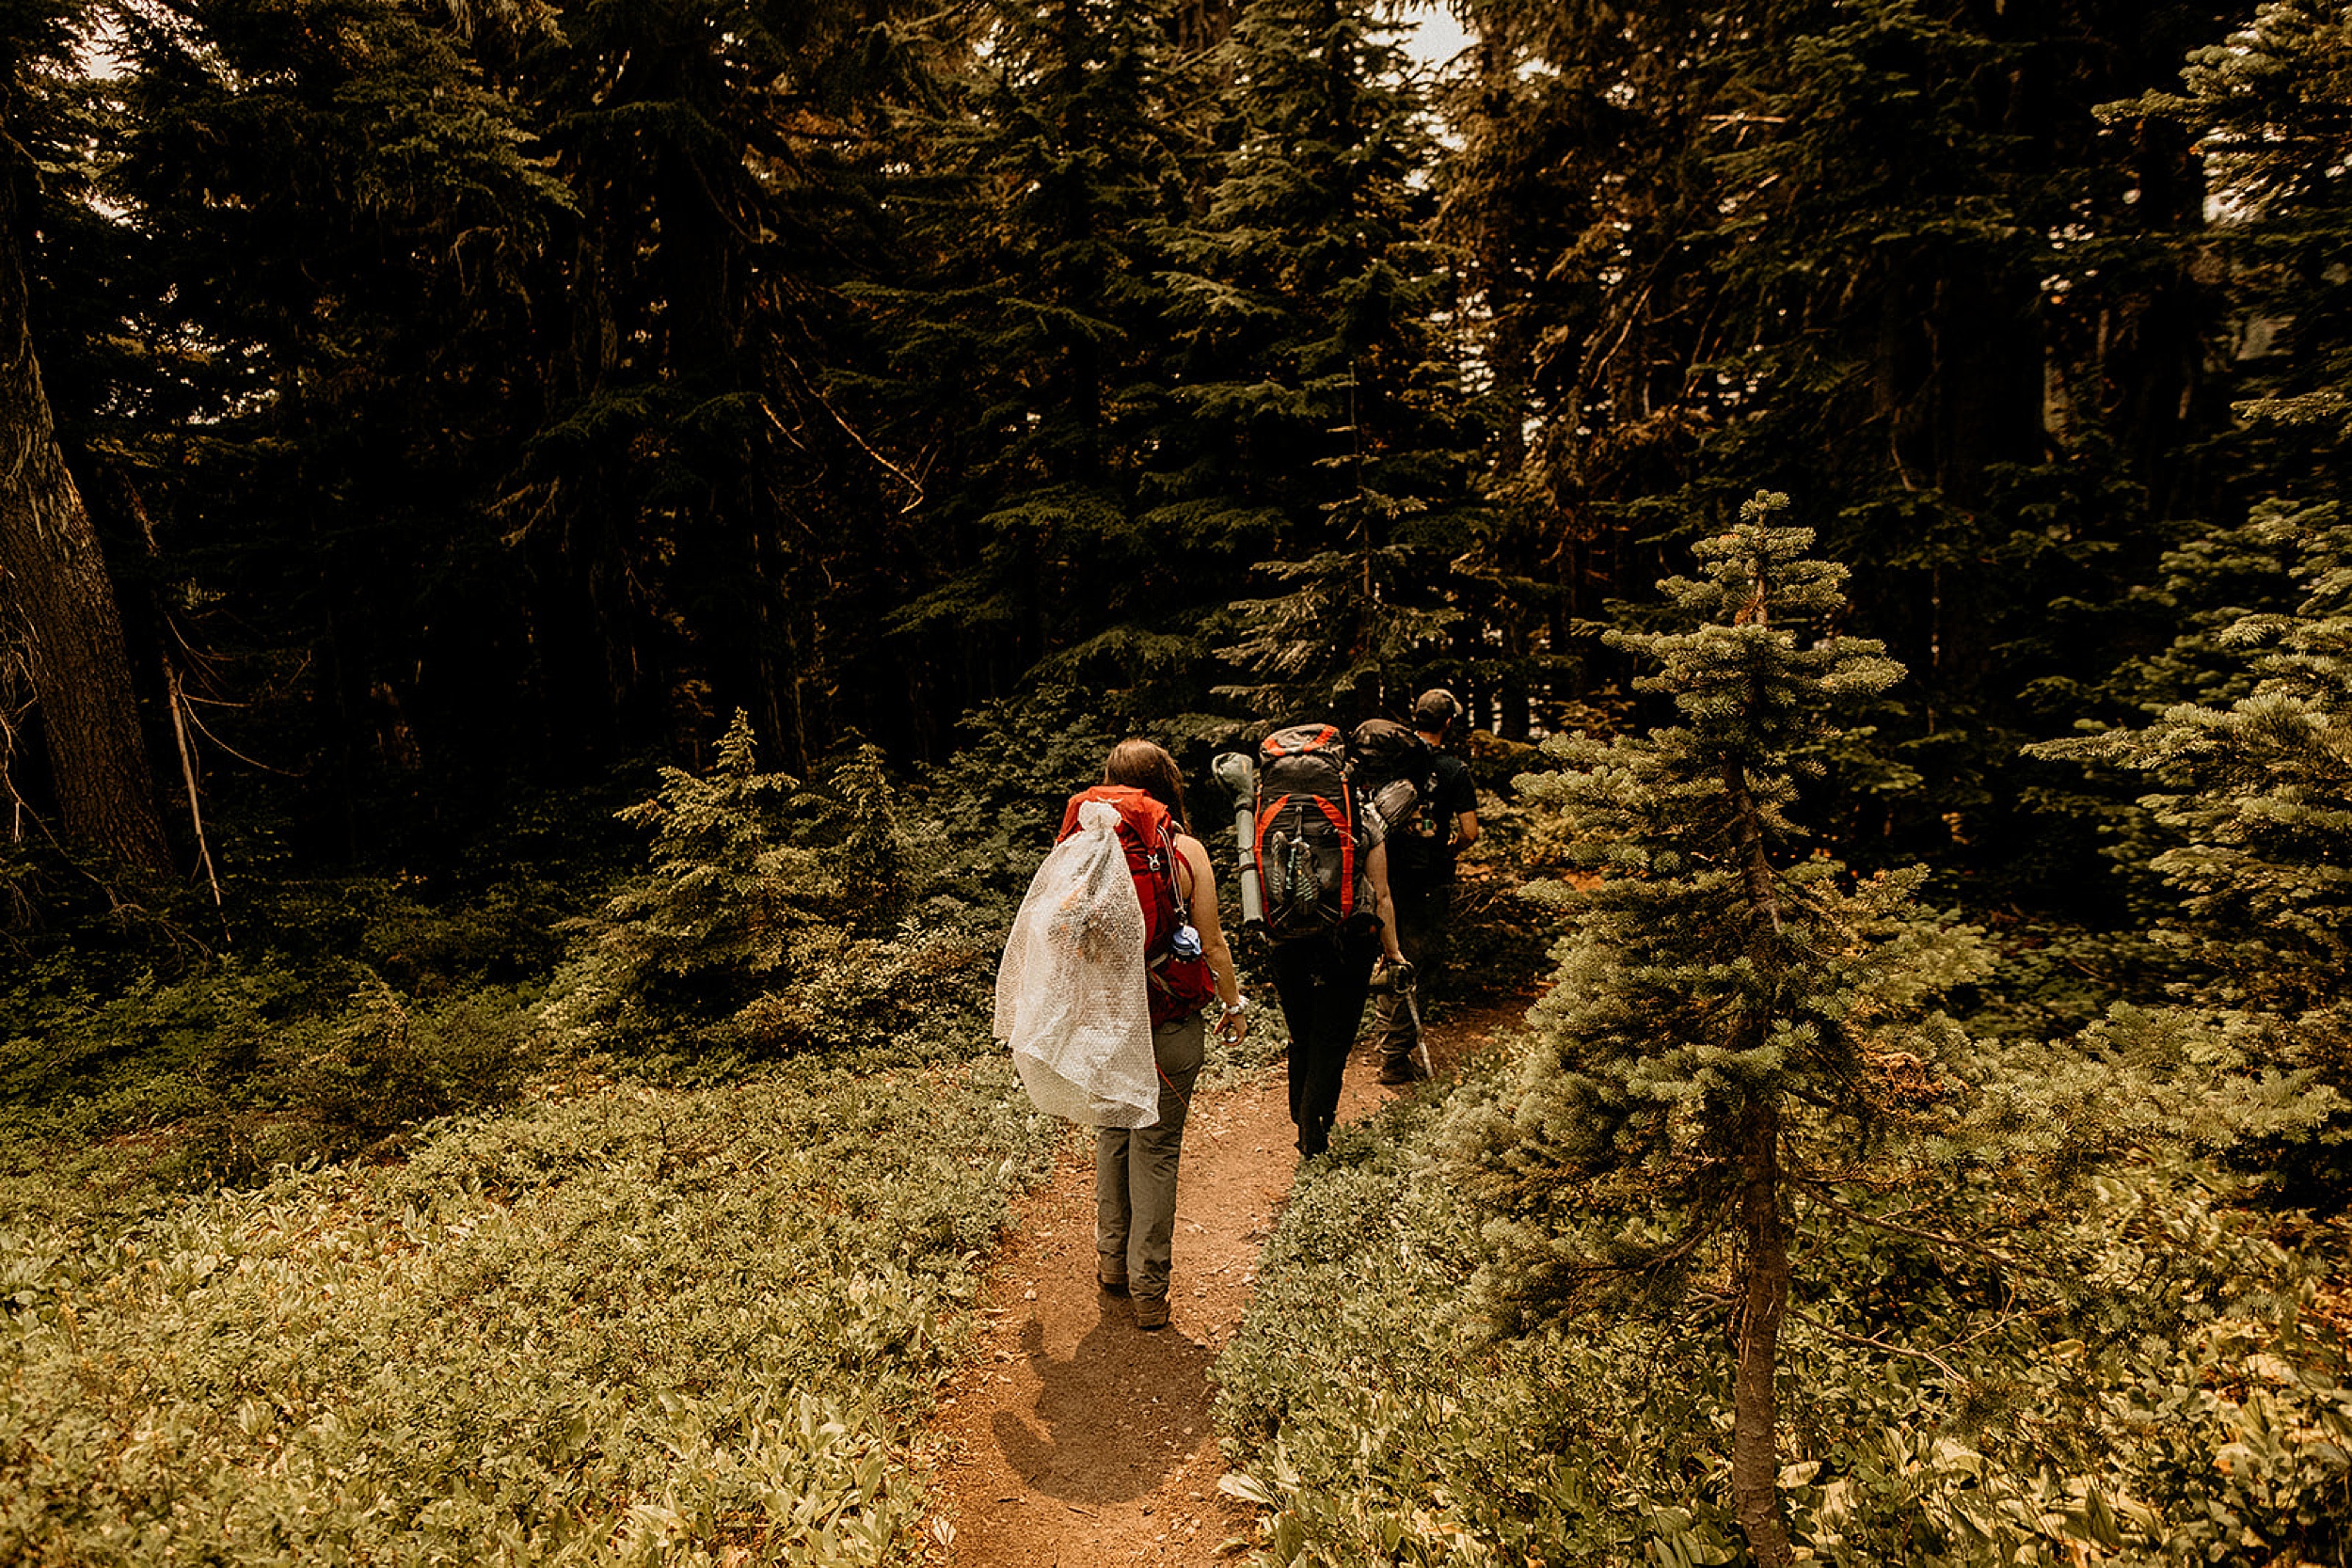
10. Plan your backpacking elopement timeline
It’s time to plan your activities + your timeline!! Creating a timeline for your elopement is super important to make sure you can have the smoothest day possible, even if something unexpected comes up or plans change at the last minute. You should plan MORE than enough time to complete your hike, with plenty of room to slow down or take extra time if needed, because you never know how the hike will go.
Be sure to incorporate time for any activities you want to do (such as a tour or a dinner you need to get to after you finish your hike), and book/reserve what you need to ahead of time. Also include time in your timeline for getting ready photos, and a first look if you’re going to have one, as well as time to eat snacks/meals and take portraits!
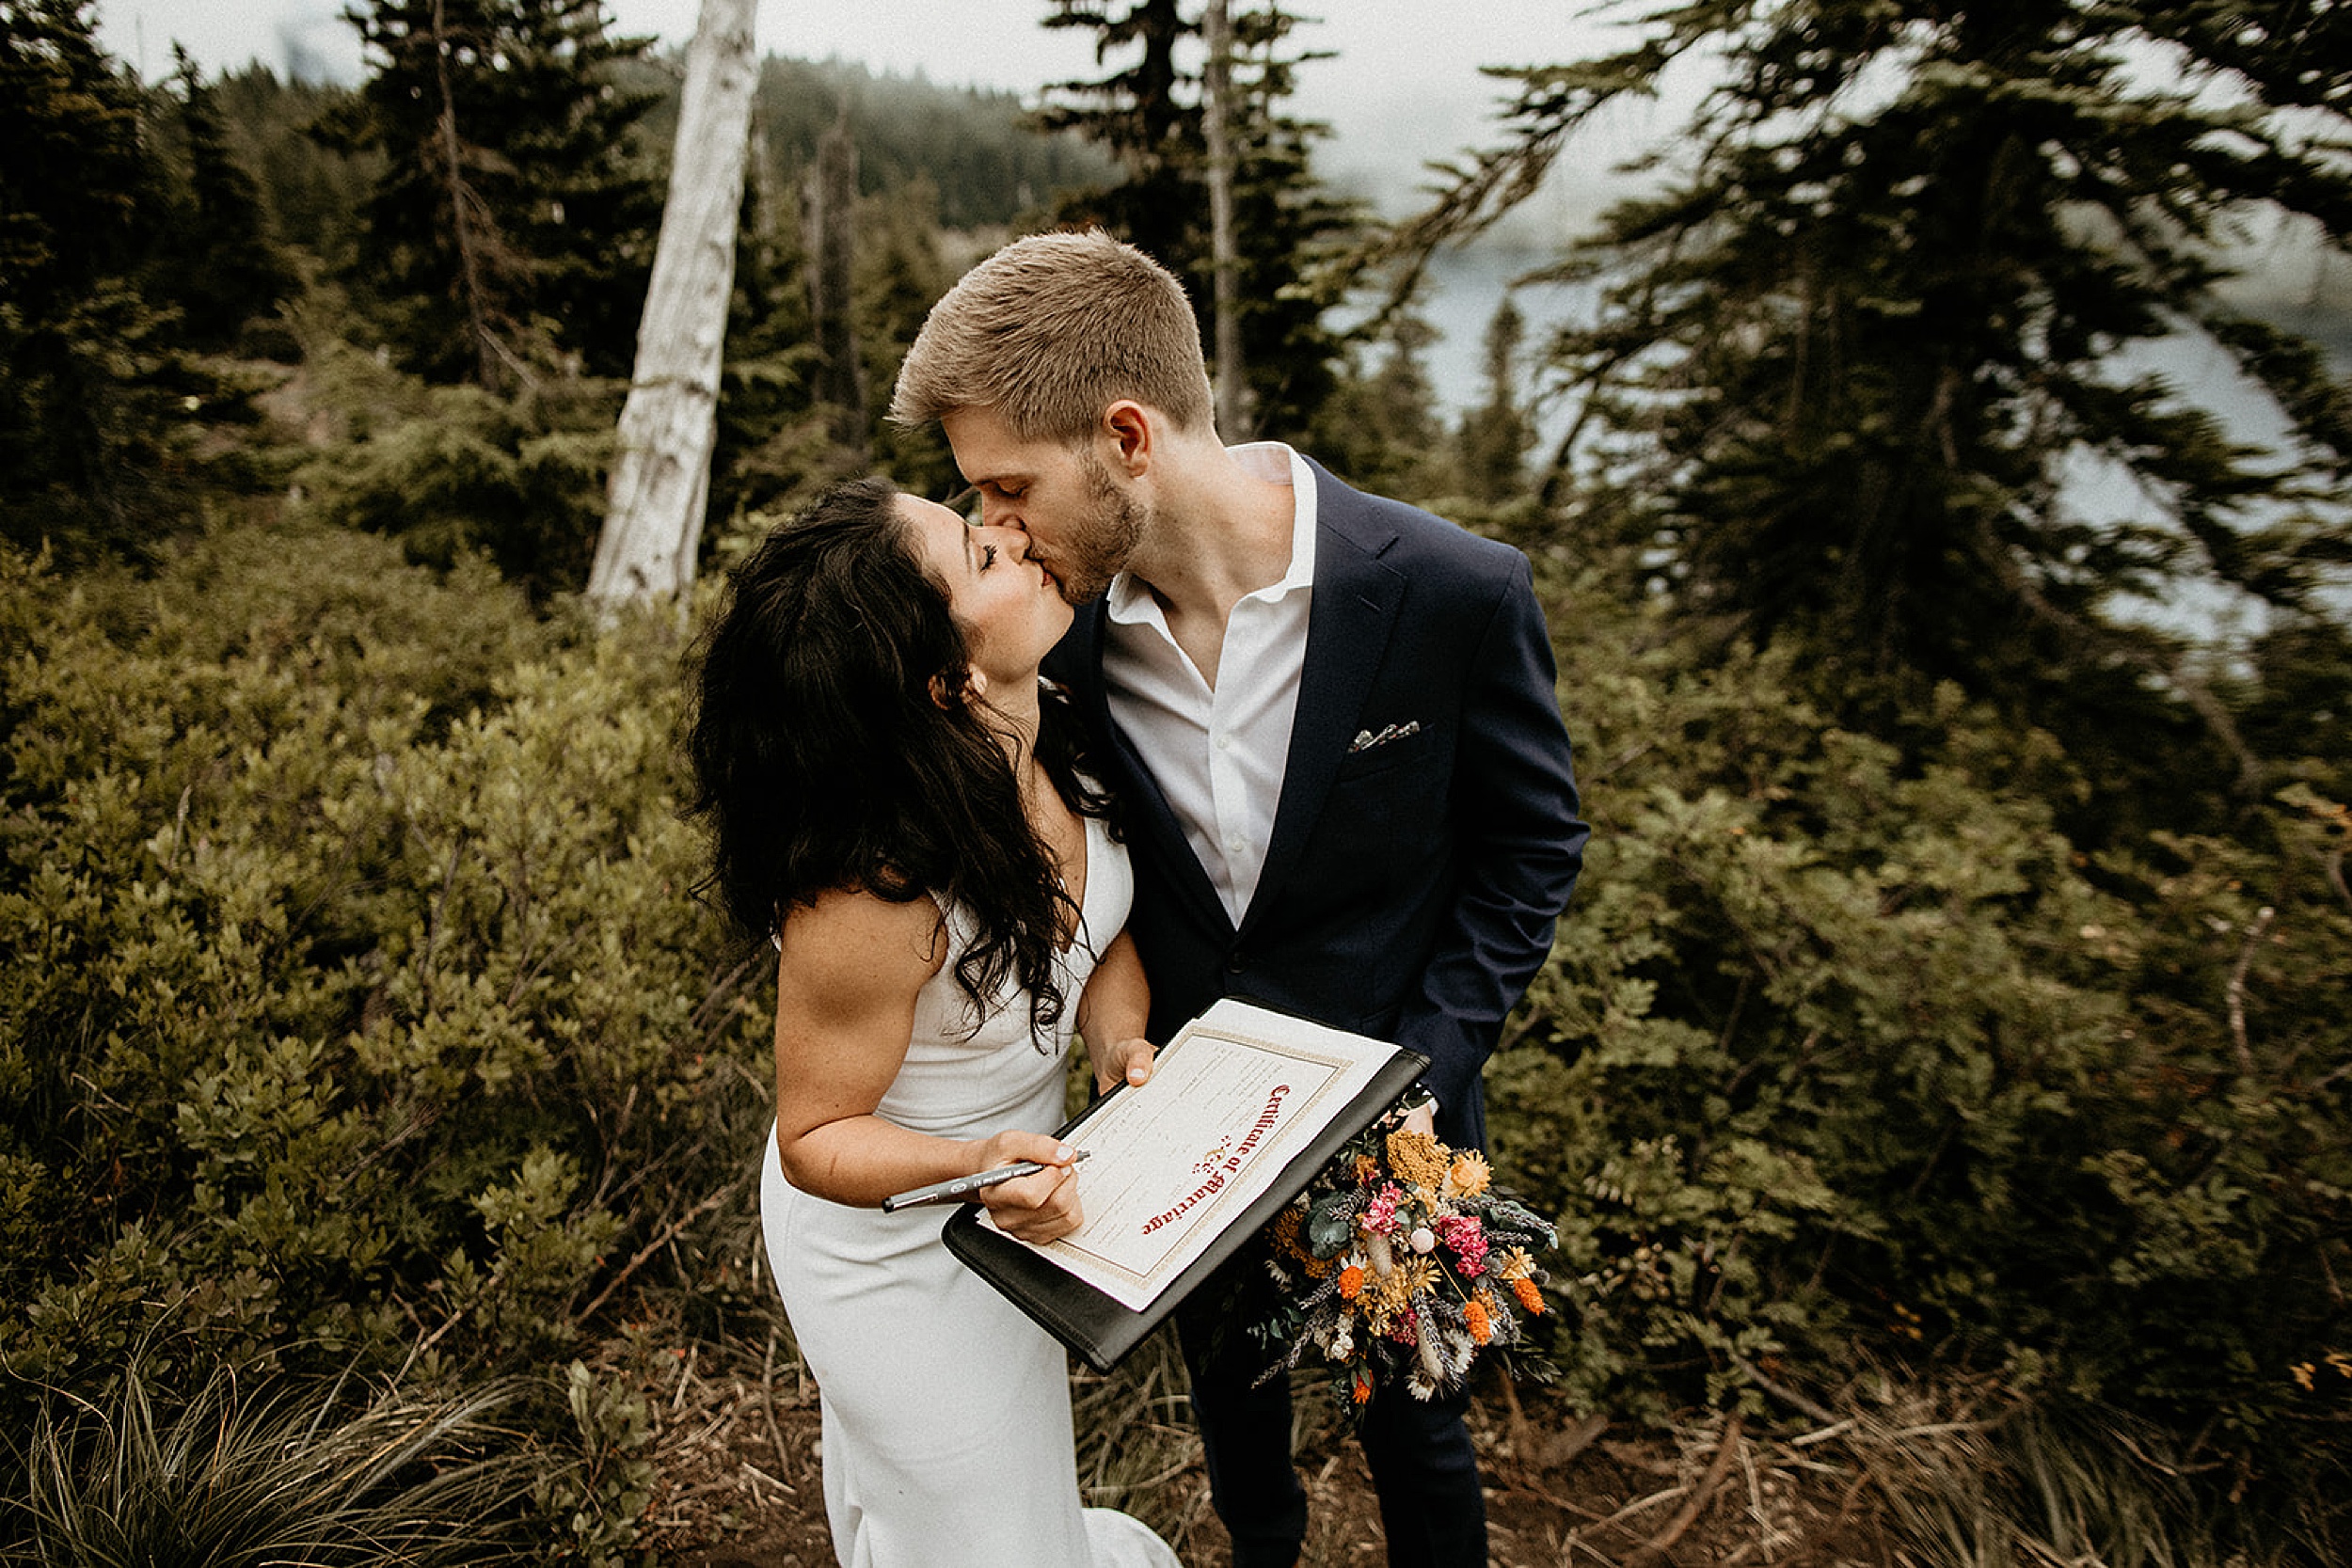
11. Get your marriage license
In addition to your permits and reservations, don’t forget to get your marriage license!! You need to get your marriage license in whatever state you’re eloping in, and follow the guidelines according to that state/county. Make sure you know what to expect and how long the process will take, as well as how long the waiting period is + how long your license is valid for. Here’s a helpful guide for getting a marriage license in Washington!
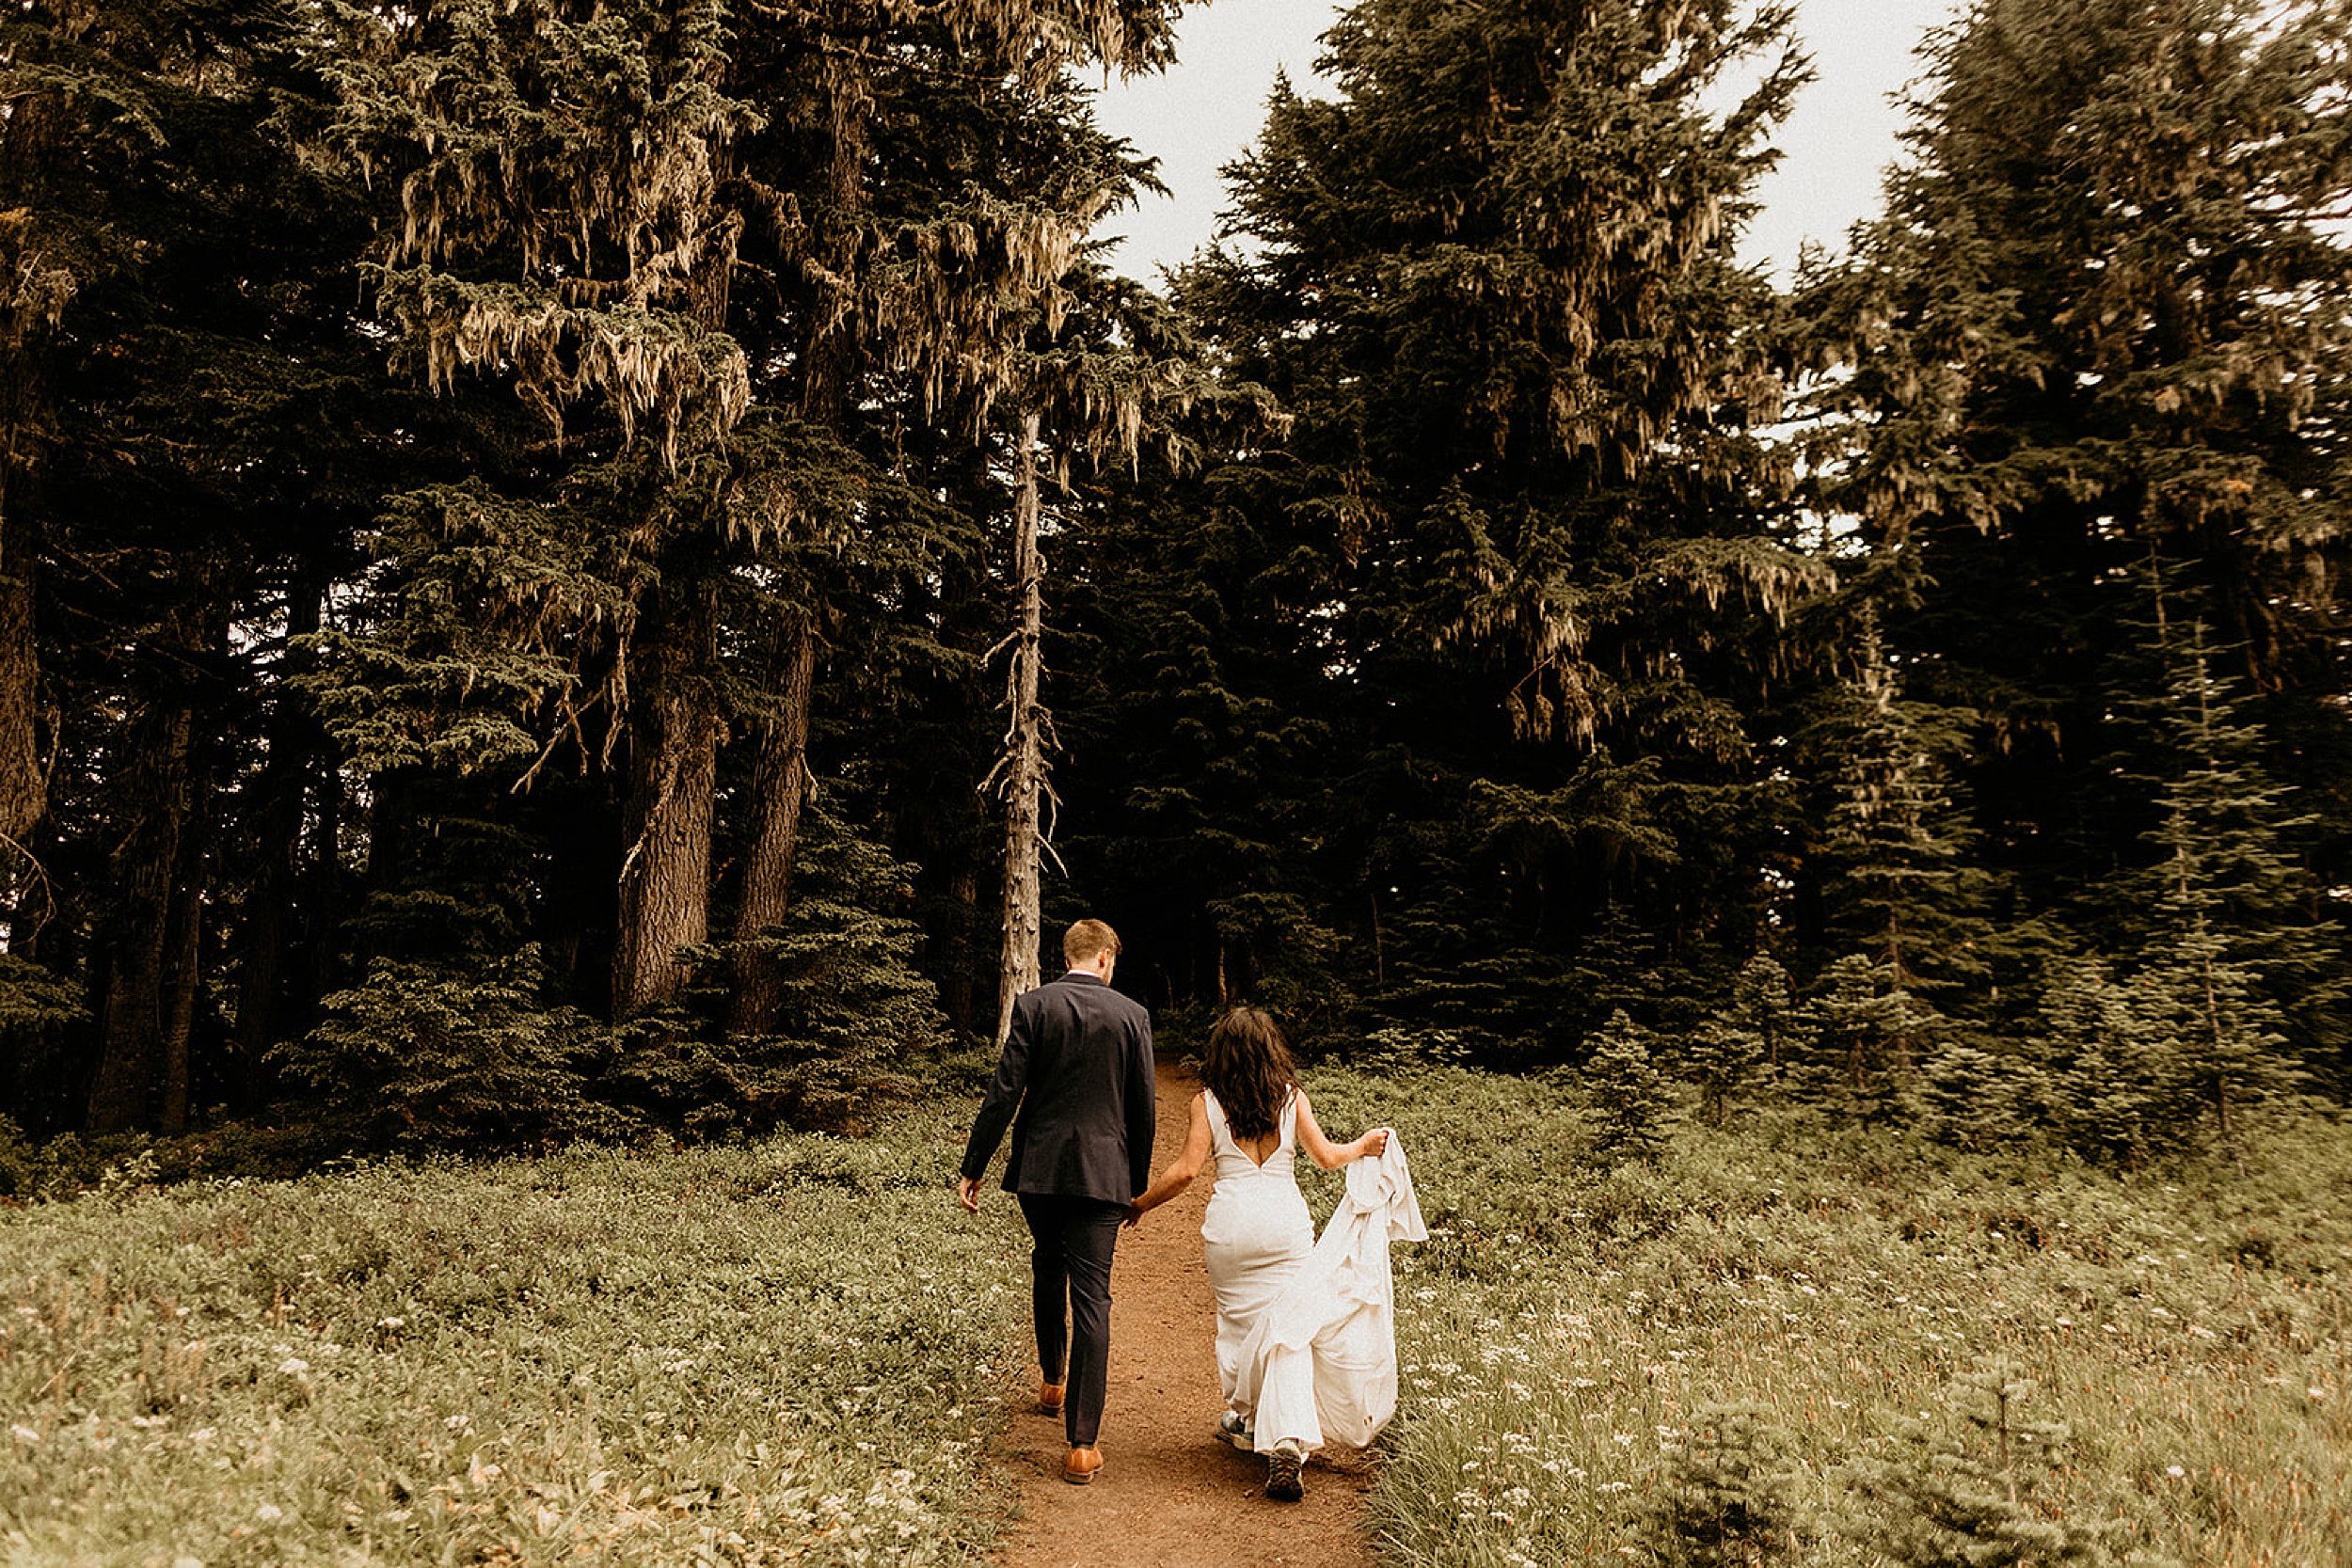
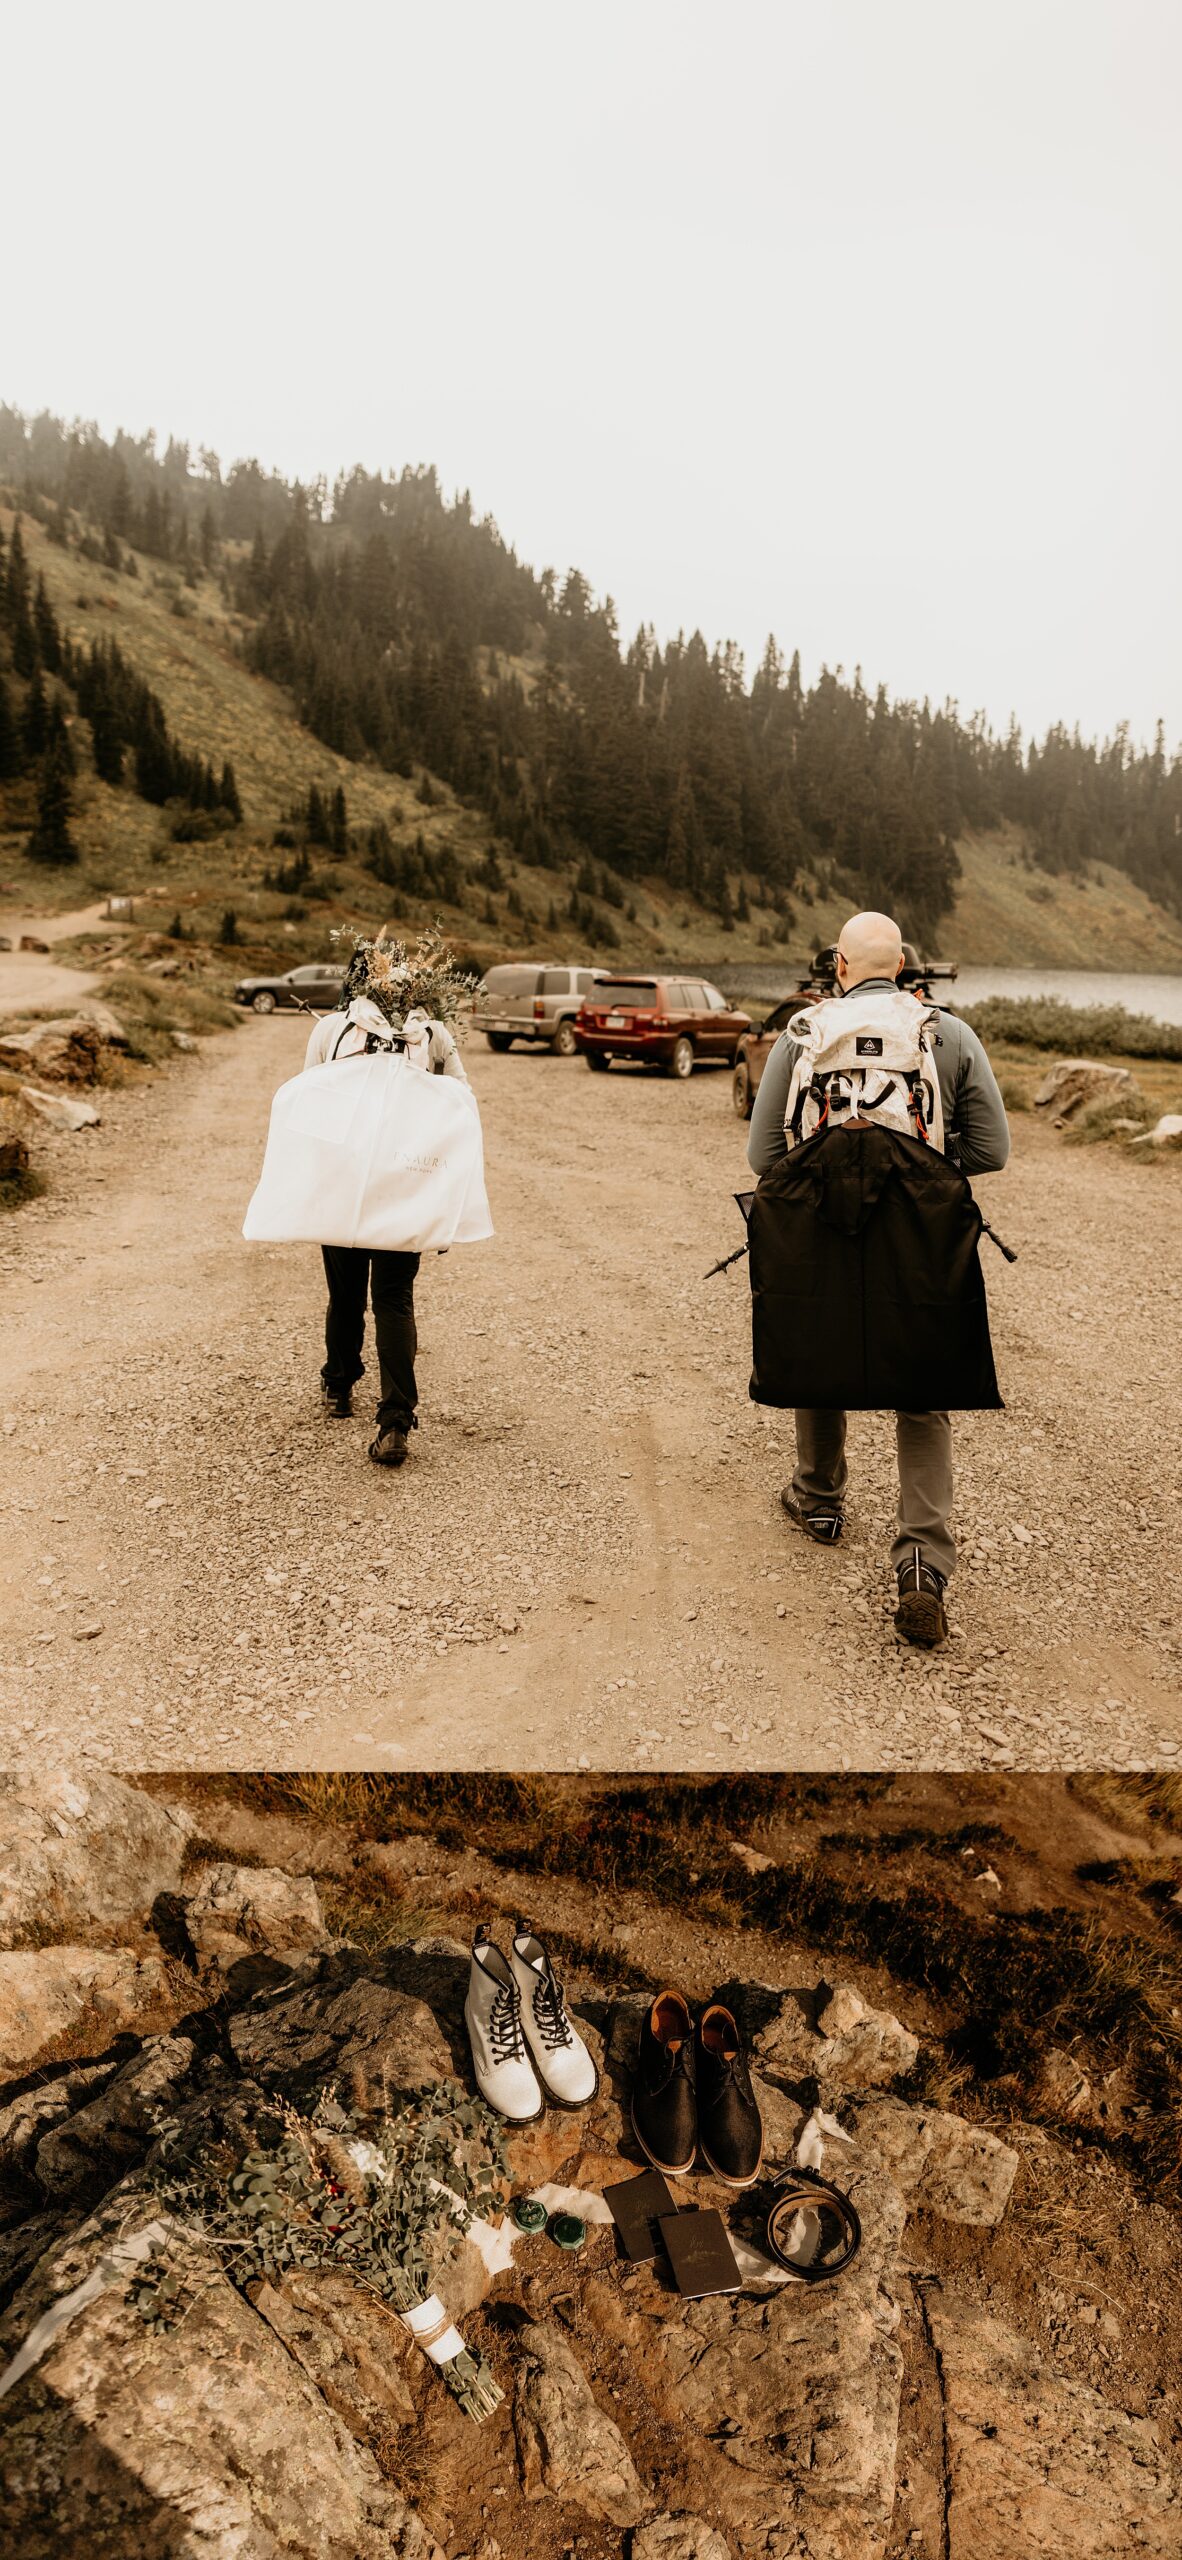
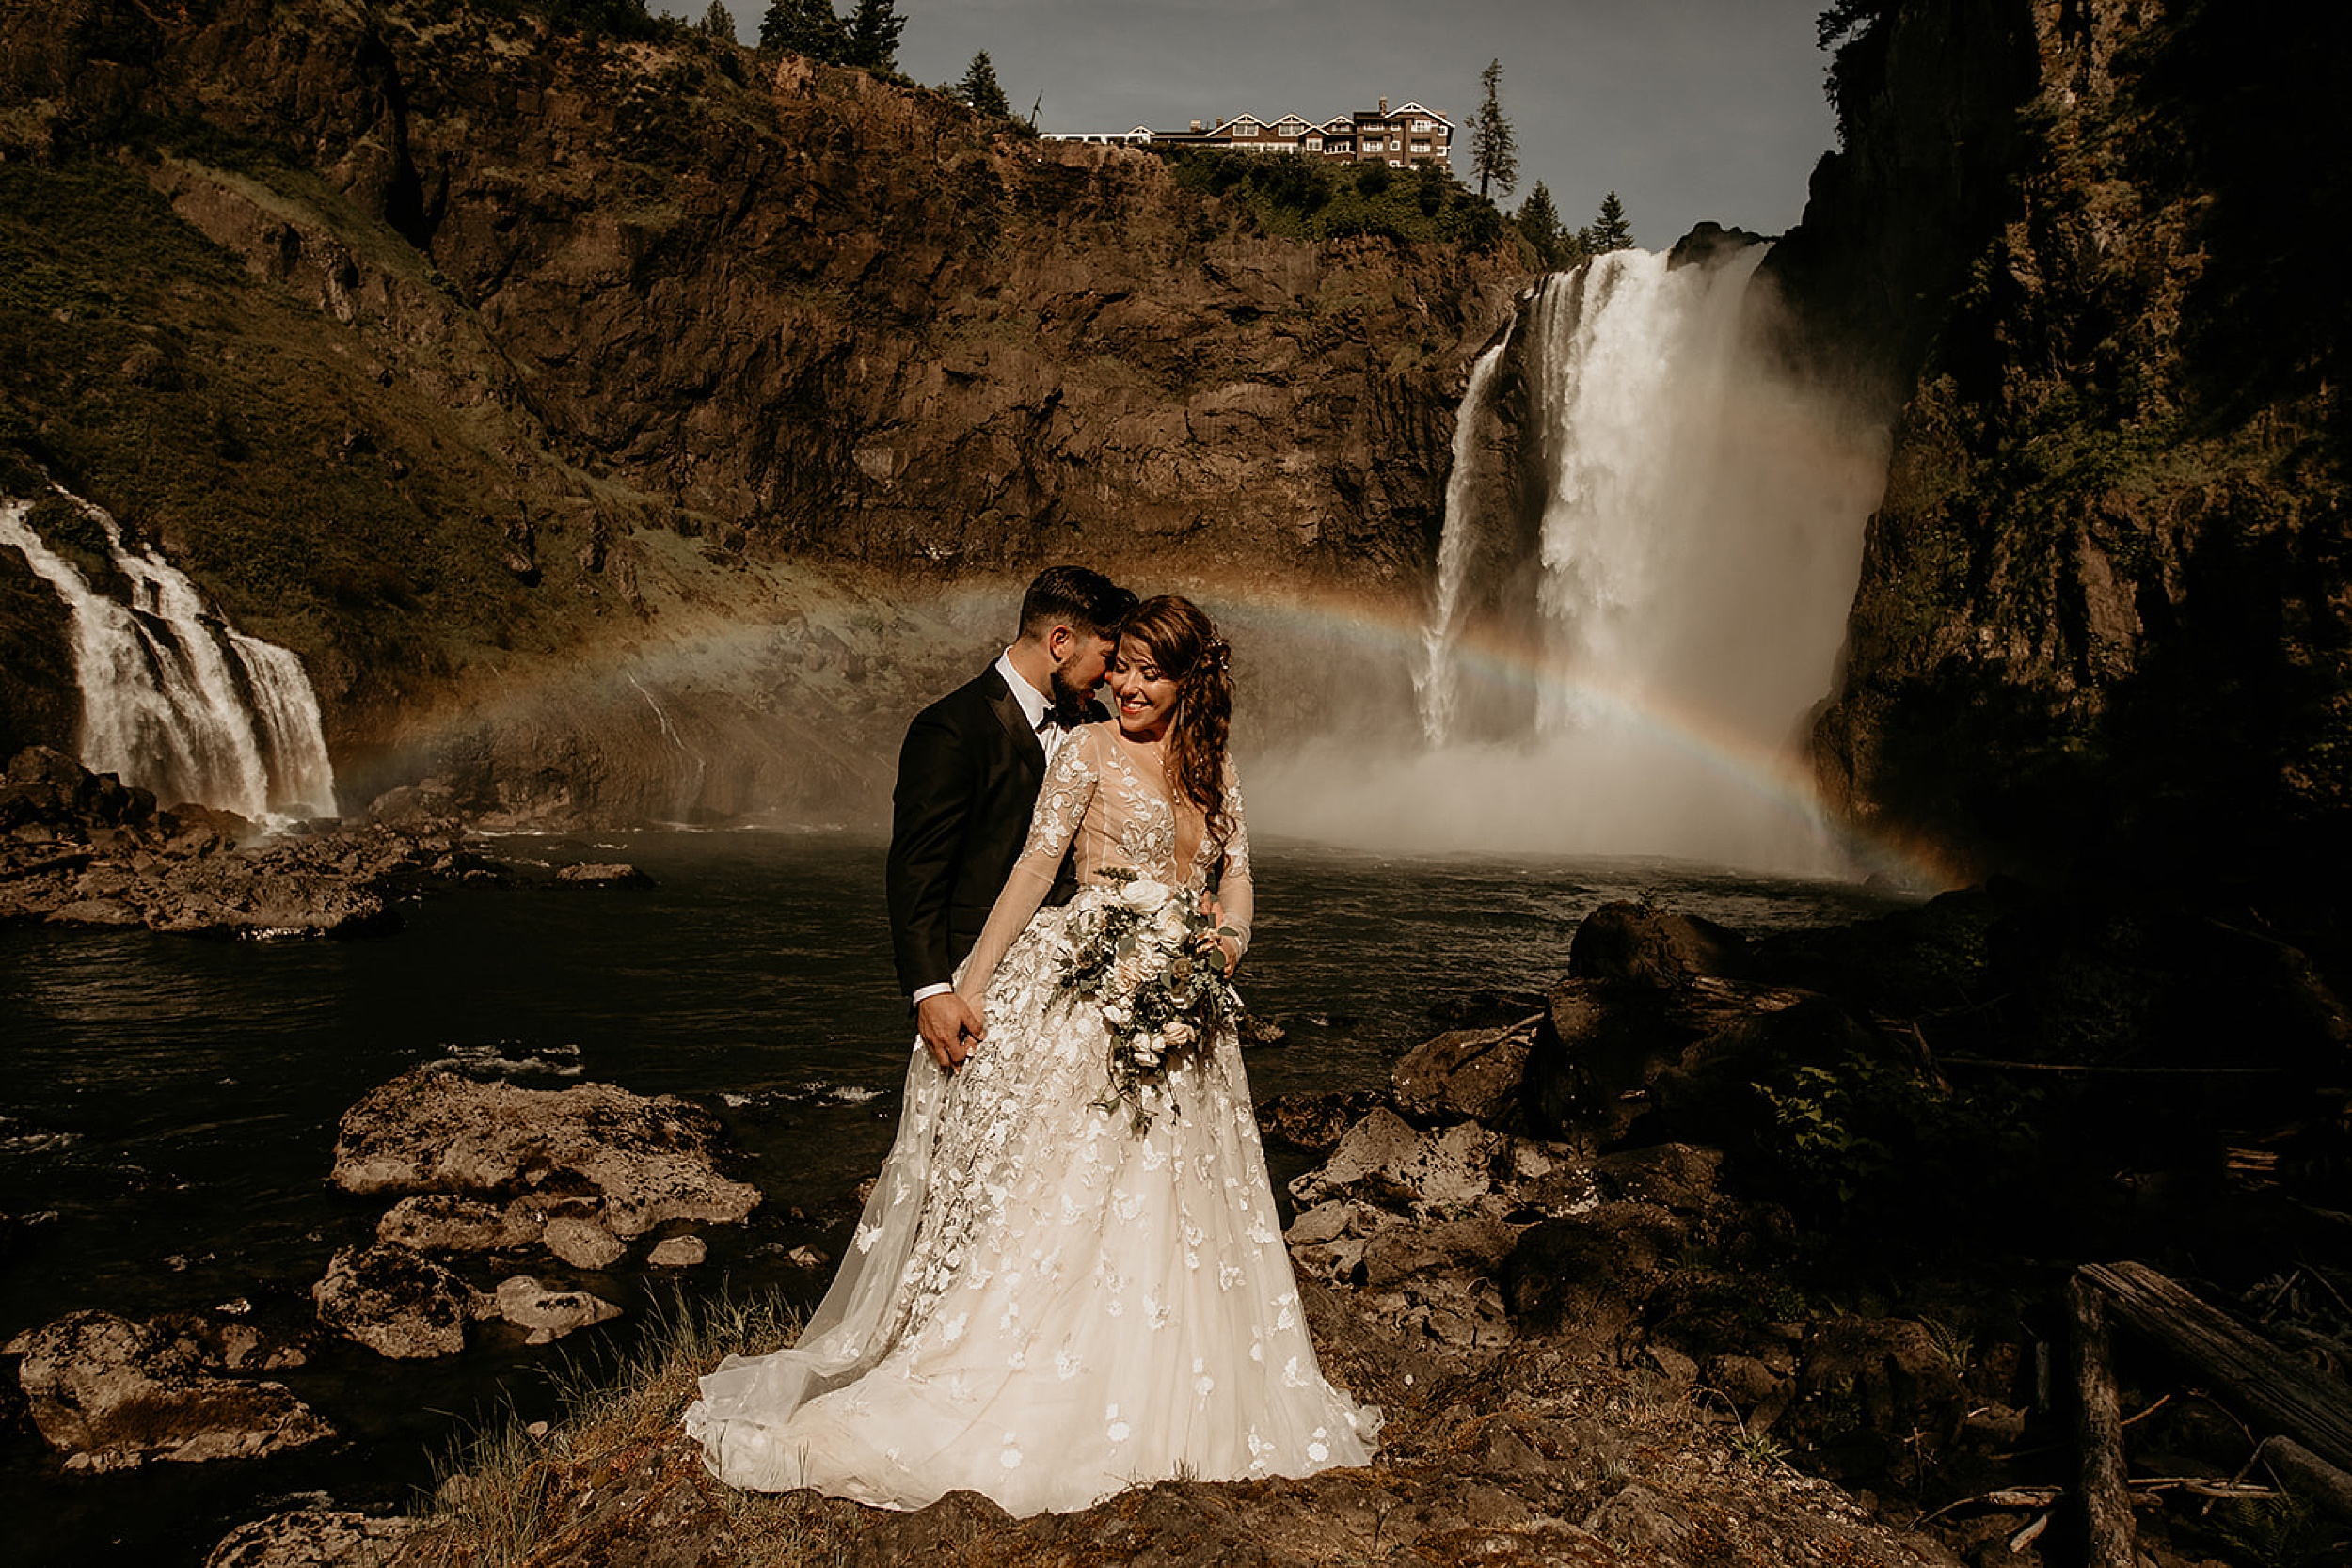
12. Pick your backpacking elopement outfits
Lastly, don’t forget to pick out your elopement outfits! Because you’ll be outdoors for your ceremony, it’s best to pick outfits made of materials that are easy to move around in, that won’t snag easily on rocks/branches, and that you’re okay with getting dirty. Make sure your outfits are also easy to fold and pack in your backpack without getting super wrinkled, or that you’re able to attach them in garment bags to the outside of your backpacks!
I’ve got a whole guide to picking the best hiking elopement dress here, as well as a guide to choosing the best hiking boots here. Def recommend checking those out so that you pick outfits + shoes that are cute and stylish, but also practical for your hike!
Final Backpacking Elopement Tips
Before I leave ya, I wanted to give you some final tips based on my manyyy experiences photographing backpacking elopements.
- Always always have backup locations!! I know I mentioned this already but it’s so important to have backup plans in place, in case something happens to your original plan at the last minute – maybe a road is closed, there’s a landslide, a trail is closed, a campsite is closed, the weather is bad, etc. Better to be overprepared than underprepared & have to scramble at the last second!
- Bring a portable GPS with you to make sure you have people that know where you are. If we’ll be out in the middle of nowhere, backpacking for multiple days, having a portable GPS is a good safety measure!
- Follow the Leave No Trace Principles to make sure you leave the trails as beautiful as you found them. Getting familiar with these principles before your elopement will helps us minimize our impact on the trails as much as we can!
- Tell your florist you’ll be hiking so that they can create a lightweight bouquet (IF you want to have a bouquet with you).
- Bring hair & makeup tools with you so you can do your own hair/makeup for your ceremony. If we’ll be hiking a day before your ceremony then you’ll have to do your own, so bring a little mirror and whatever supplies you need! If you want to get your hair/makeup done before our hike and keep it on until your ceremony, then make sure you tell your HMUA to do your hair extra sturdily and to use makeup that’ll last/won’t be ruined when you sweat.
BONUS: Backpacking Elopement Packing List
Ok one more thing!! I put together this packing list so that you don’t forget anything important for your backpacking elopement – use it when the time comes to get ready for the big day!
Hiking gear:
- Hiking attire
- Hiking boots
- Extra outfits
- Extra pair of shoes
- Hiking poles
- Raincoats
- Jackets
Elopement items:
- Elopement outfits (dress, suit, pants, etc.)
- Jewelry (earrings, hairpieces, bracelets, necklaces, cufflinks, etc.)
- Accessories (ties, cufflinks, veil, pocket square, etc.)
- Vow books
- Marriage license & a pen to sign it
- Any gifts you’re exchanging
- Florals
Toiletries:
- Sunscreen
- Bug spray
- Hairbrush/comb
- Bobbi pins/hair clips/hair bands
- Extra makeup
- Hairspray
- Tampons
Safety items:
- Bear spray
- First Aid kid
- Portable GPS
- Offline maps or printed maps
Miscellaneous items:
- Safety pins
- Lint roller
- Stain remover
- Wrinkle spray
- Umbrellas
- Water
- Snacks
- Portable chargers for your phones
- Camping items (tents, sleeping bags, hammocks, etc.)
I hope this guide helps you plan your dream backpacking elopement!! I’d love to tag along with ya and capture it all, of course 😉
Want even more elopement planning resources + guides?? I gotchu.


LEAVE A COMMENT
Comments