Table of Contents:
- Why is Lighting So Important for Your Adventure Elopement?
- What is the Best Time of Day for an Adventure Elopement Ceremony?
- Should You Elope at Sunrise or Sunset?
- 3 Tips for Beautiful Adventure Elopement Day Lighting
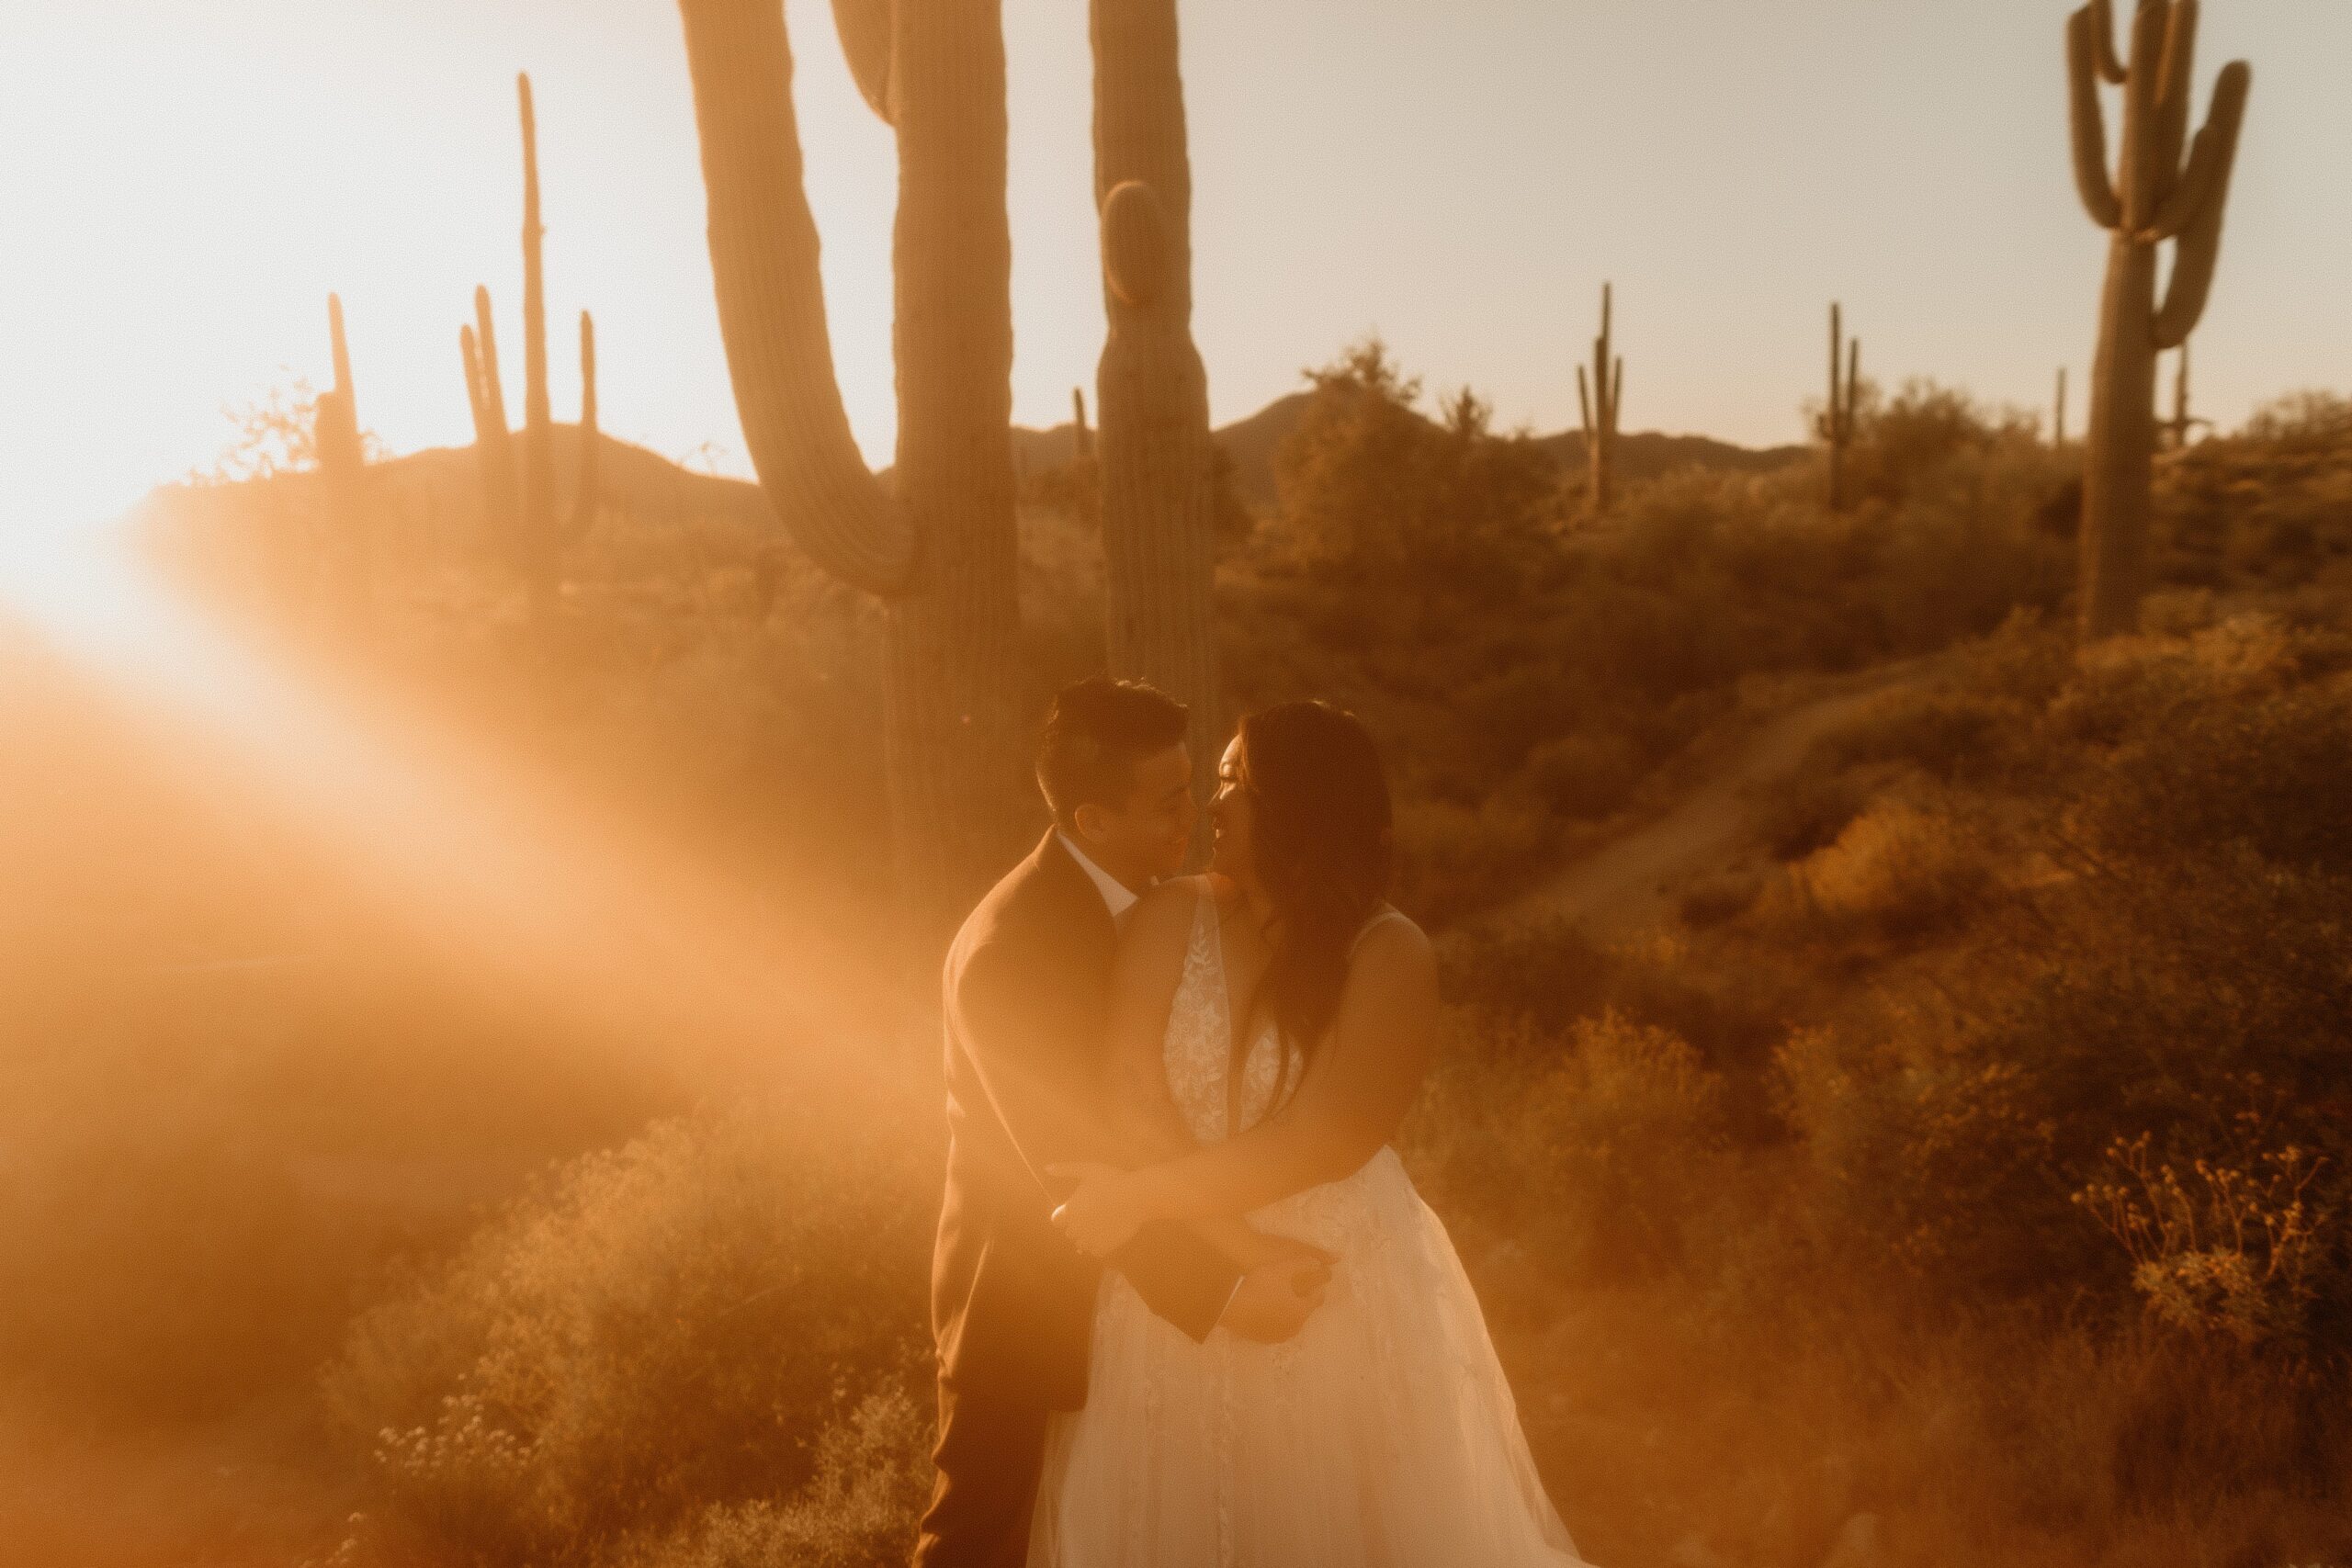
There are soooo many elements that go into making your elopement day amazing – location, outfits, accessories, vendors, guests. . . the list goes on and on. But want to know one of the MOST important factors that not as many couples think about?! LIGHTING! The lighting at your elopement plays a huge role in the atmosphere of your day & the vibes you create, which is why it’s so important to consider lighting when you’re planning your elopement. That’s why I’ve created this adventure elopement lighting guide* with allll of my top lighting tips as a professional photog, from the best time of day to have your outdoor elopement ceremony, to what every type of daylight looks like (all the way from dusk to dawn)!
*This guide is going to mostly focus on OUTDOOR, natural lighting for adventure elopements, with a few tips here & there about artificial indoor lighting. But I’ll be back with another guide to go more in-depth on indoor lighting soon!
Why is Lighting So Important for Your Adventure Elopement?
Before I give you a mini lesson on all the different types of lighting, let’s talk about WHY lighting plays such a massive role in your elopement day!!
Atmosphere
First up, lighting totally changes the atmosphere & vibes of a location, whether you’re out in the middle of the mountains saying your vows or you’re in your backyard havin’ a little garden party reception. If you’re trying to have a cozy, warm gathering in your Airbnb at the end of the night, celebrating with all your BFFs, but you have bright, fluorescent lighting above you, that light is going to totally clash with the vibes you’re going for! In order to create the cozy atmosphere you’re going for, you’d probably want to dim the overhead lights and just have a few candles going, plus a few warmer-toned floor lamps.
Or say you’re dreaming of having a super elegant, luxury reception at an upscale restaurant, filled with bright white & green decor and cream-colored table runners. You probably want to create a light & airy atmosphere to match your decor, but if you only have a string of warm twinkle lights and some floor lamps turned on, with no natural light coming in from outside, it’s going to be pretty dark. Instead, you’d want more natural light coming in from big windows to bounce off the white walls, and a good amount of soft overhead lights shining down on your tables.
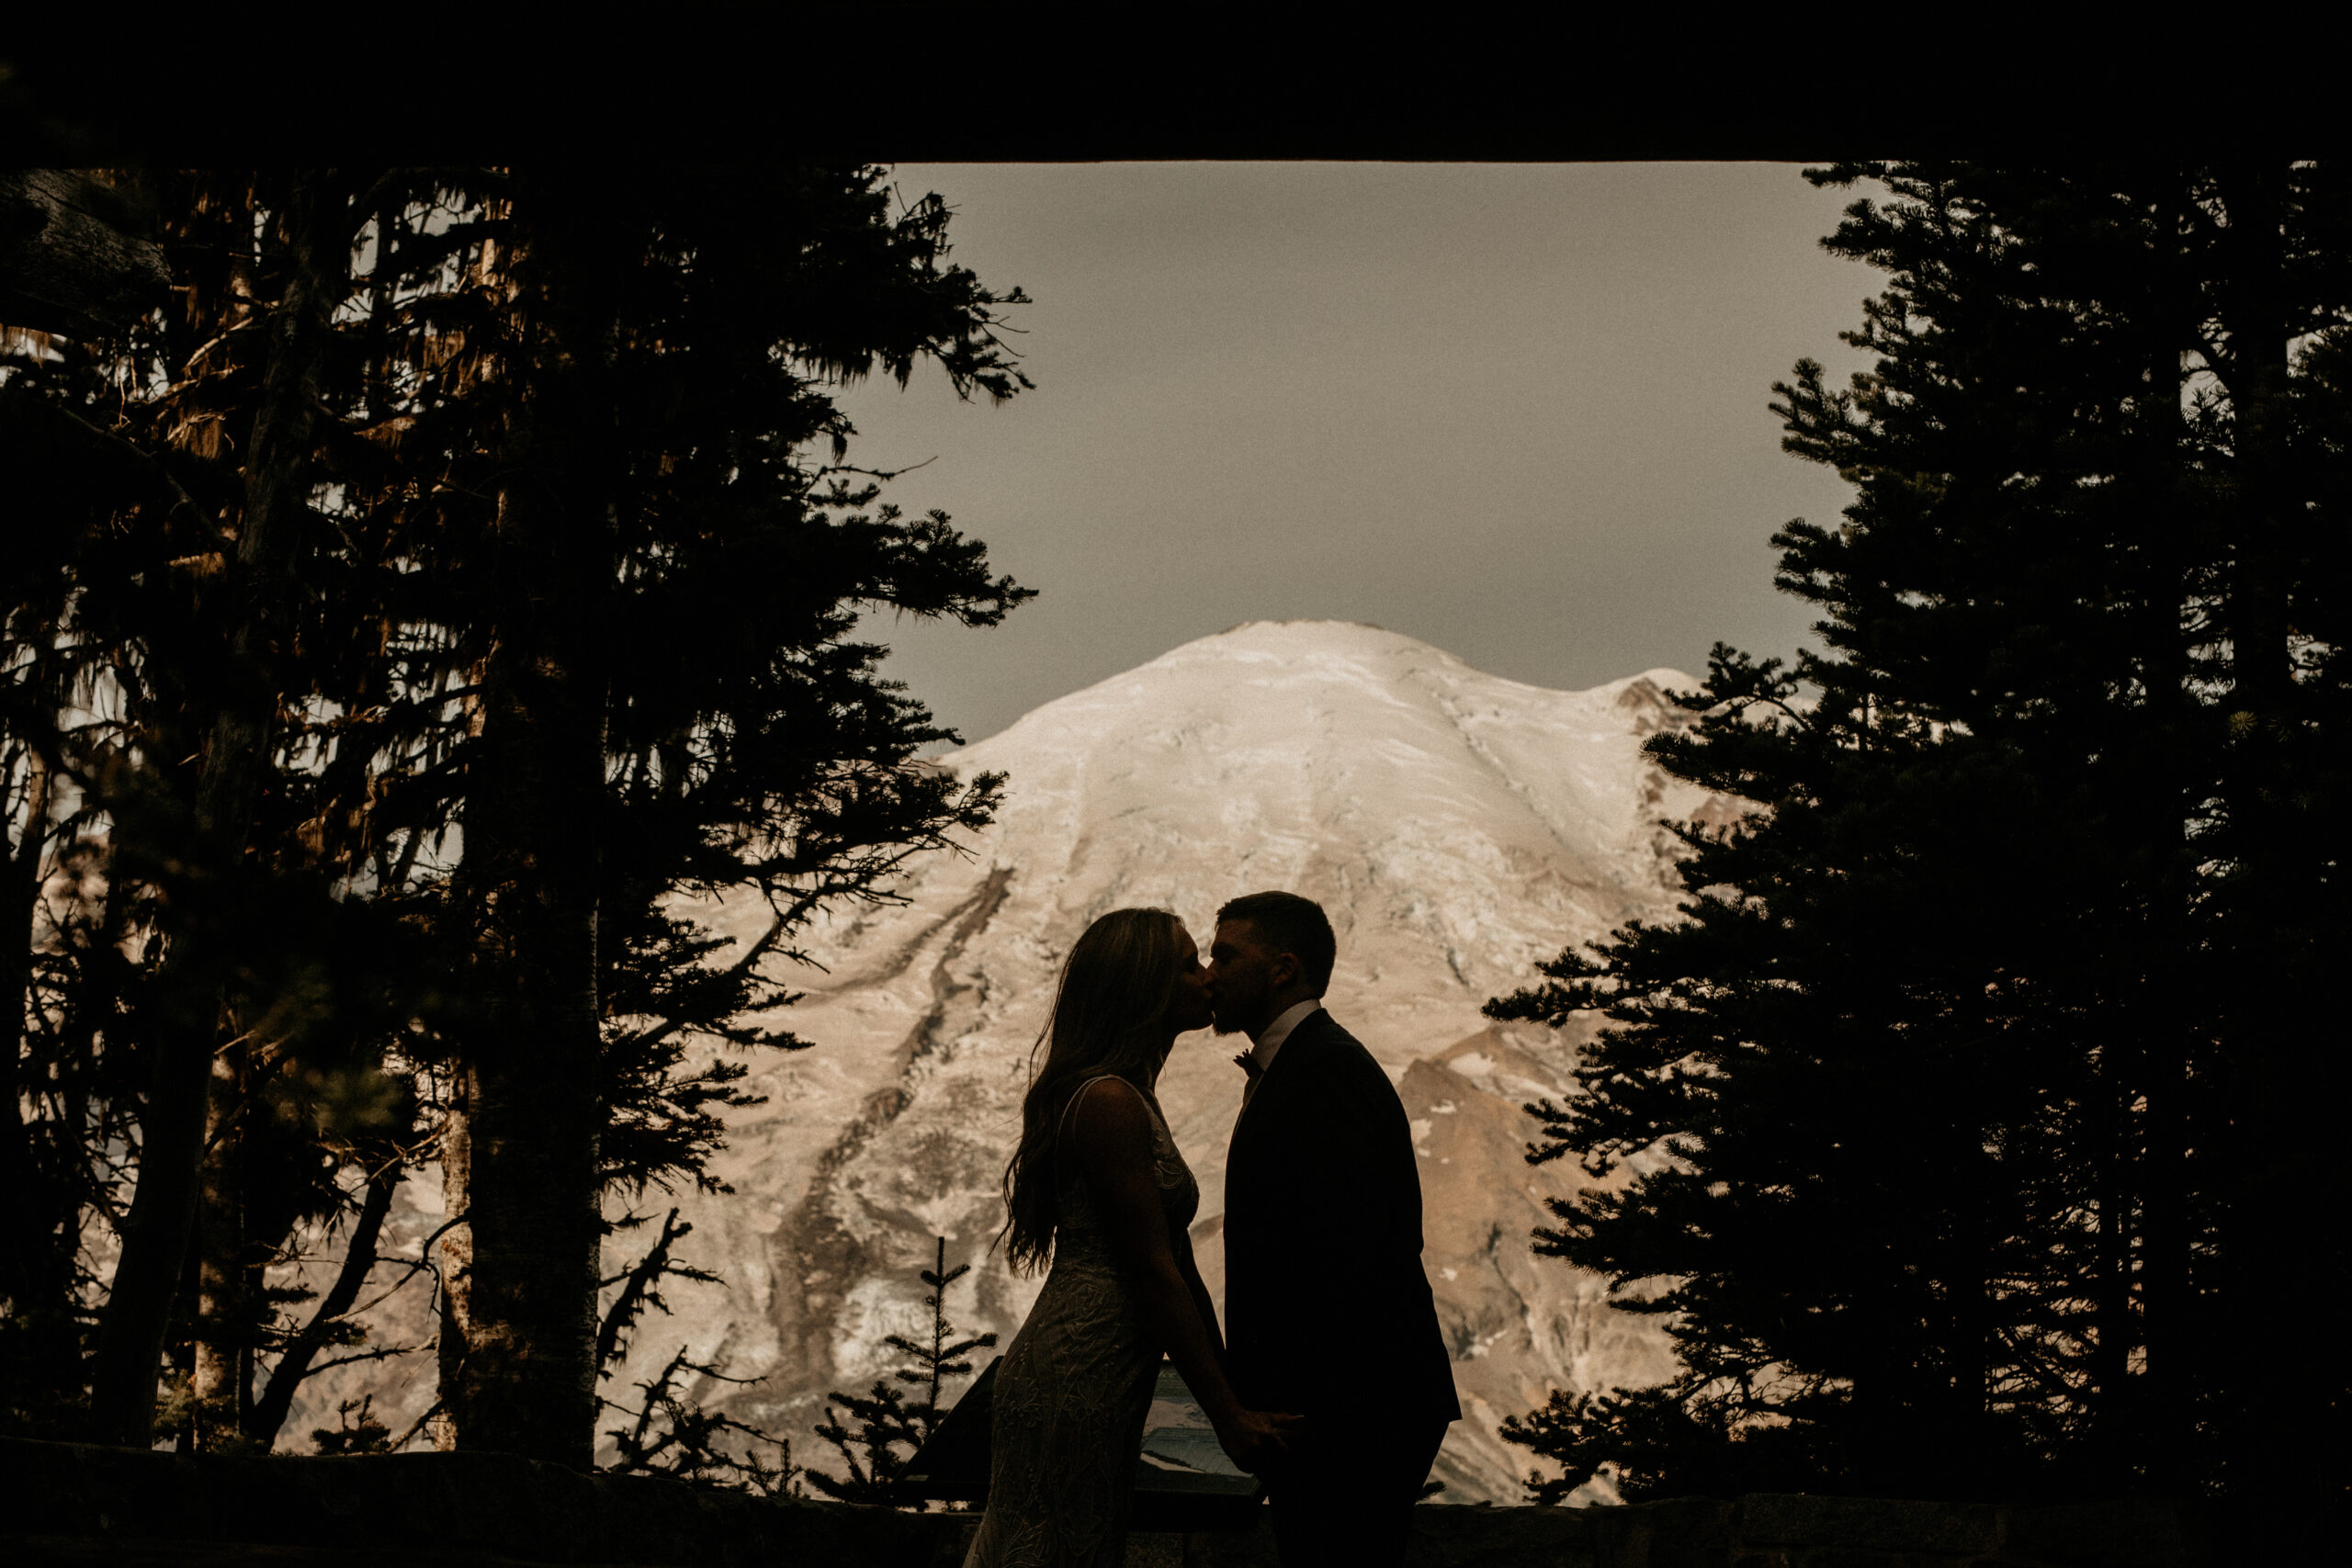
Another popular scenario that I see allll the time with big weddings especially: you pick a ceremony spot that gets dreamy backlight during the day, since it’ll look amazing behind you as you tie the knot. But what you didn’t think about is the fact that the sun will be BLASTING on everyone’s faces as they walk down the aisle, making it hard for them to freaking see & creating tons of weird shadows in your photos!
The way you light up your location will TOTALLY change the mood, so it’s important to match your lighting with the vibes you’re going for!!
Scenery
Just like lighting affects the atmosphere, it also affects what the scenery around you looks like if you’re eloping outdoors. Let’s say you’re eloping out in the mountains, and you really want to have a dreamy AF sunrise ceremony. But you didn’t do your research ahead of time and apparently, that spot in the mountains that you hiked to actually DOESN’T get great sunrise views – the scenery looks much better at sunset :/ Sometimes sunrise will create weird shadows over certain viewpoints, but sunset will cast that yummy alpenglow and delicious golden hour that you actually wanted.
One really good example of this is Smith Rock, a state park in the Oregon desert. You’d think that it would be GORGEOUS at any time of day, but in reality, the tall rocks create super wonky shadows at sunrise and all you get is a partial golden hour over a tiny portion of the park – whereas sunset at Smith Rock is sooo dreamy and really captures those magical desert vibes that you were picturing.
Or let’s say you want to have your elopement ceremony in the middle of a super dense forest in the PNW. You really want a sunny day because you’ve seen how AMAZING the forest looks with the sun shining through the trees at golden hour, but you end up with a crazy rainy & overcast day – and that spot in the forest is actually reallyyy dark without sun.
This is why it’s so important to research lighting ahead of time for the outdoor locations you want to include in your adventure elopement day!! I recommend using a tool like Google Earth to see what the lighting actually looks like at certain times of day, at different locations 🙌
Skin tones
Now this is one you probably never considered – how lighting will affect skin tones in your adventure elopement photos! Different types of lighting (especially artificial lighting) totally affects the way your skin looks in photos, so it’s definitely something to take into account when you’re planning your day. For example, if the lighting in the room where you’re getting ready has a magenta tint, that tint will reflect on your skin and make it look a bit pinker. Same goes if the lighting is really orange – your skin will look more orange in photos (and not in a nice, extra-tanned way).
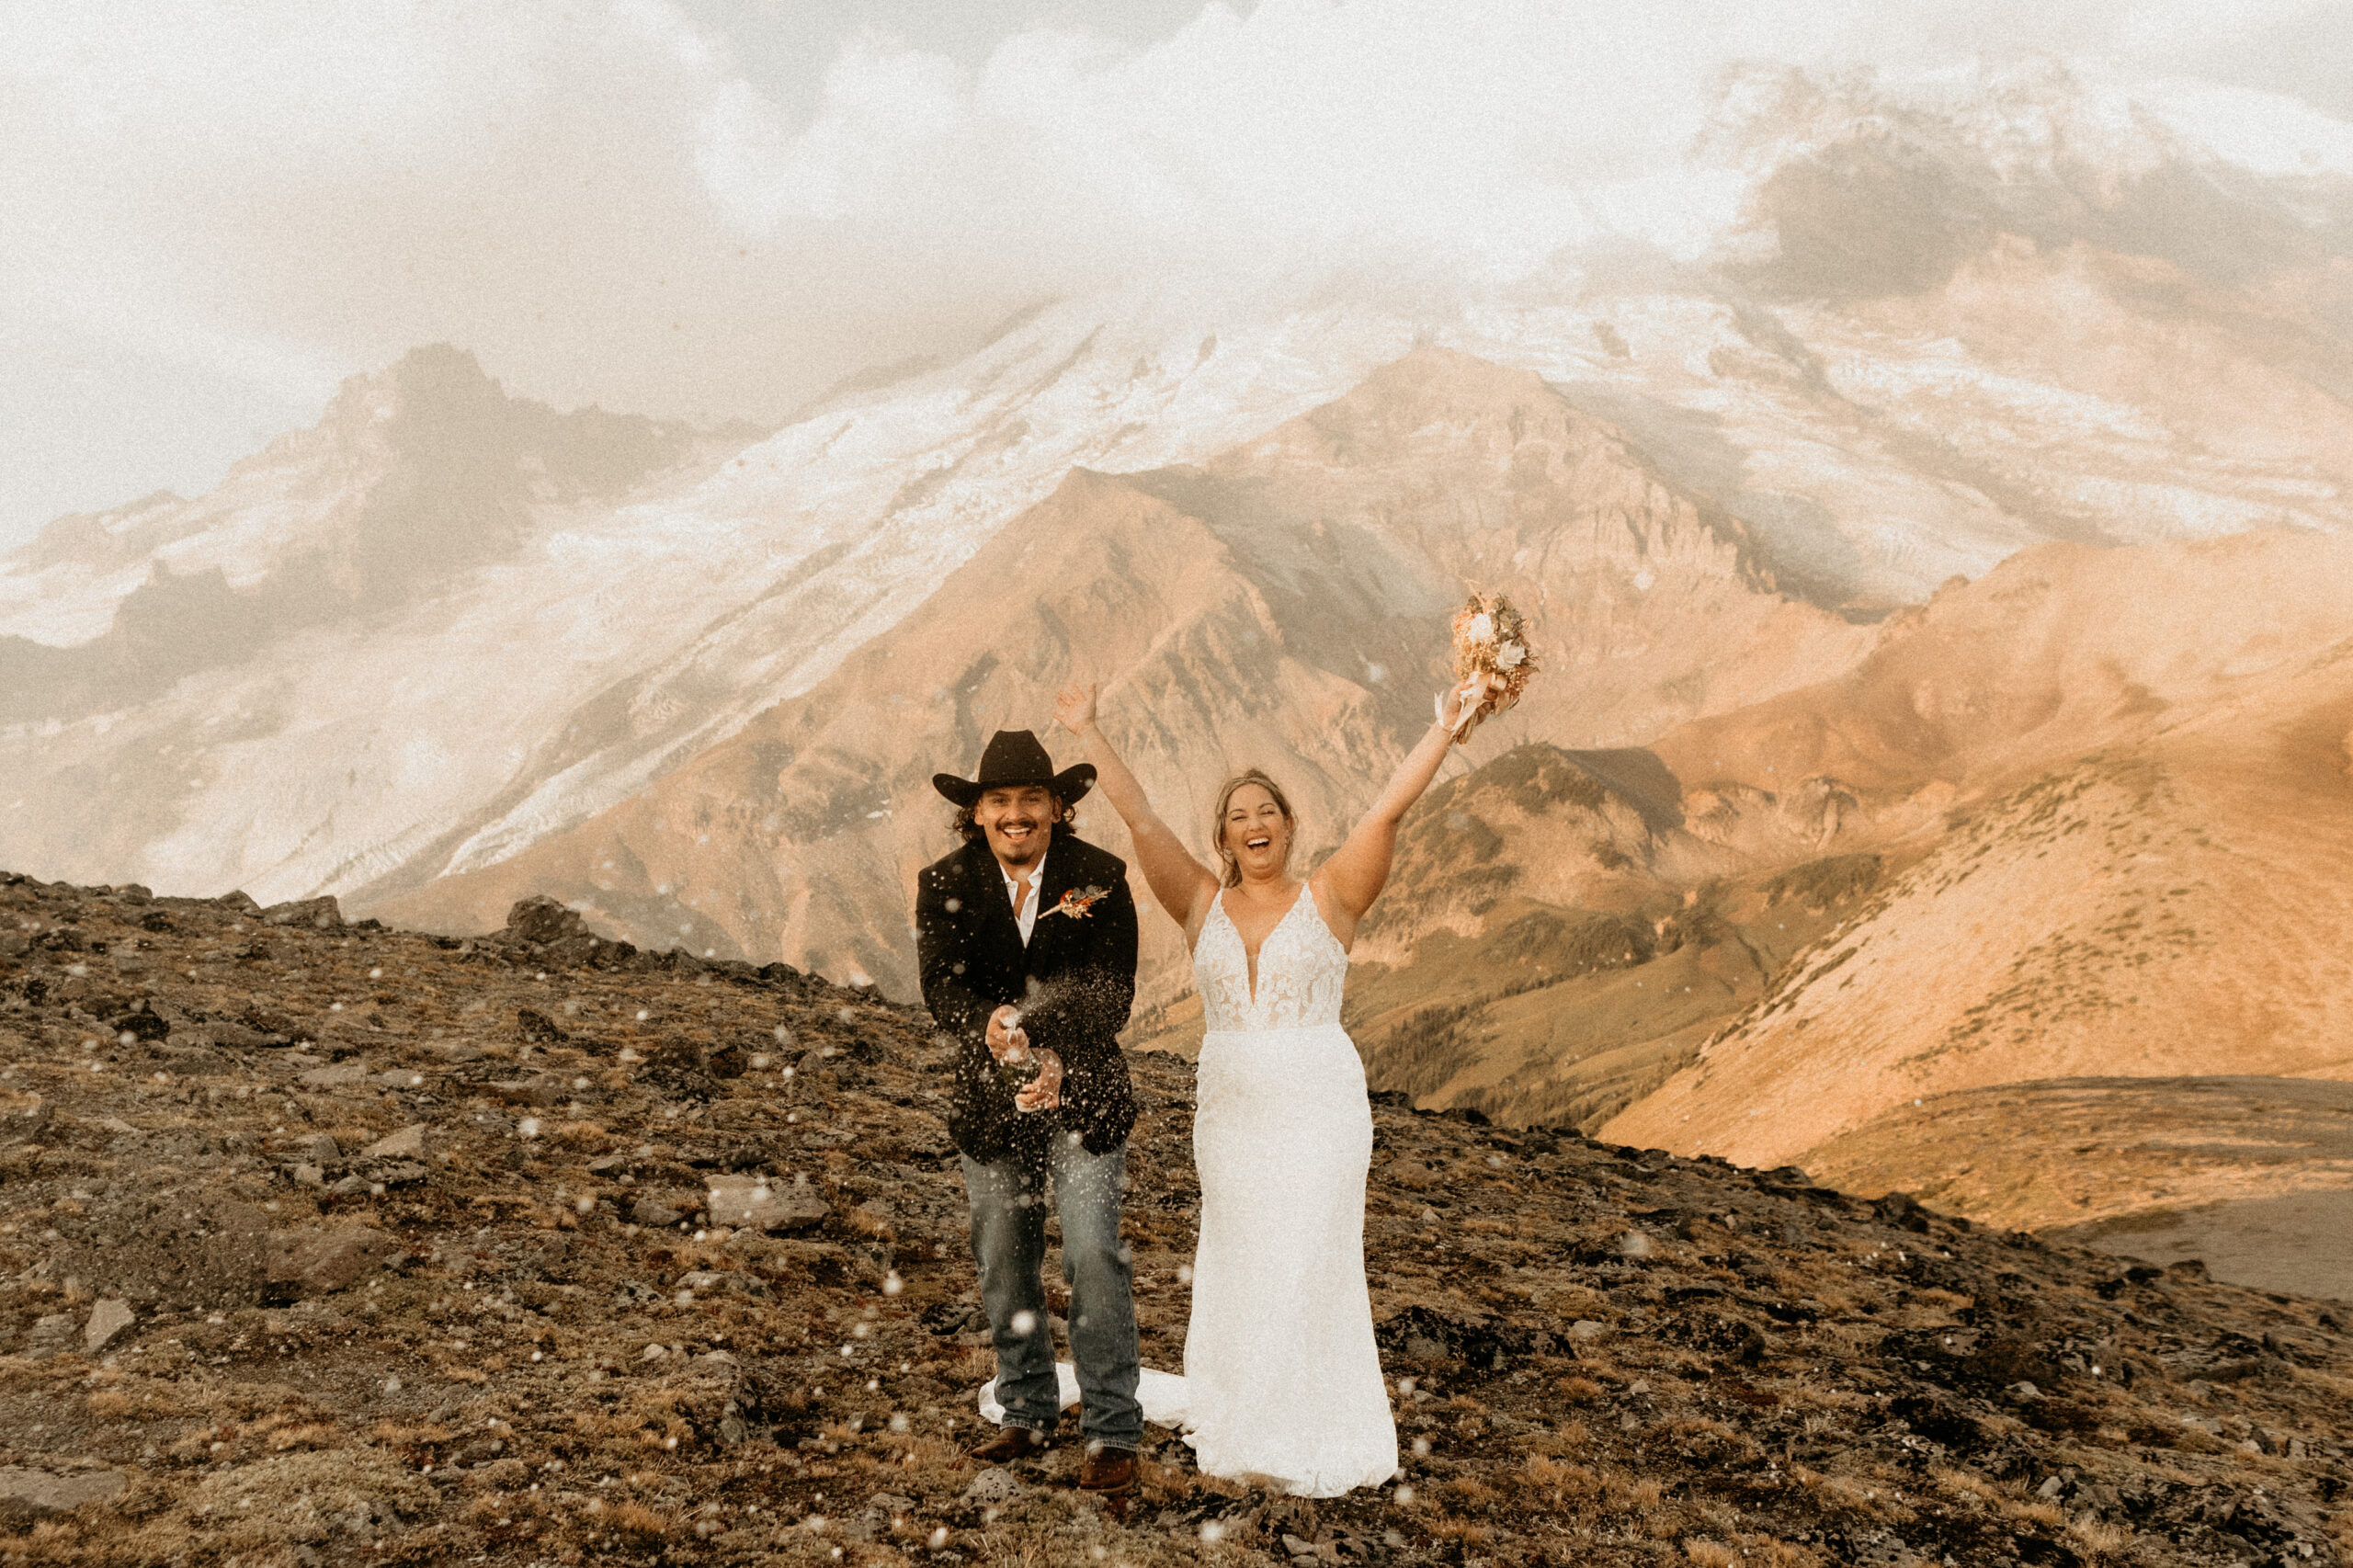
Natural light typically won’t affect your skin tones quite as much as artificial light will, but if we get a super beautiful sunset with the sun shining pink & orange tones onto your faces, you might have a bit of an extra, subtly-pink glow!
I mainly recommend thinking about skin tones when it comes to artificial light, such as light inside your getting ready room, wherever you’ll be eating dinner, and where you’ll be having your reception (whether it’s completely indoors, or outdoors with artificial light).
Colors
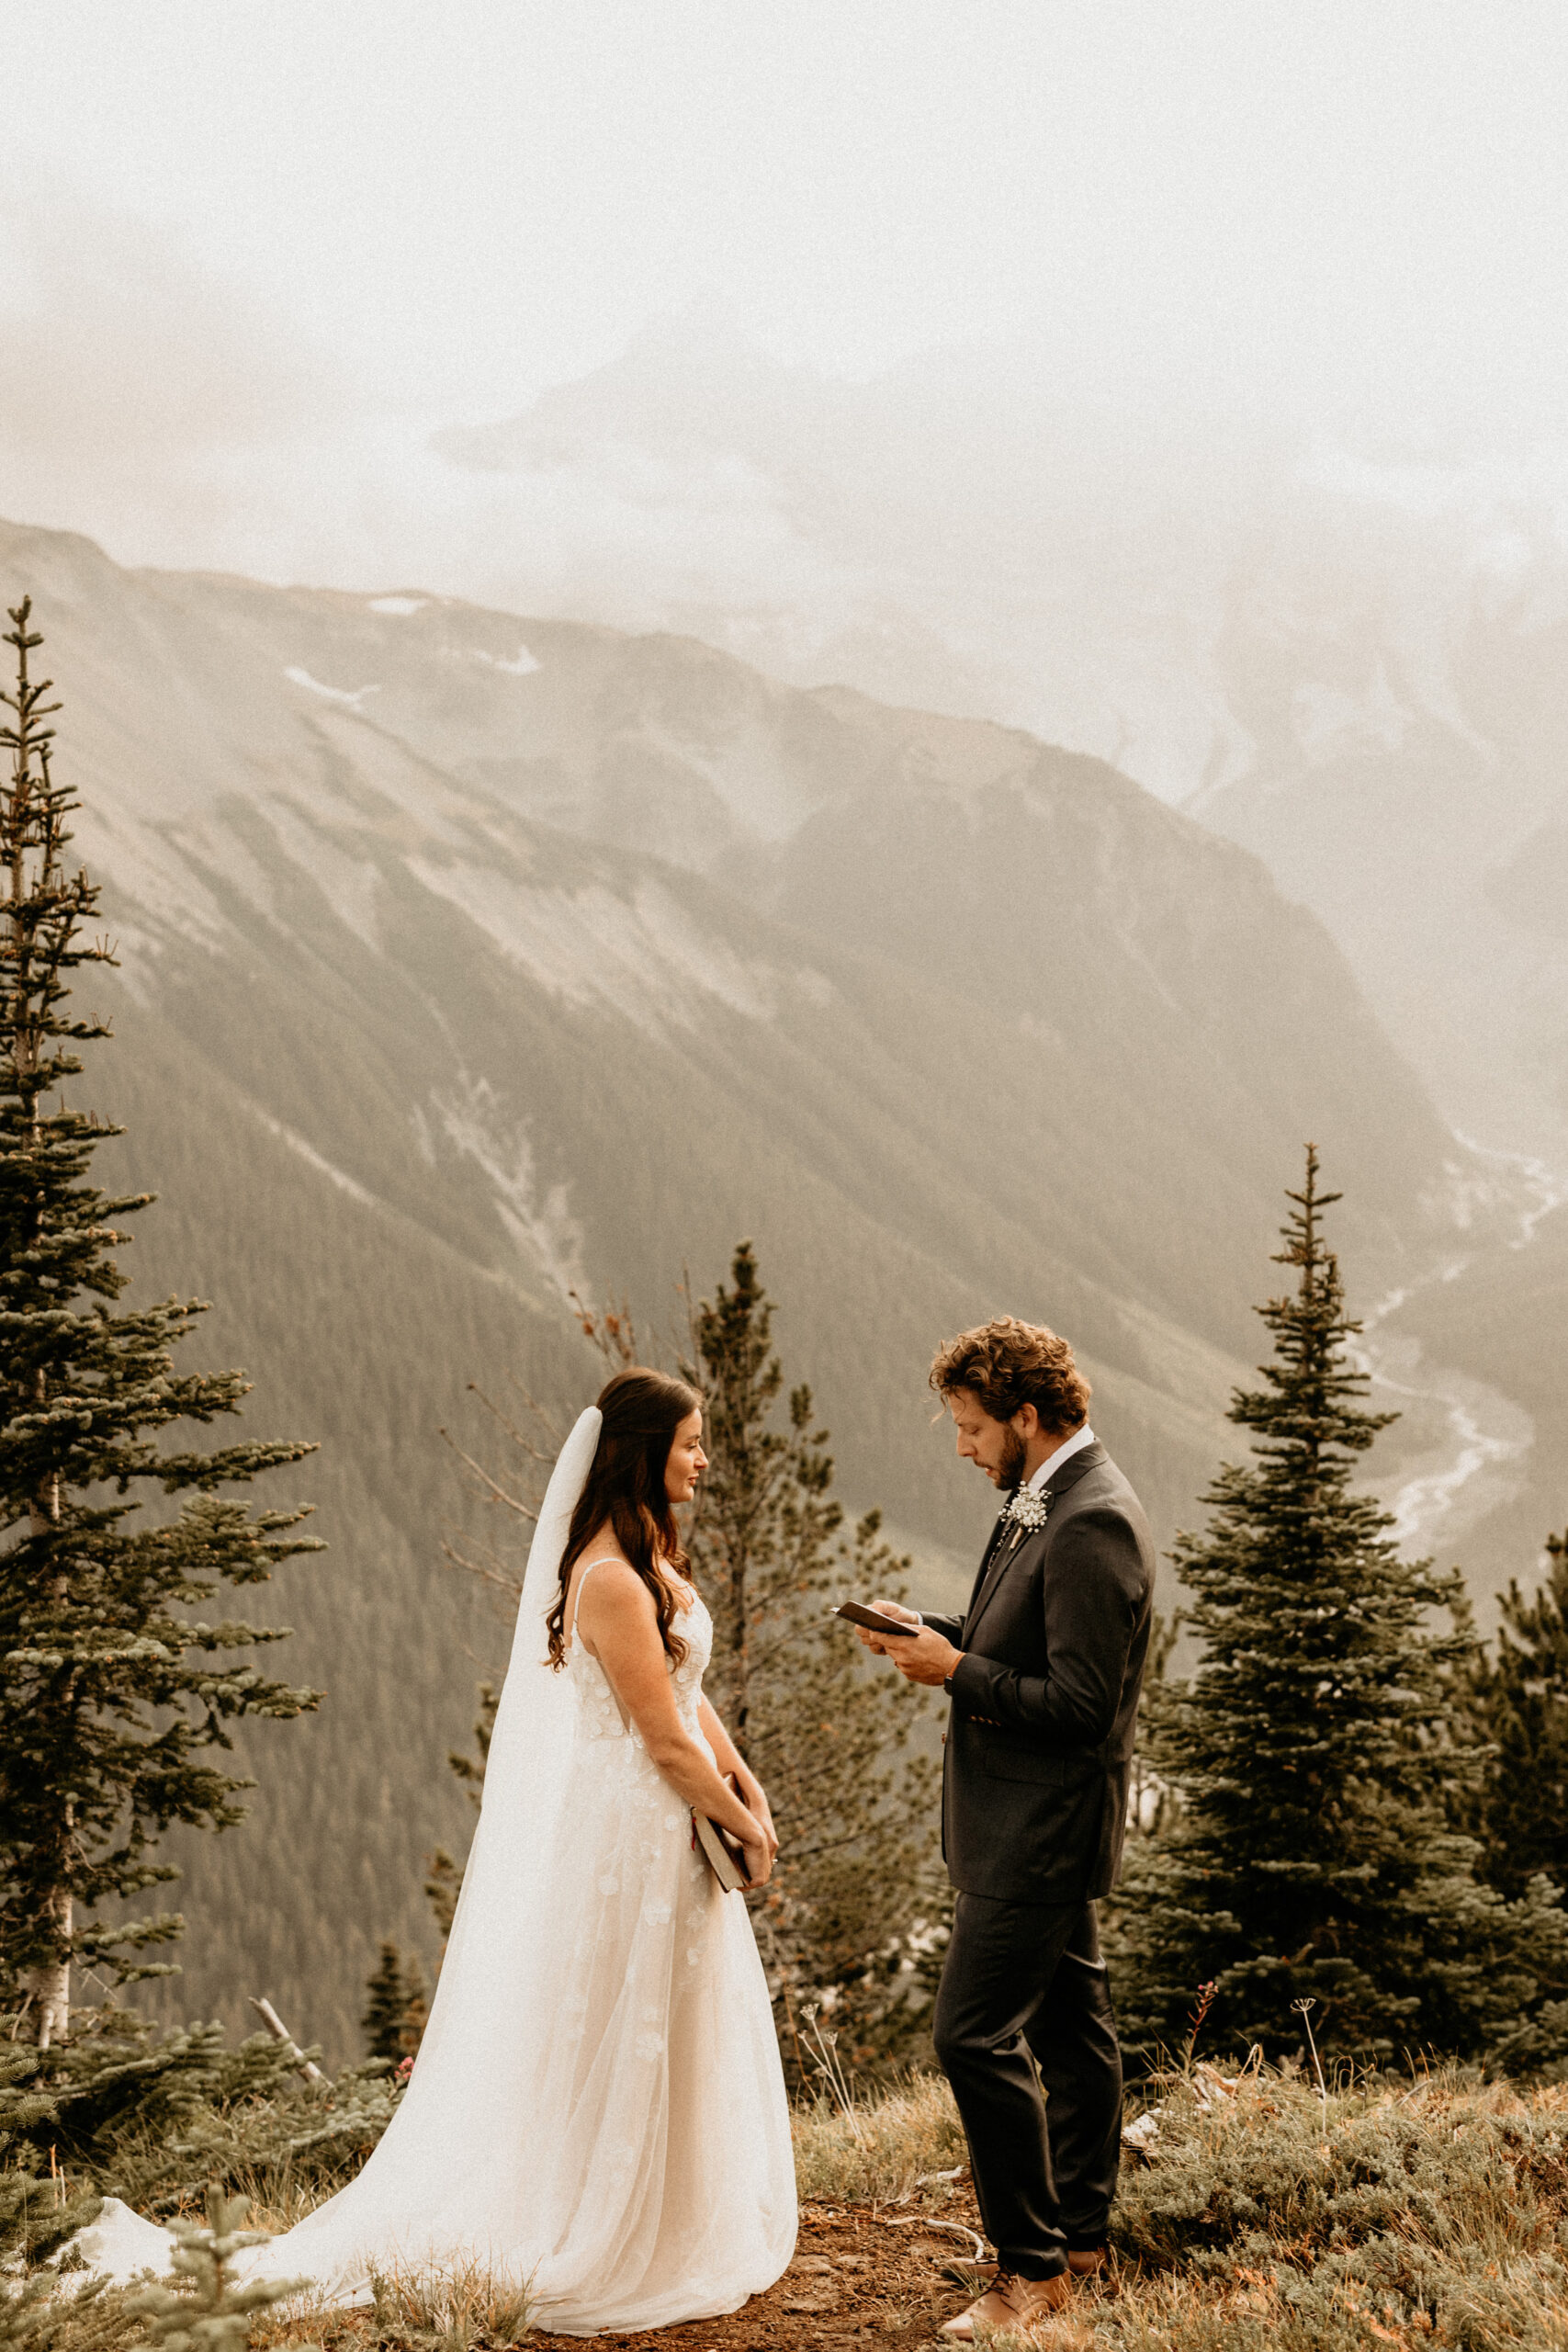
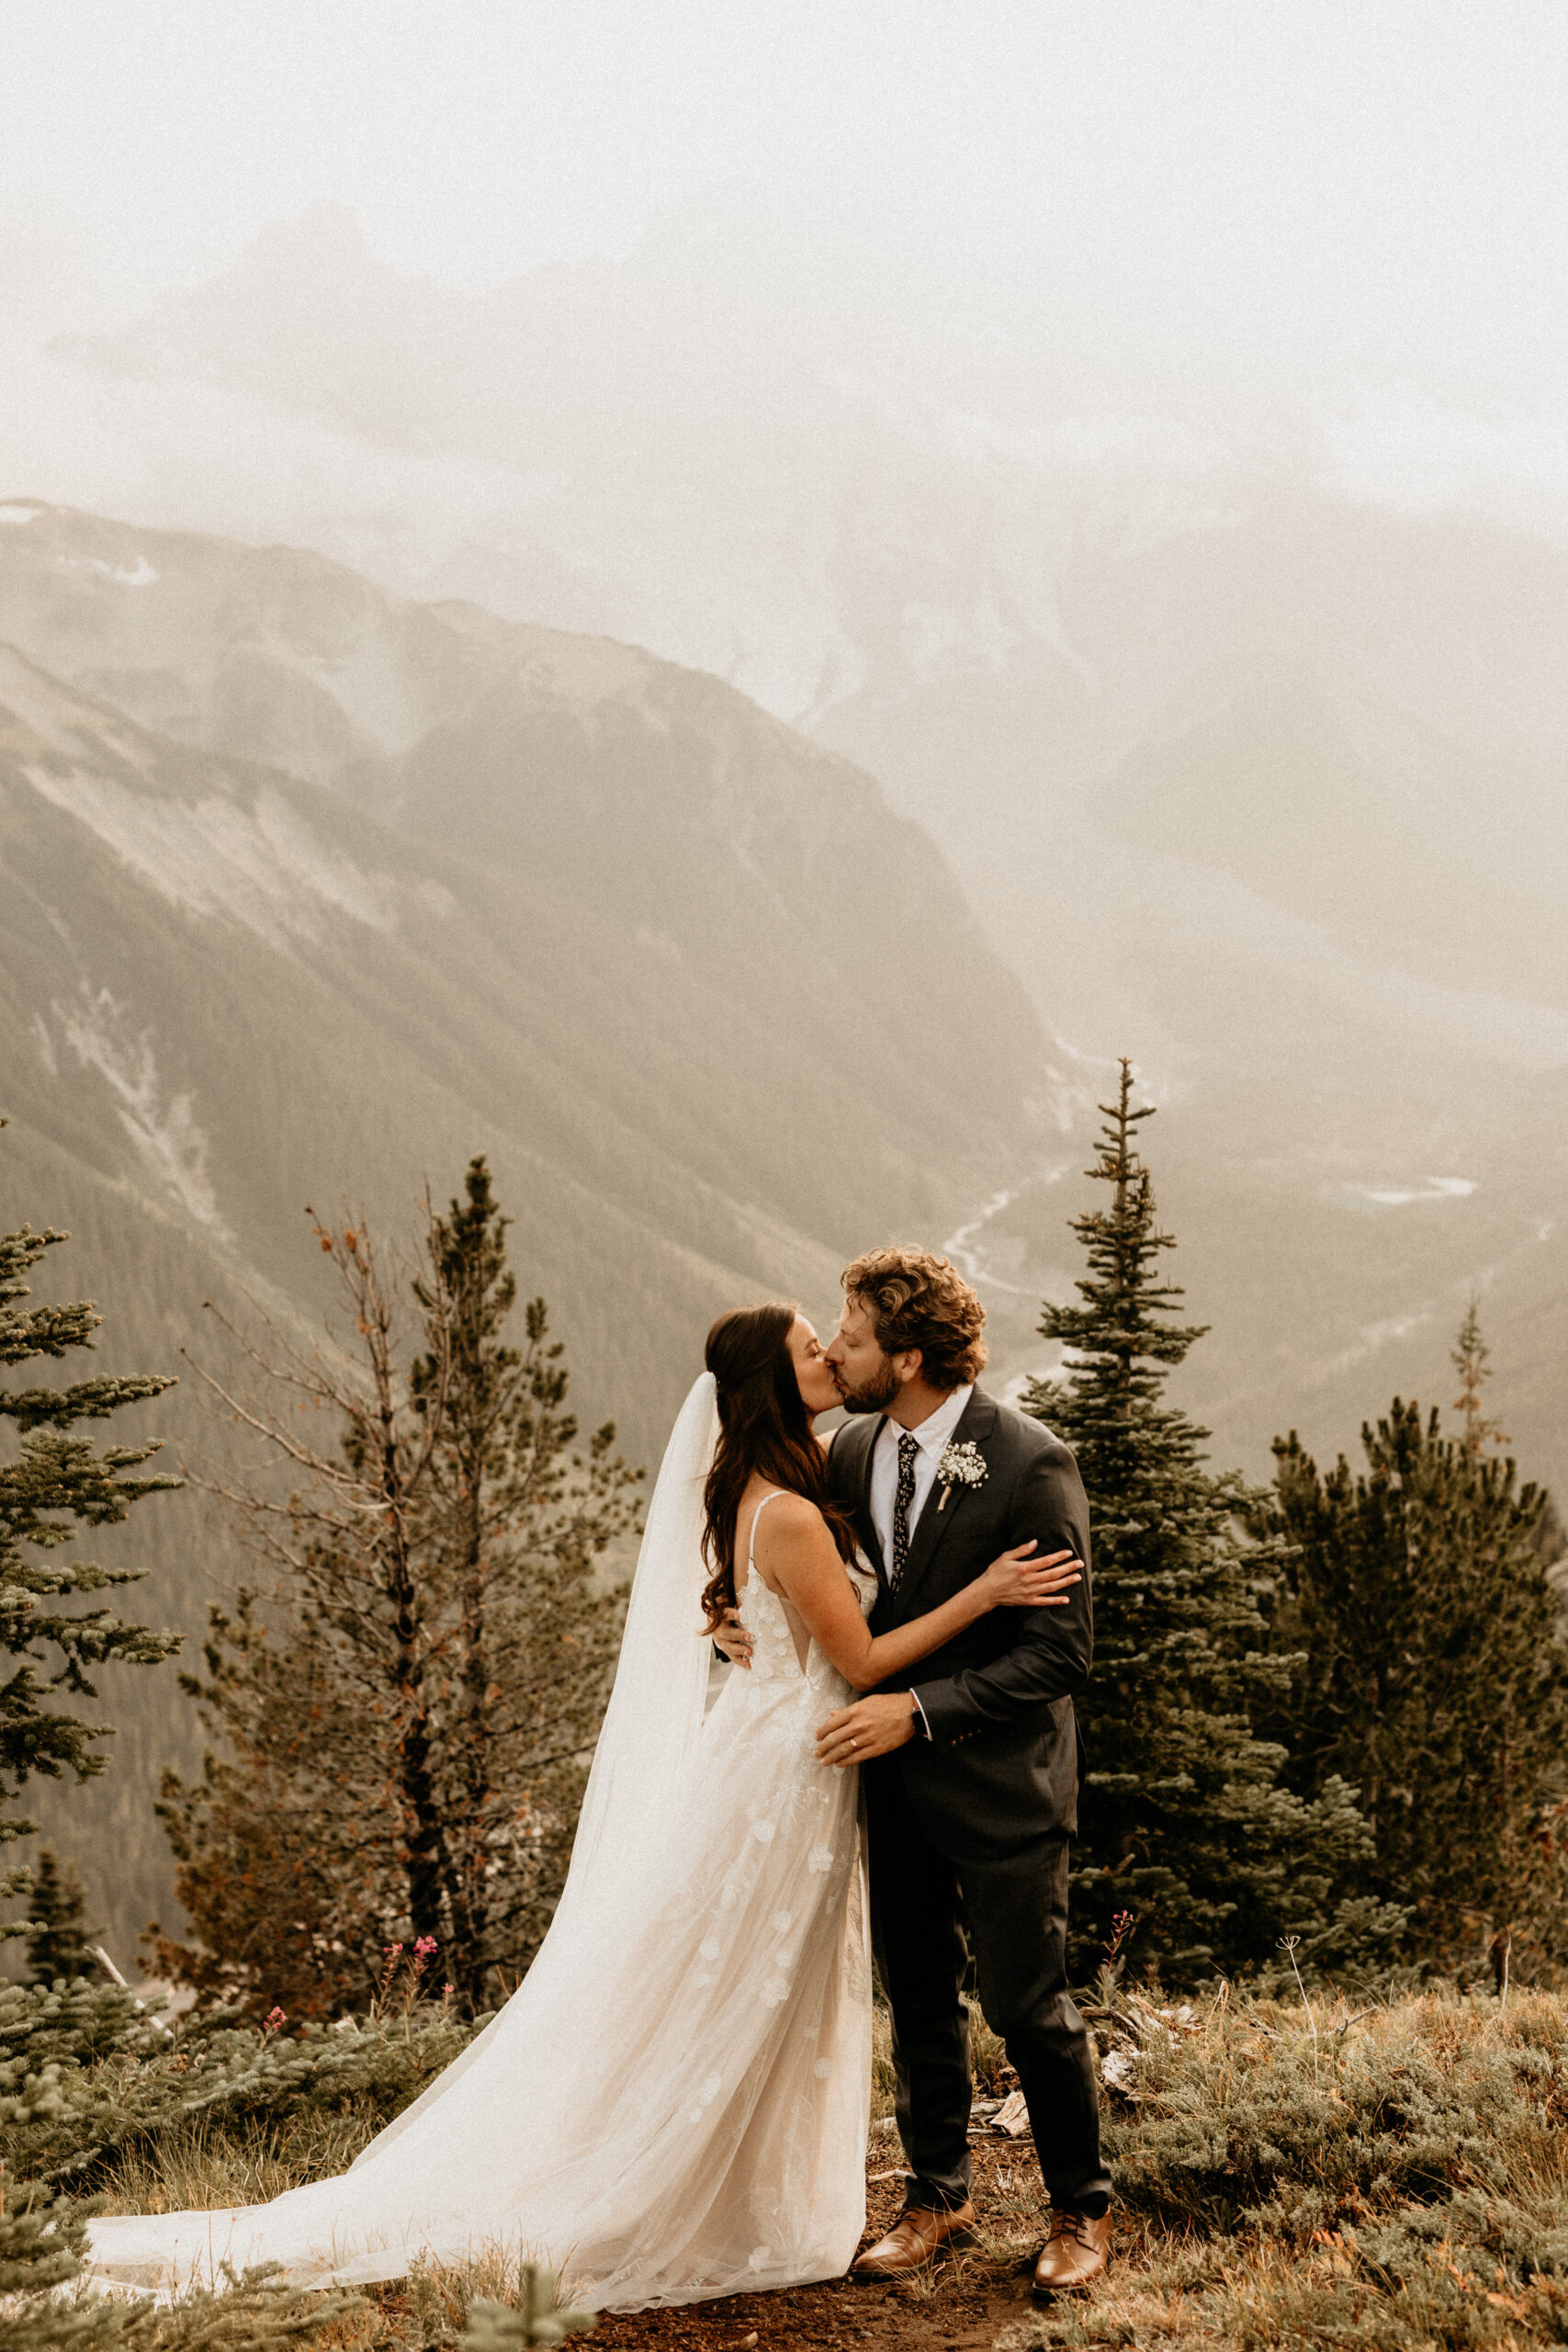
Just as lighting can affect your skin tones, it can also affect the way certain colors look in your photos! Brighter colors will look brighter under sunlight, and darker colors will look darker under overcast skies or darker artificial light – it’s pretty simple. However, the light can also affect the shade/tint that certain colors appear, in addition to how light/dark they look; for example, if you’re wearing a navy blue suit, your suit might look more black than blue if it’s really overcast out, or if you’re in the middle of a dark forest. If your wedding party is wearing peach-colored outfits during golden hour, the setting sun might cast a more yellow tint on the peach.. So just keep in mind that the color of your outfits & decor may appear slightly differently throughout the day and under different types of lighting!
What is the Best Time of Day for an Adventure Elopement Ceremony?
Now that you know why lighting plays such a huge role in your elopement, let’s talk about when the best time of day is for an adventure elopement ceremony!! To do this, I’m going to give you a mini lesson on every type of natural light you might encounter on your elopement day, from dusk allllll the way till dawn (*cue the Zayn song*).
There’s not really one “best” time of day for an adventure elopement ceremony, it’s pretty much up to you and what you want the vibes to be like + what other activities/events you have schedule in your timeline. So hopefully these explanations will help you understand what the lighting looks like at different types of day outdoors, as well as how weather affects lighting, so you can pick the best time for your unique day!
Real quick – here’s a basic order of what lighting looks like throughout the day, from morning to night:
Dawn (Morning Twilight) → Blue Hour → Sunrise → Golden Hour → Daylight → Golden Hour → Sunset → Blue Hour → Dusk (Evening Twilight)
Dawn
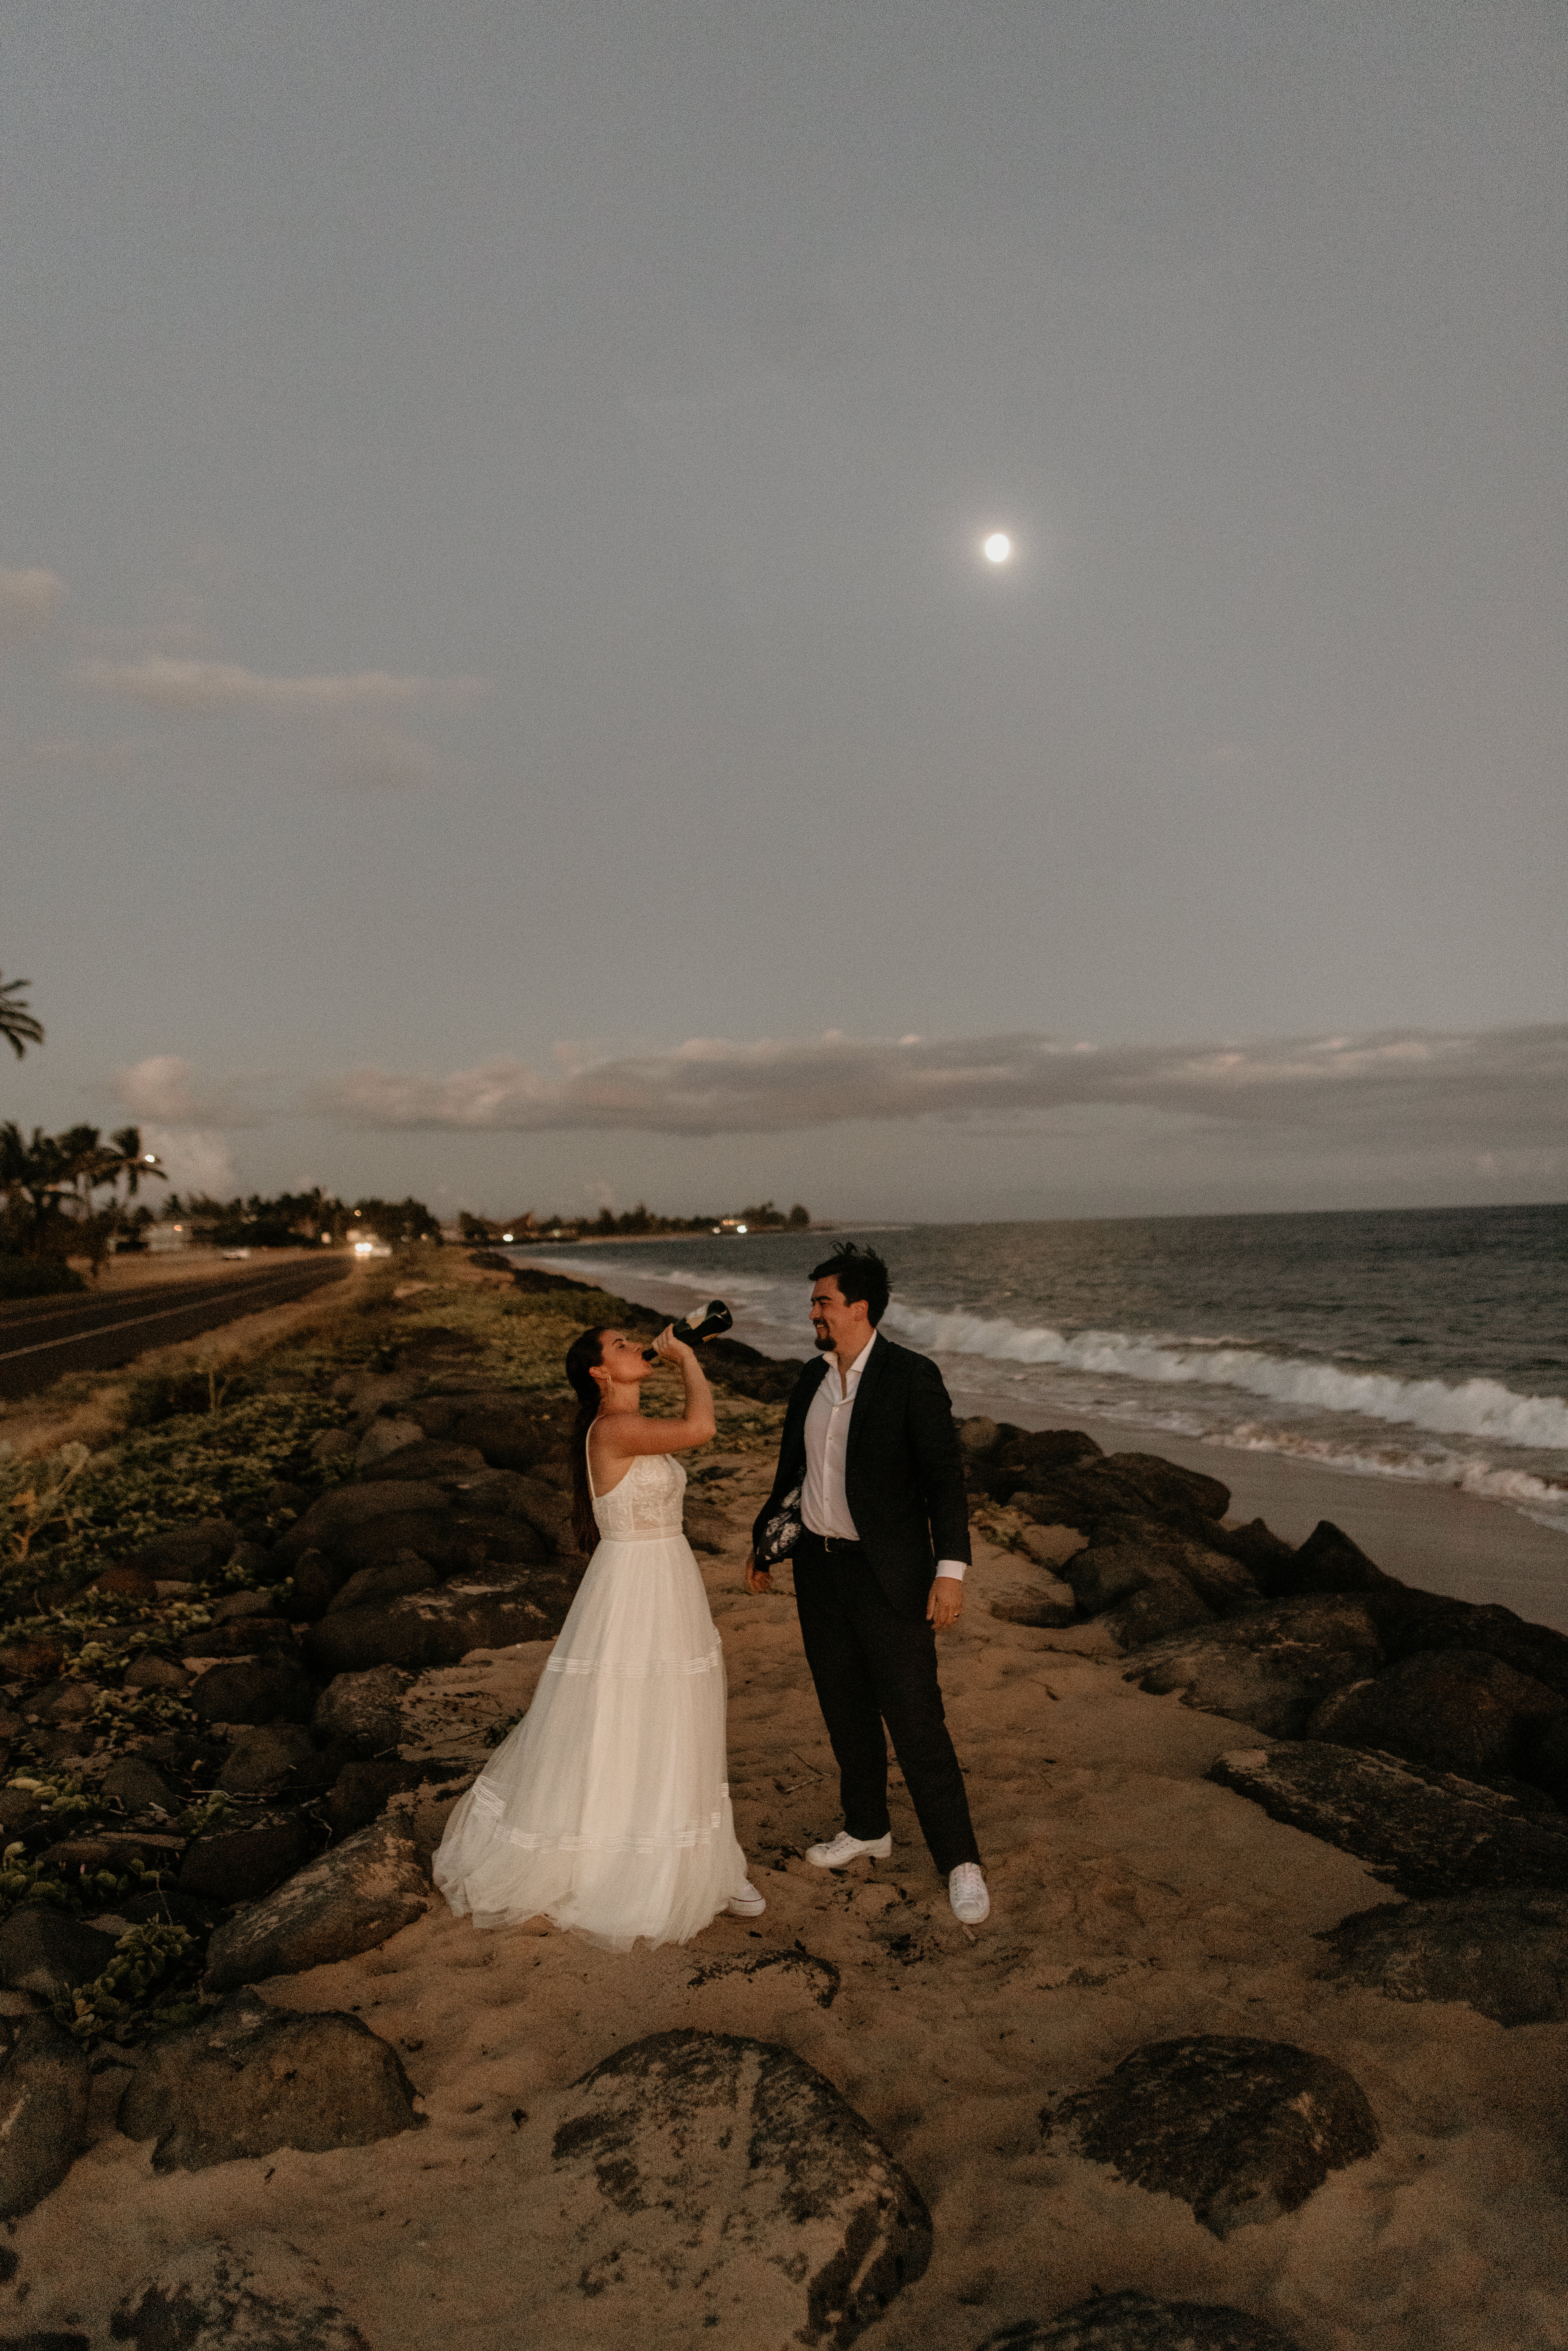
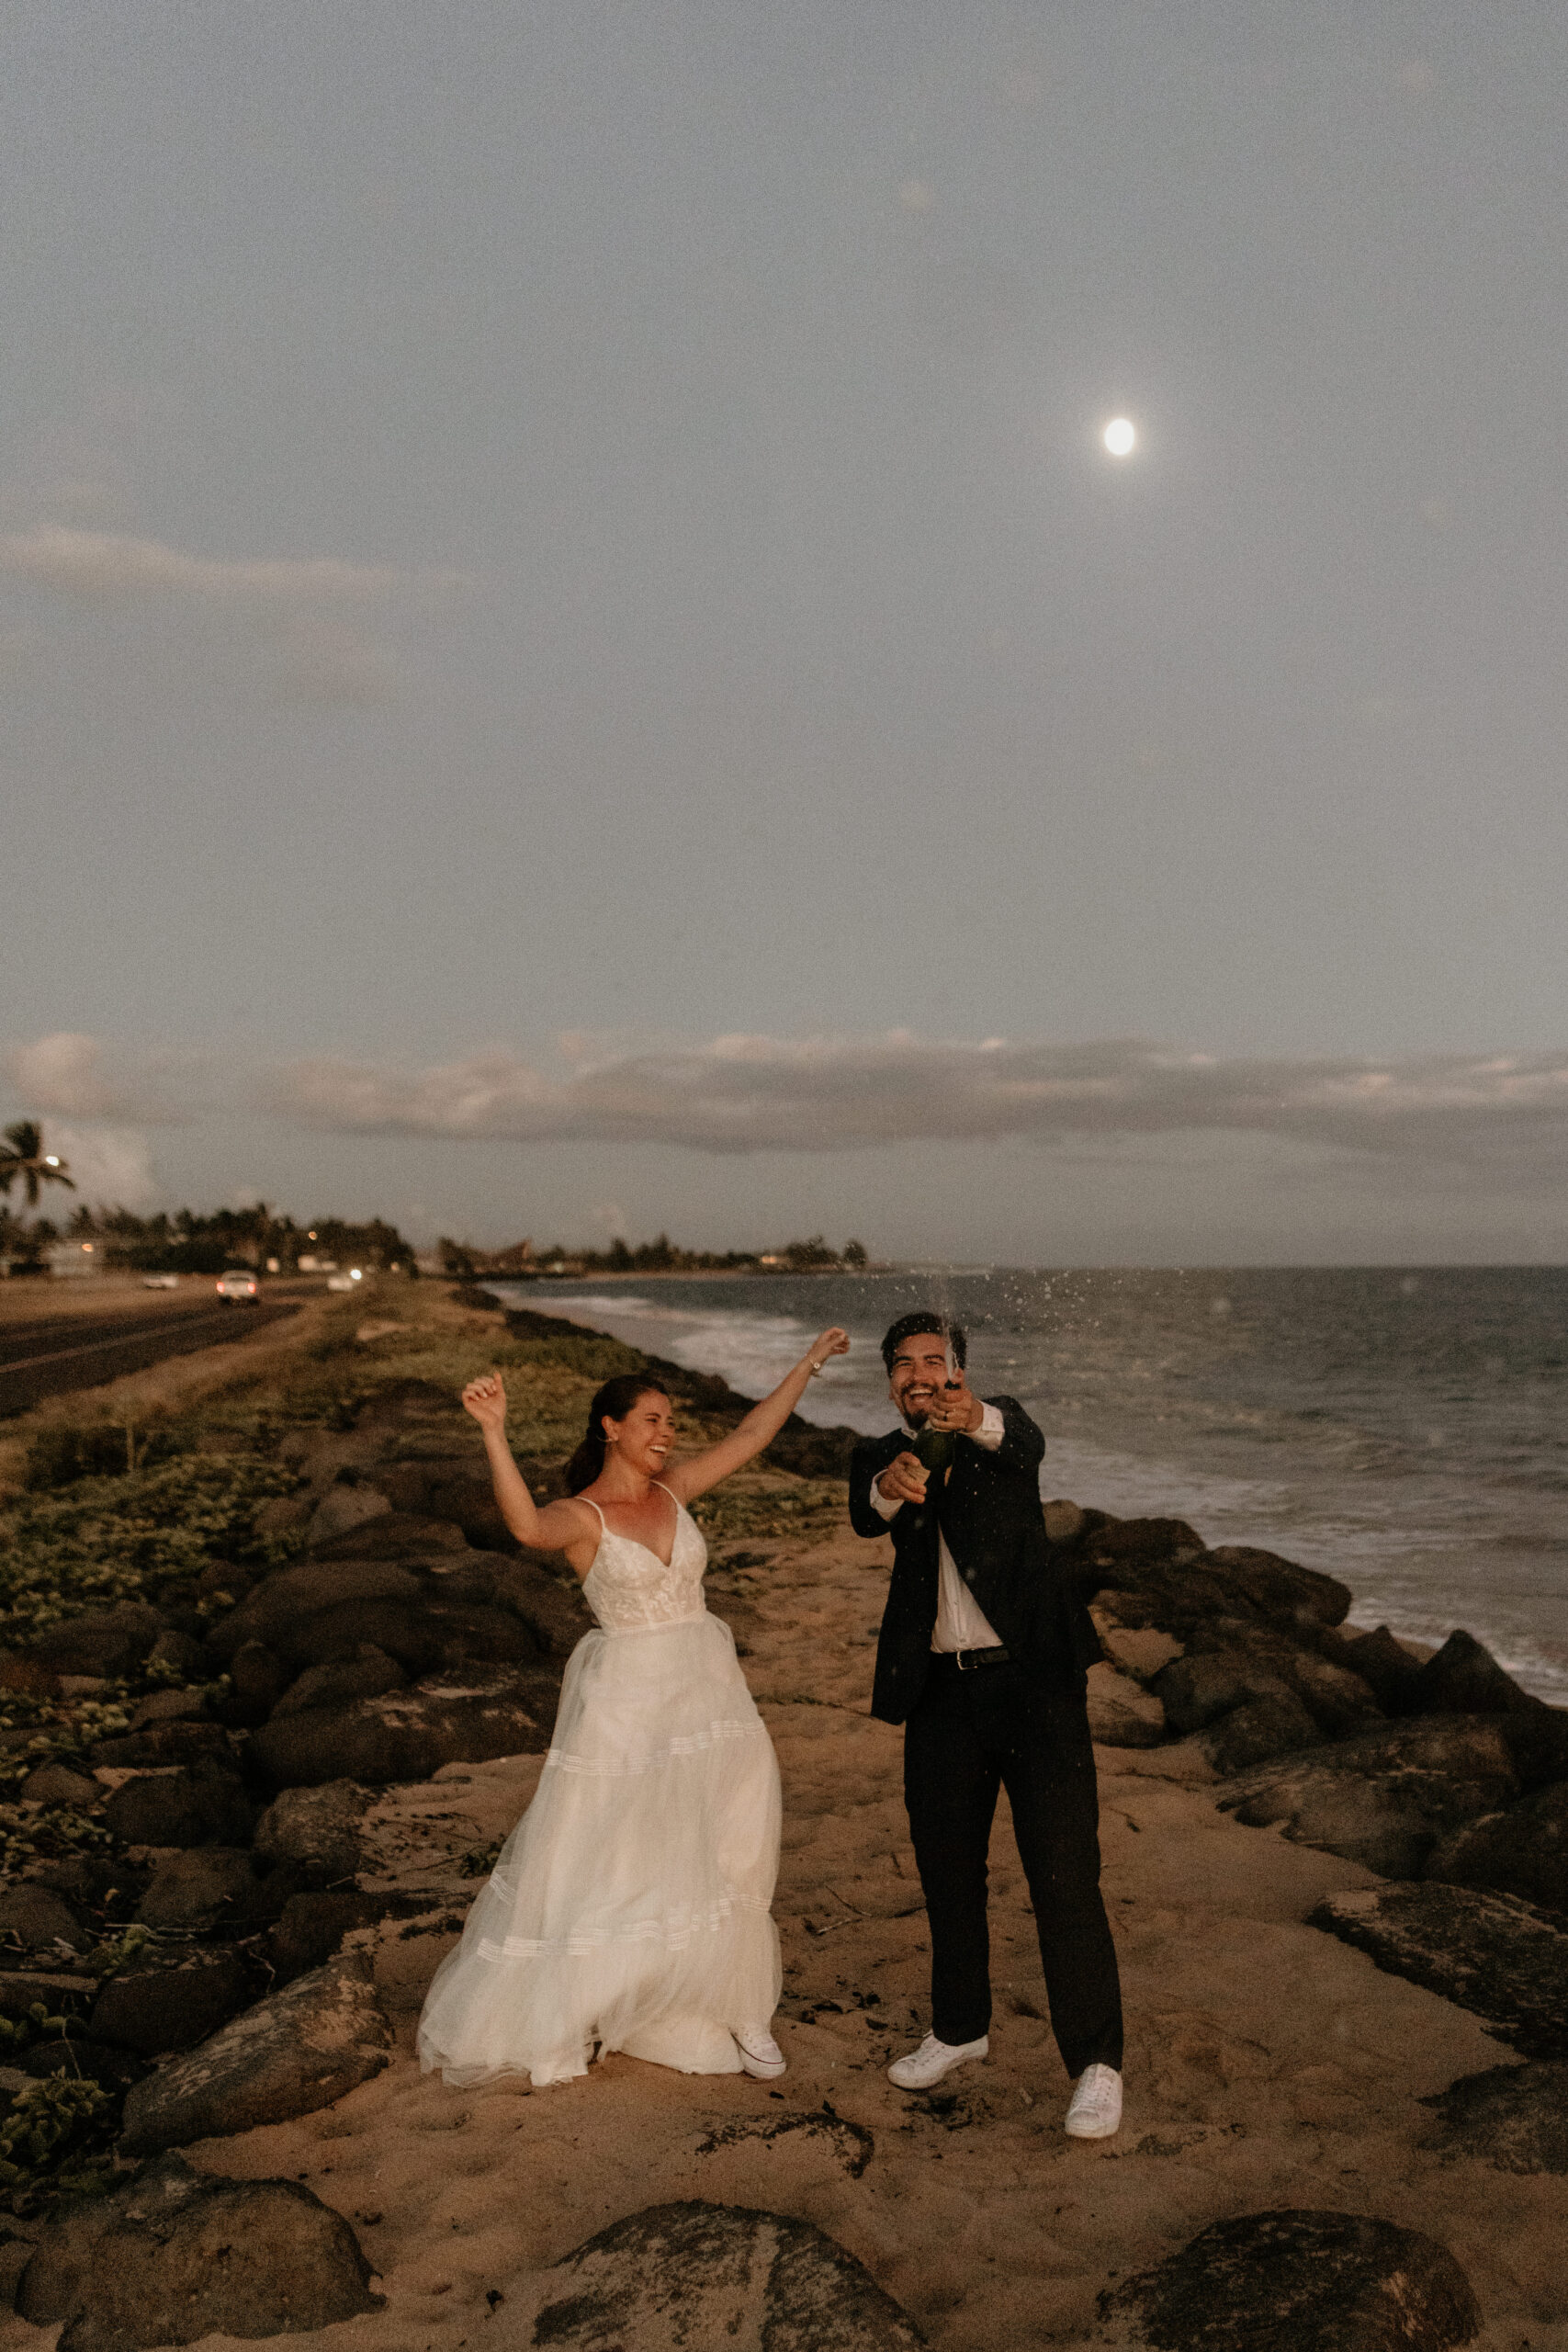
First up is dawn, a.k.a. the start of morning twilight! This is basically when the light first starts to appear in the sky for the day below the horizon, hence why we use phrases like “up before dawn” or “the dawn of a new day.” It’s just the start of the day in terms of light! At this time of day it’s still pretty dang dark out, so it’s not like the sun is lighting up the sky yet – if we’re taking photos at dawn, we’ll either use light from the moon, stars, and/or an artificial flash.
Morning blue hour
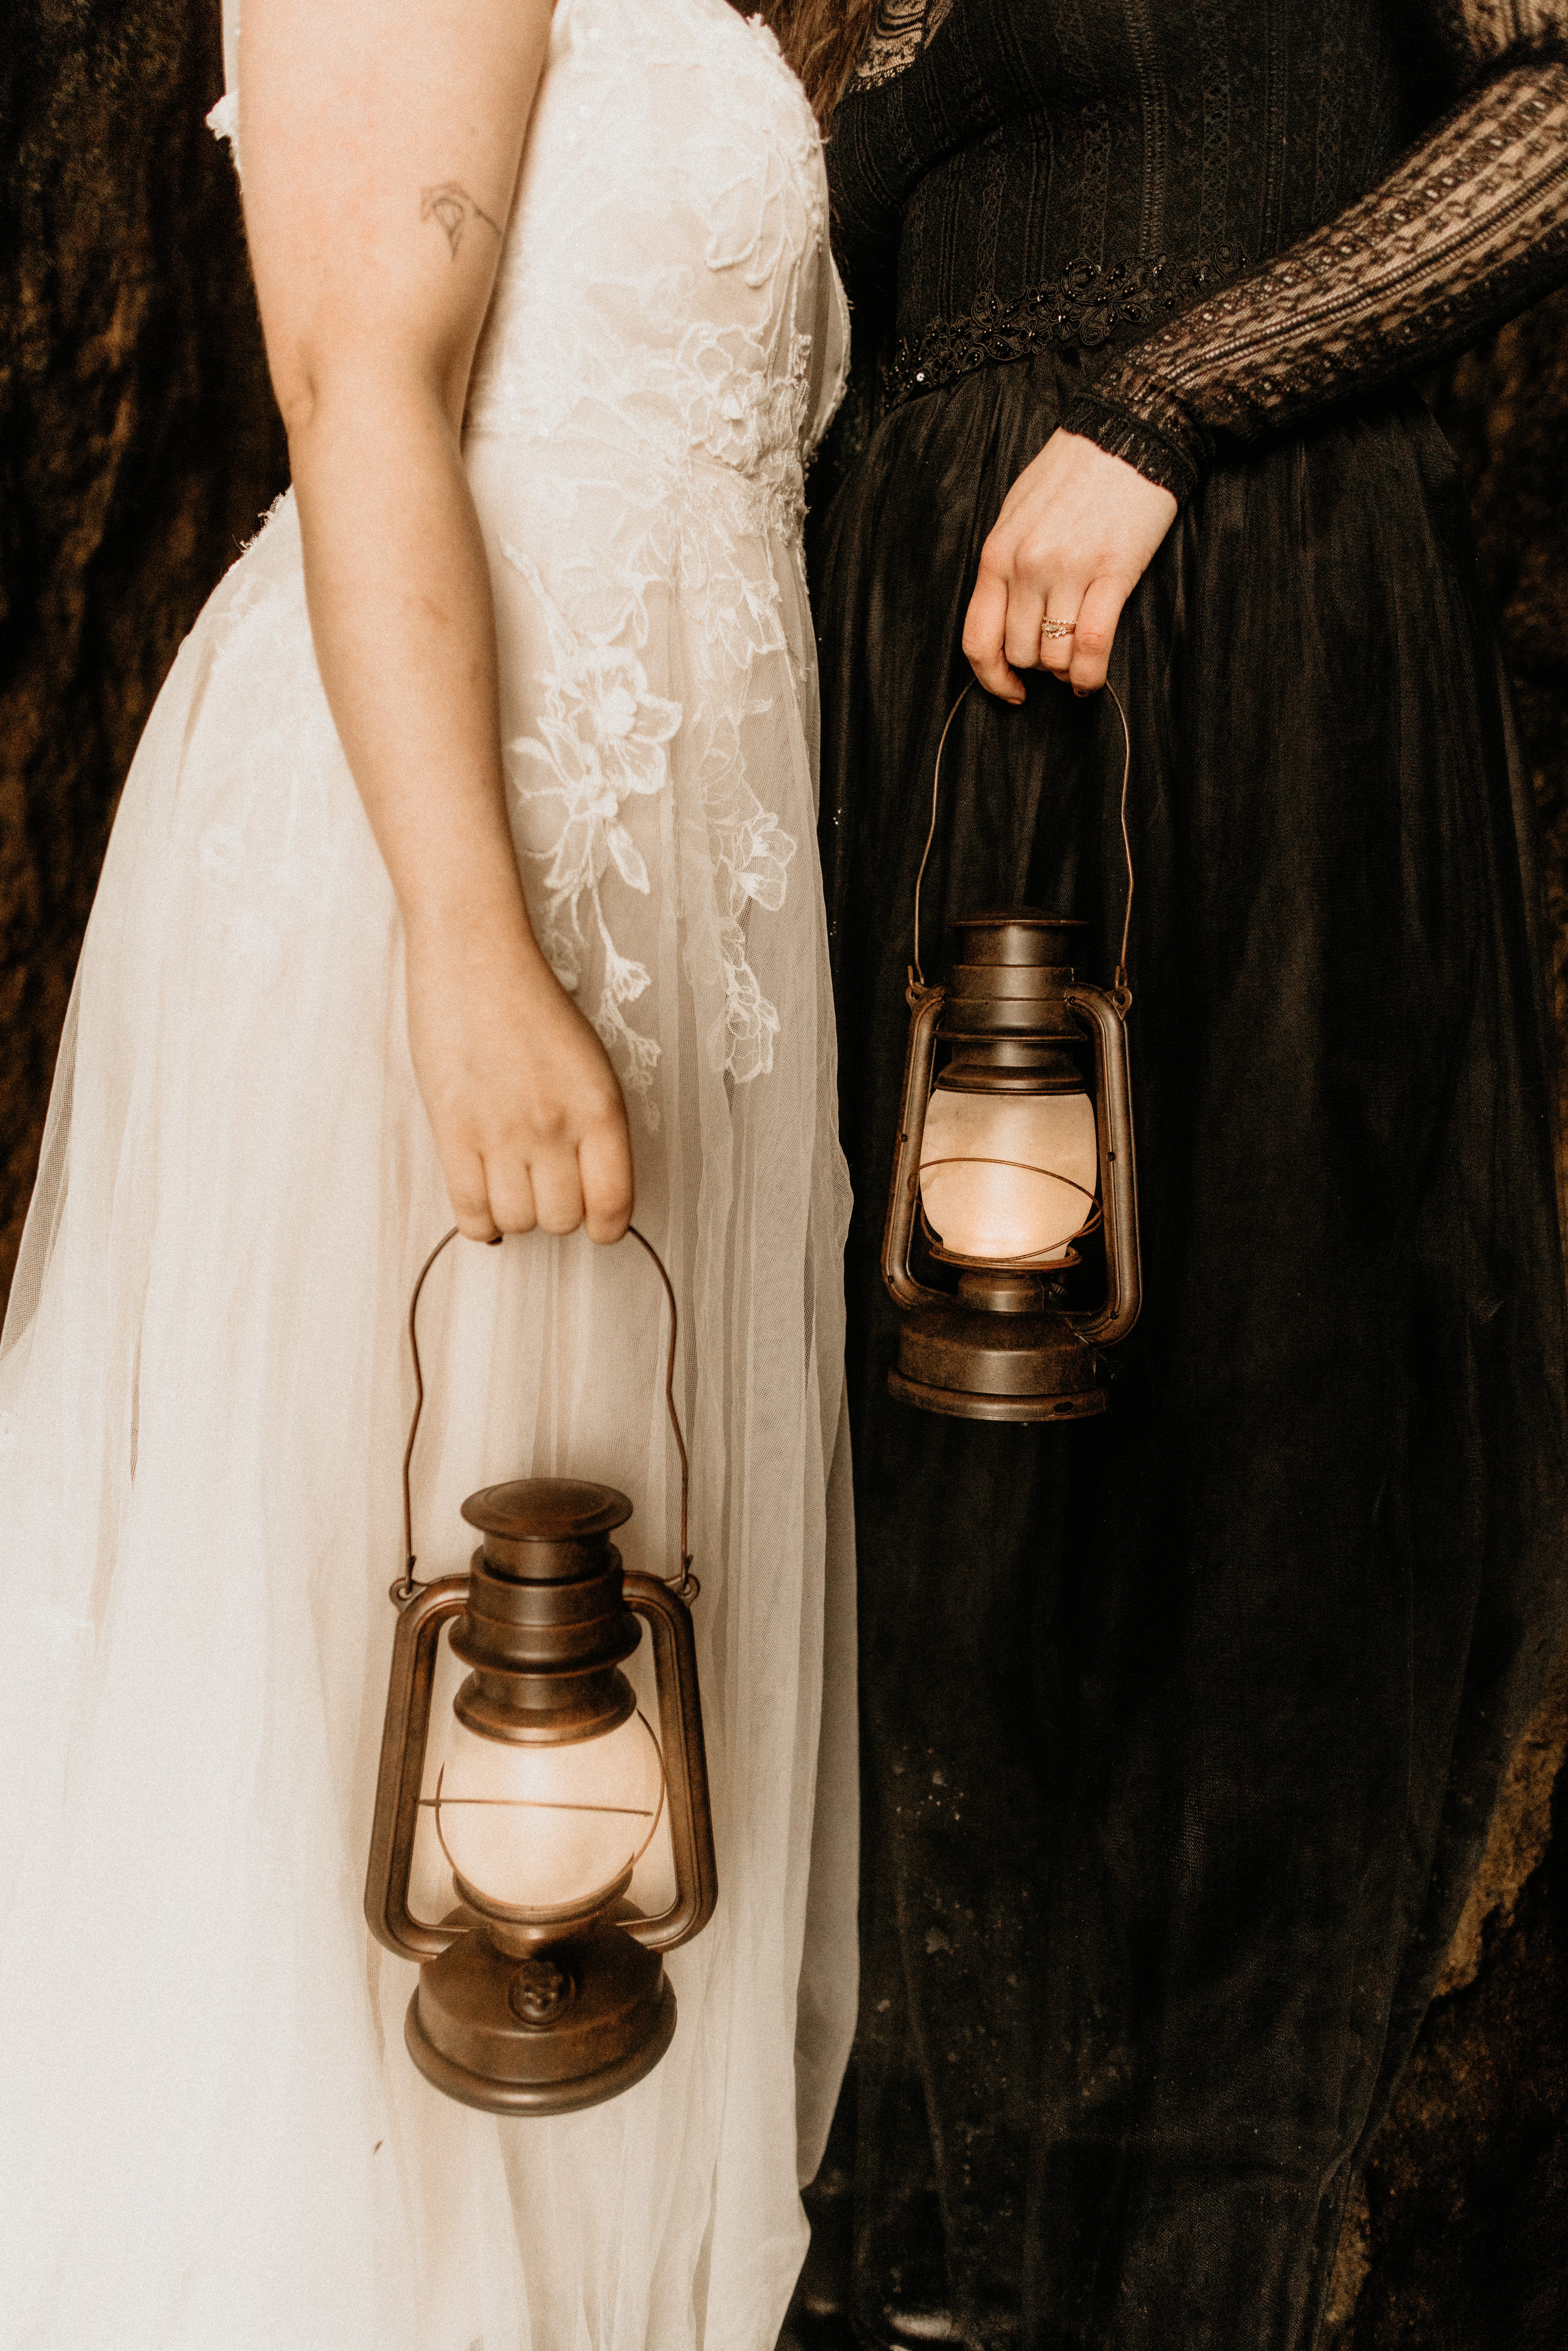
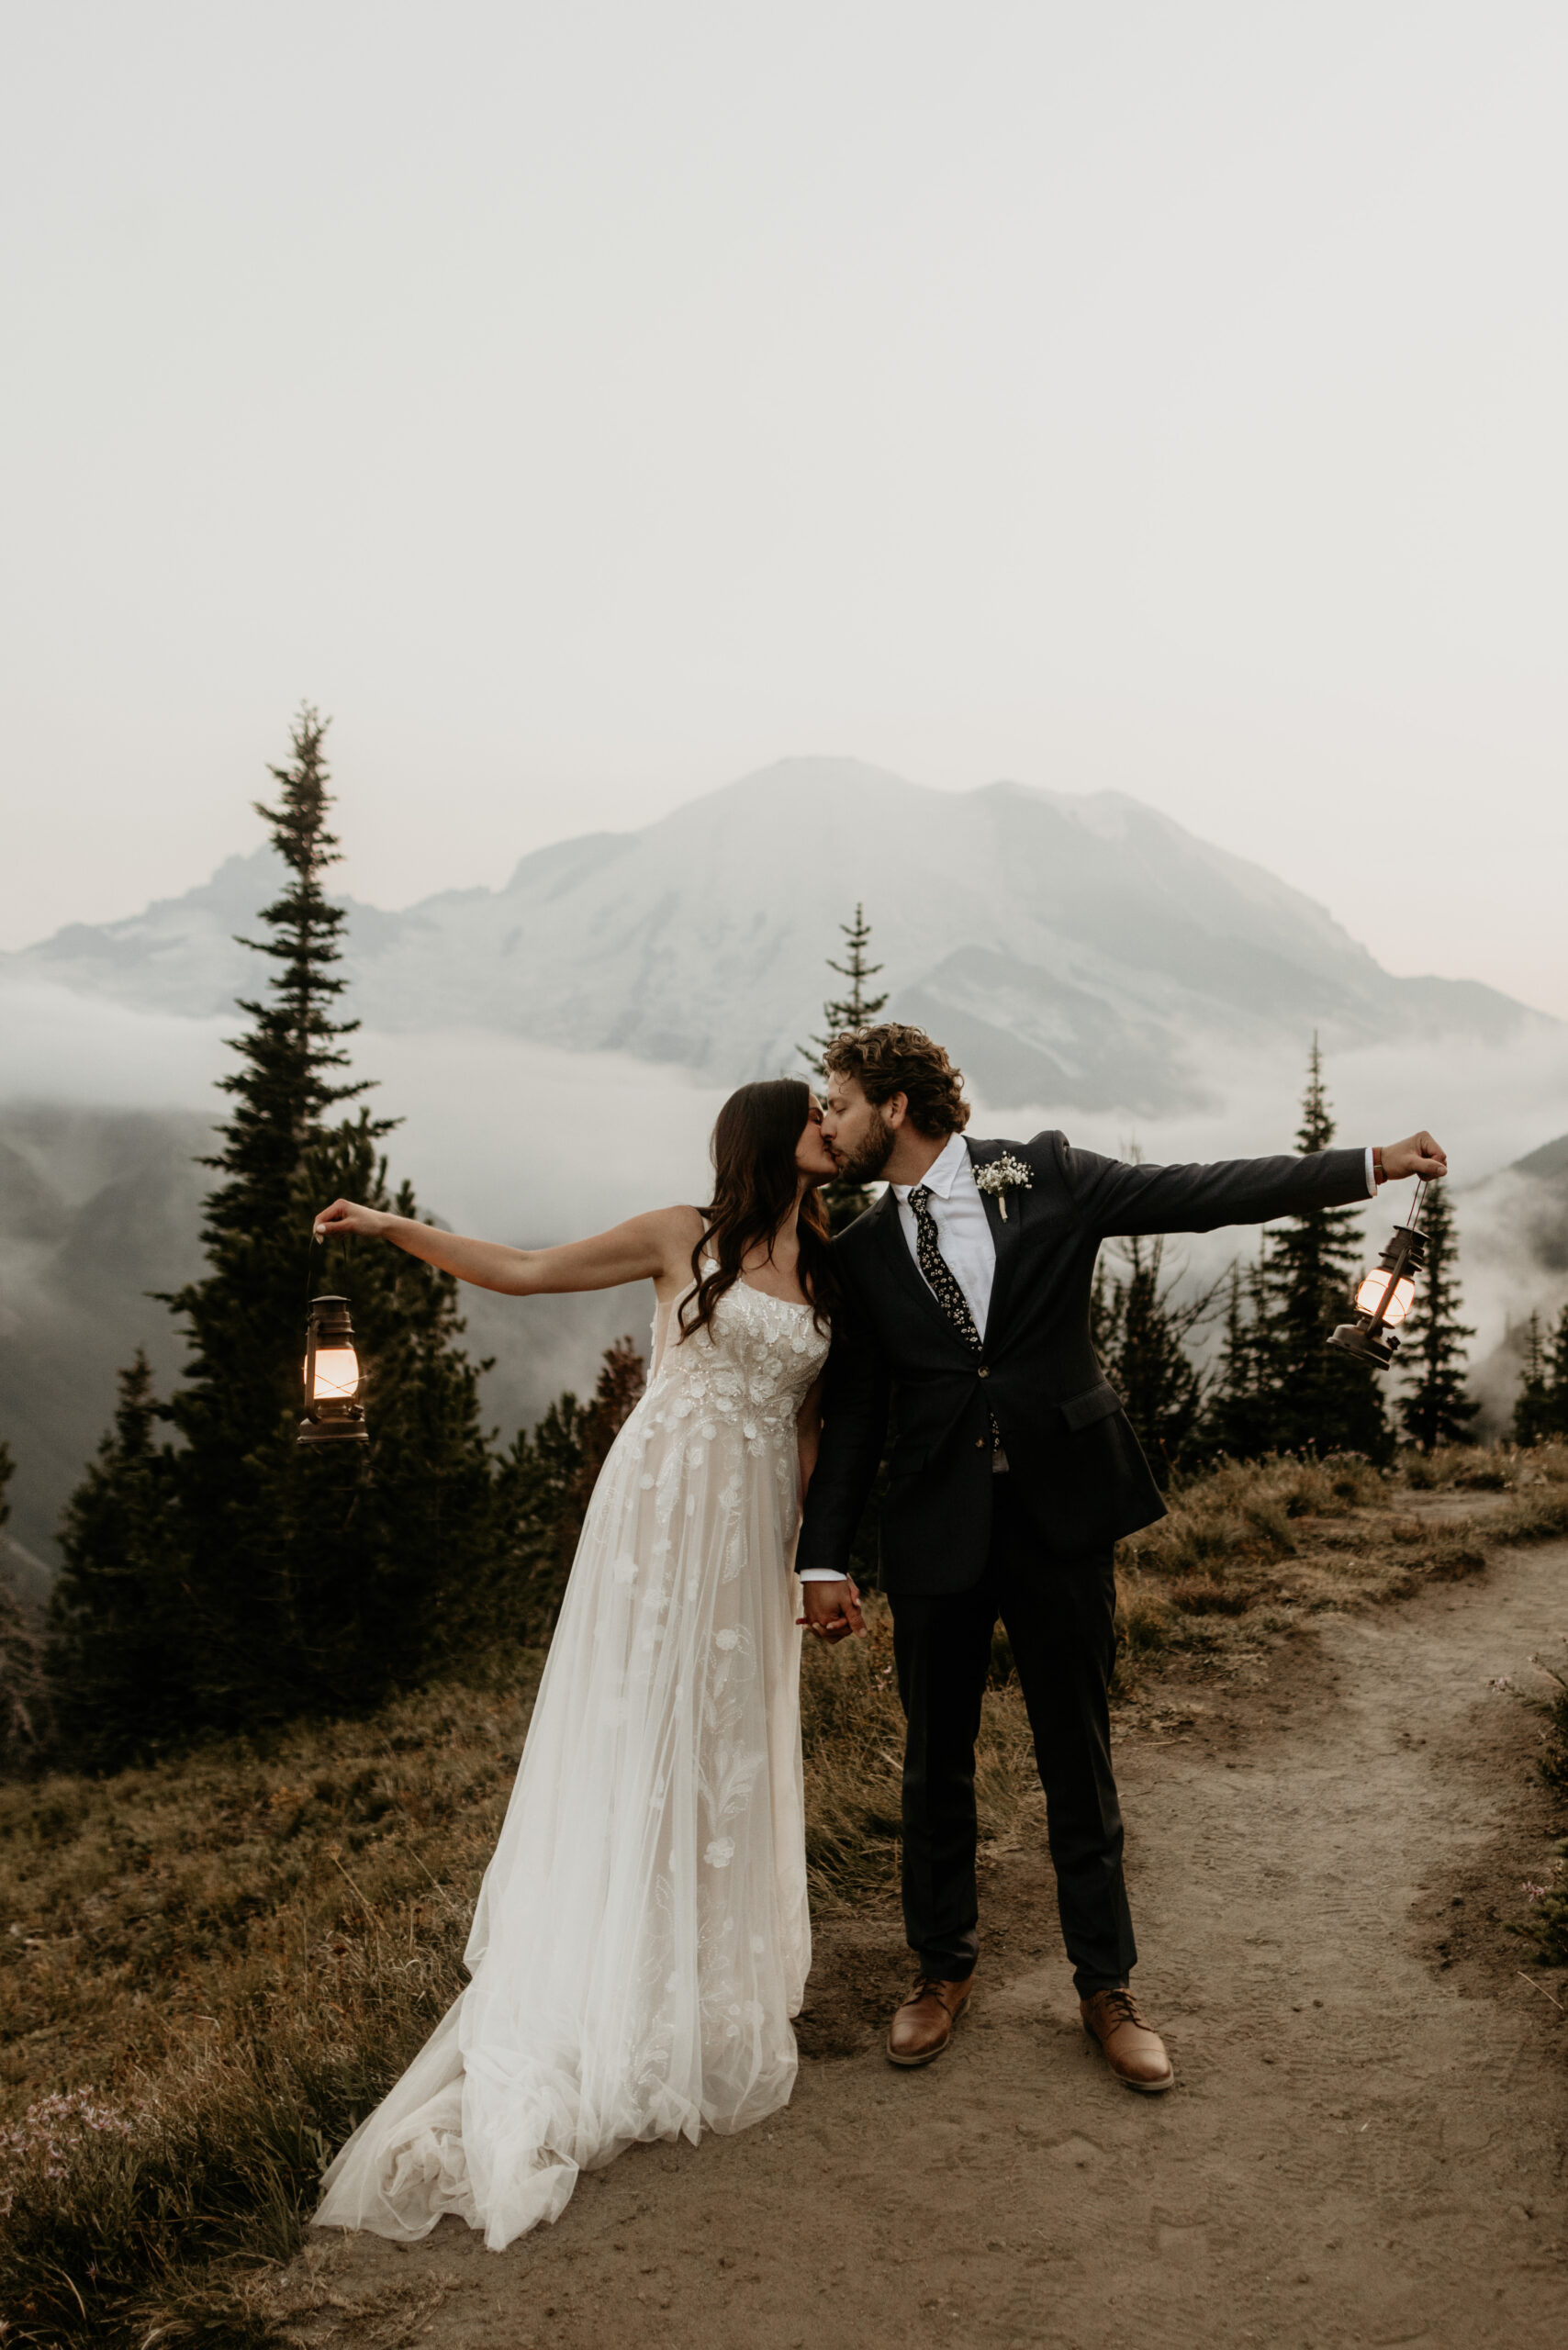
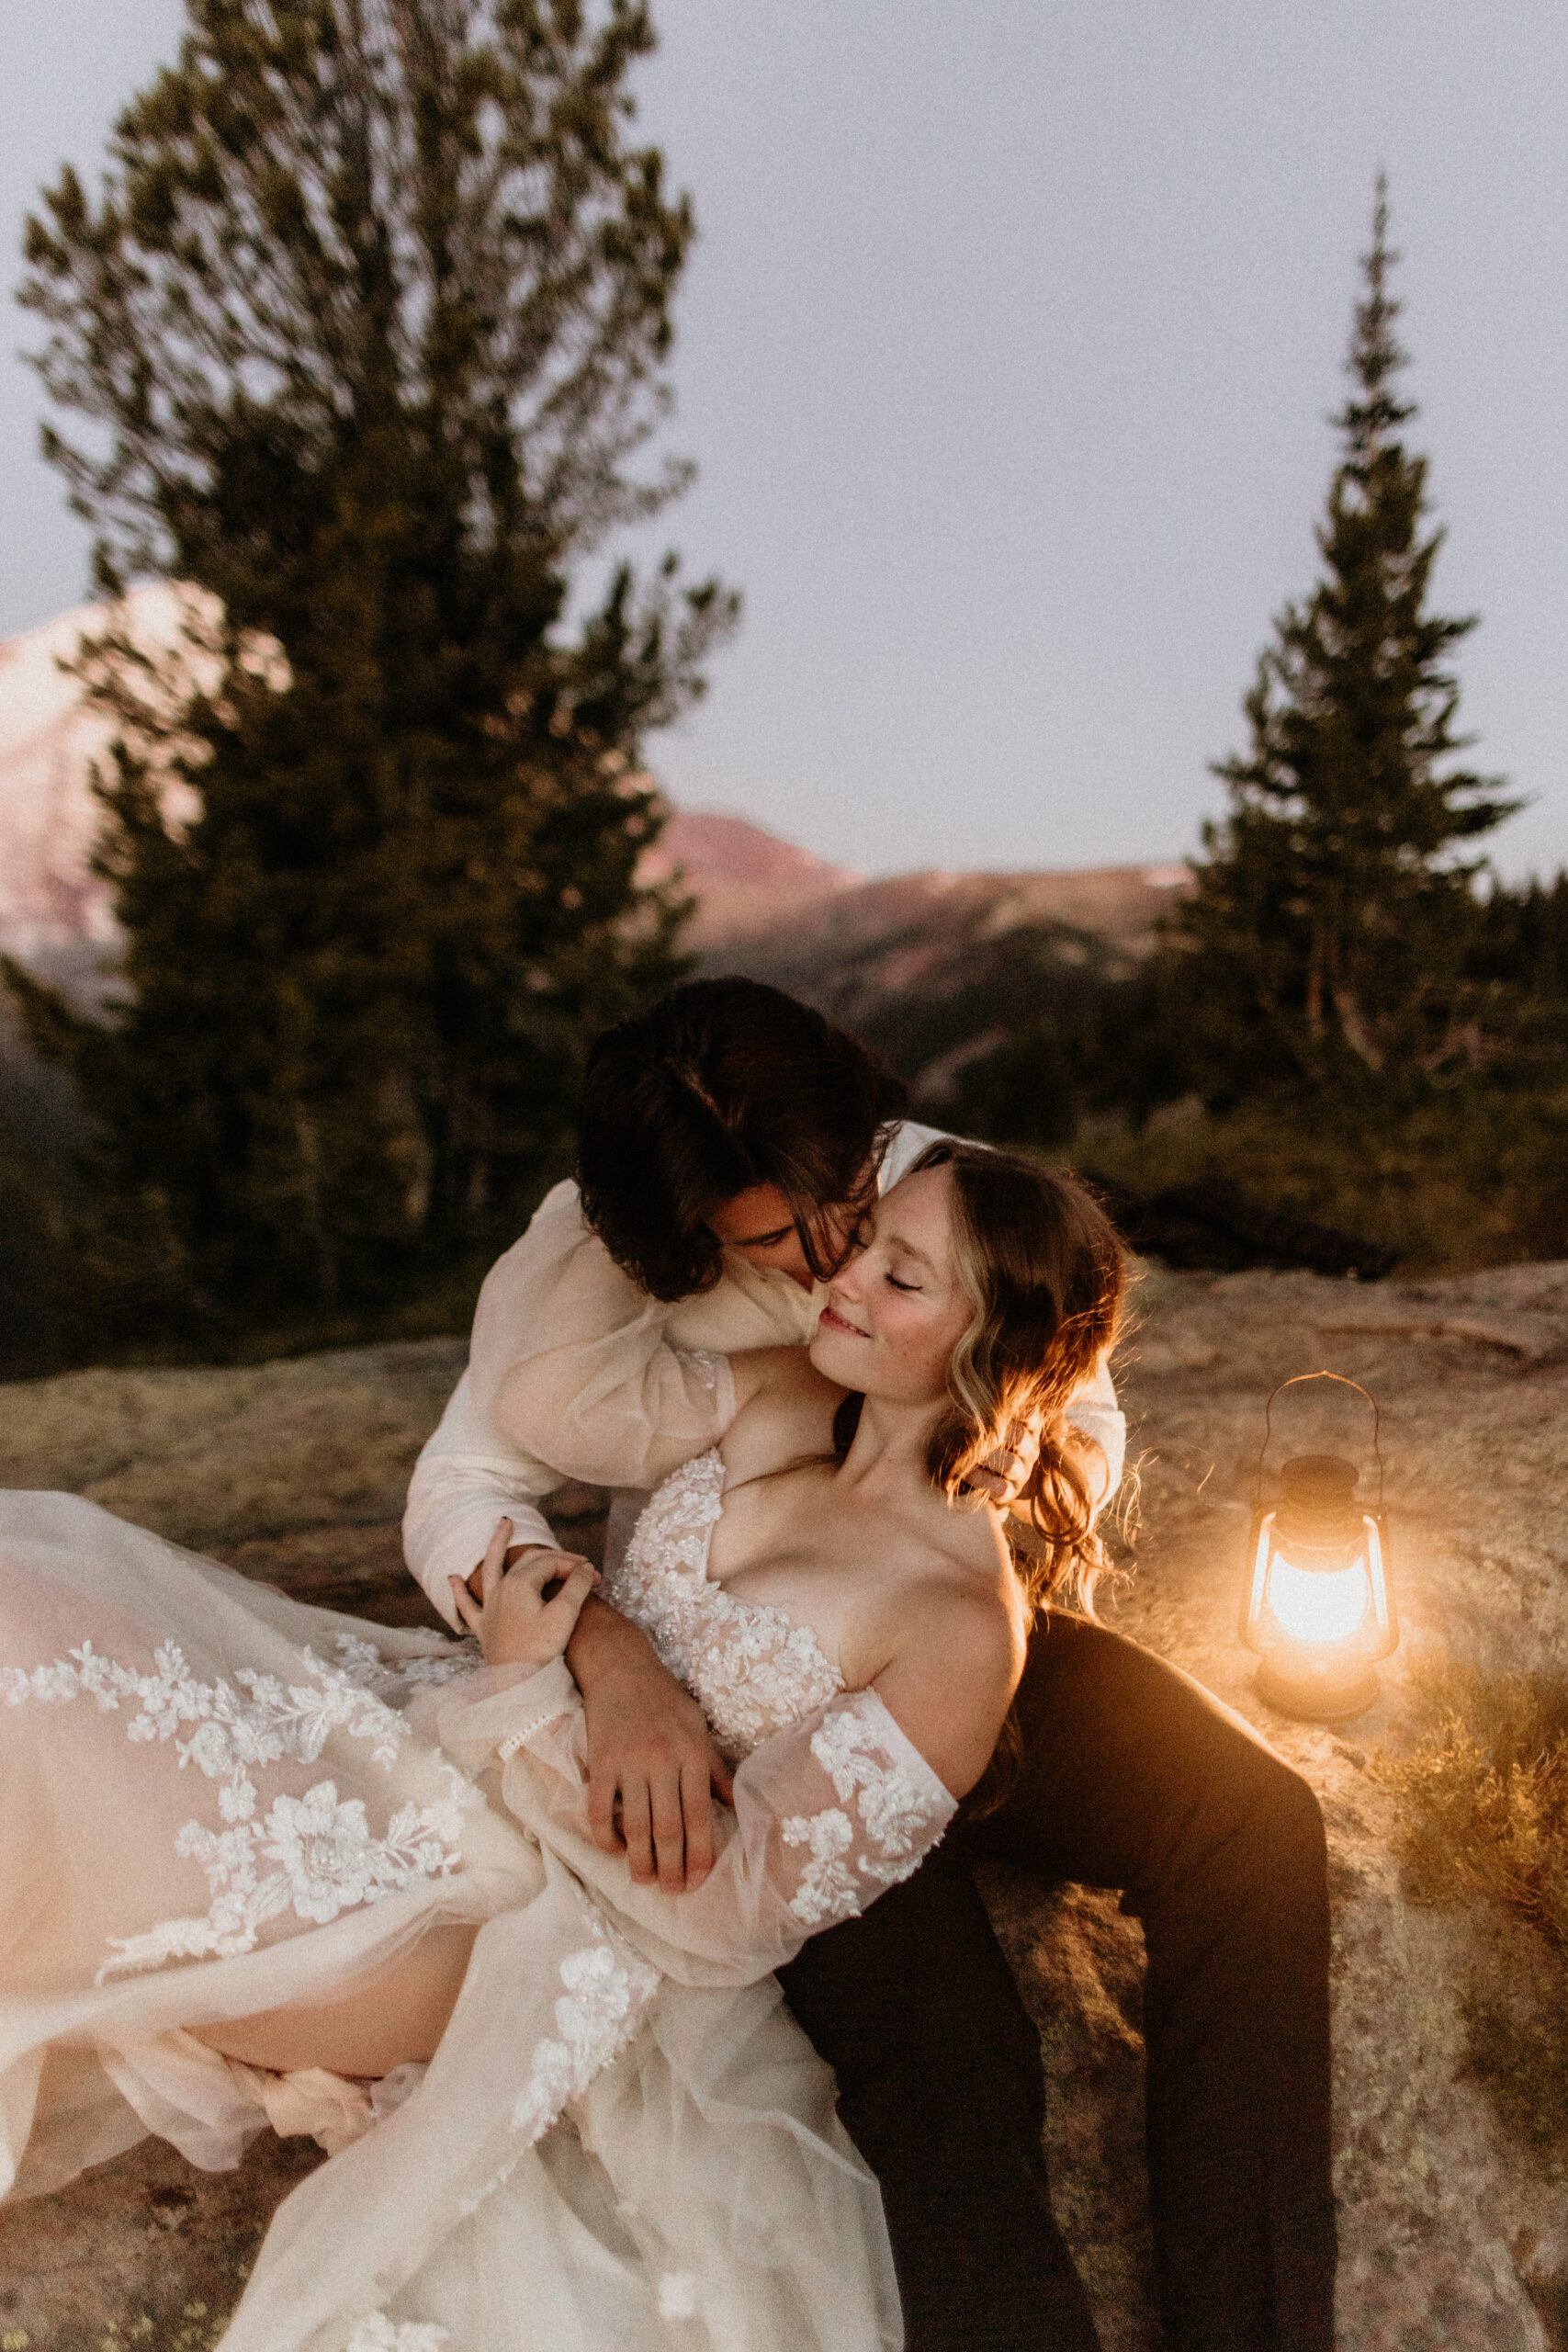
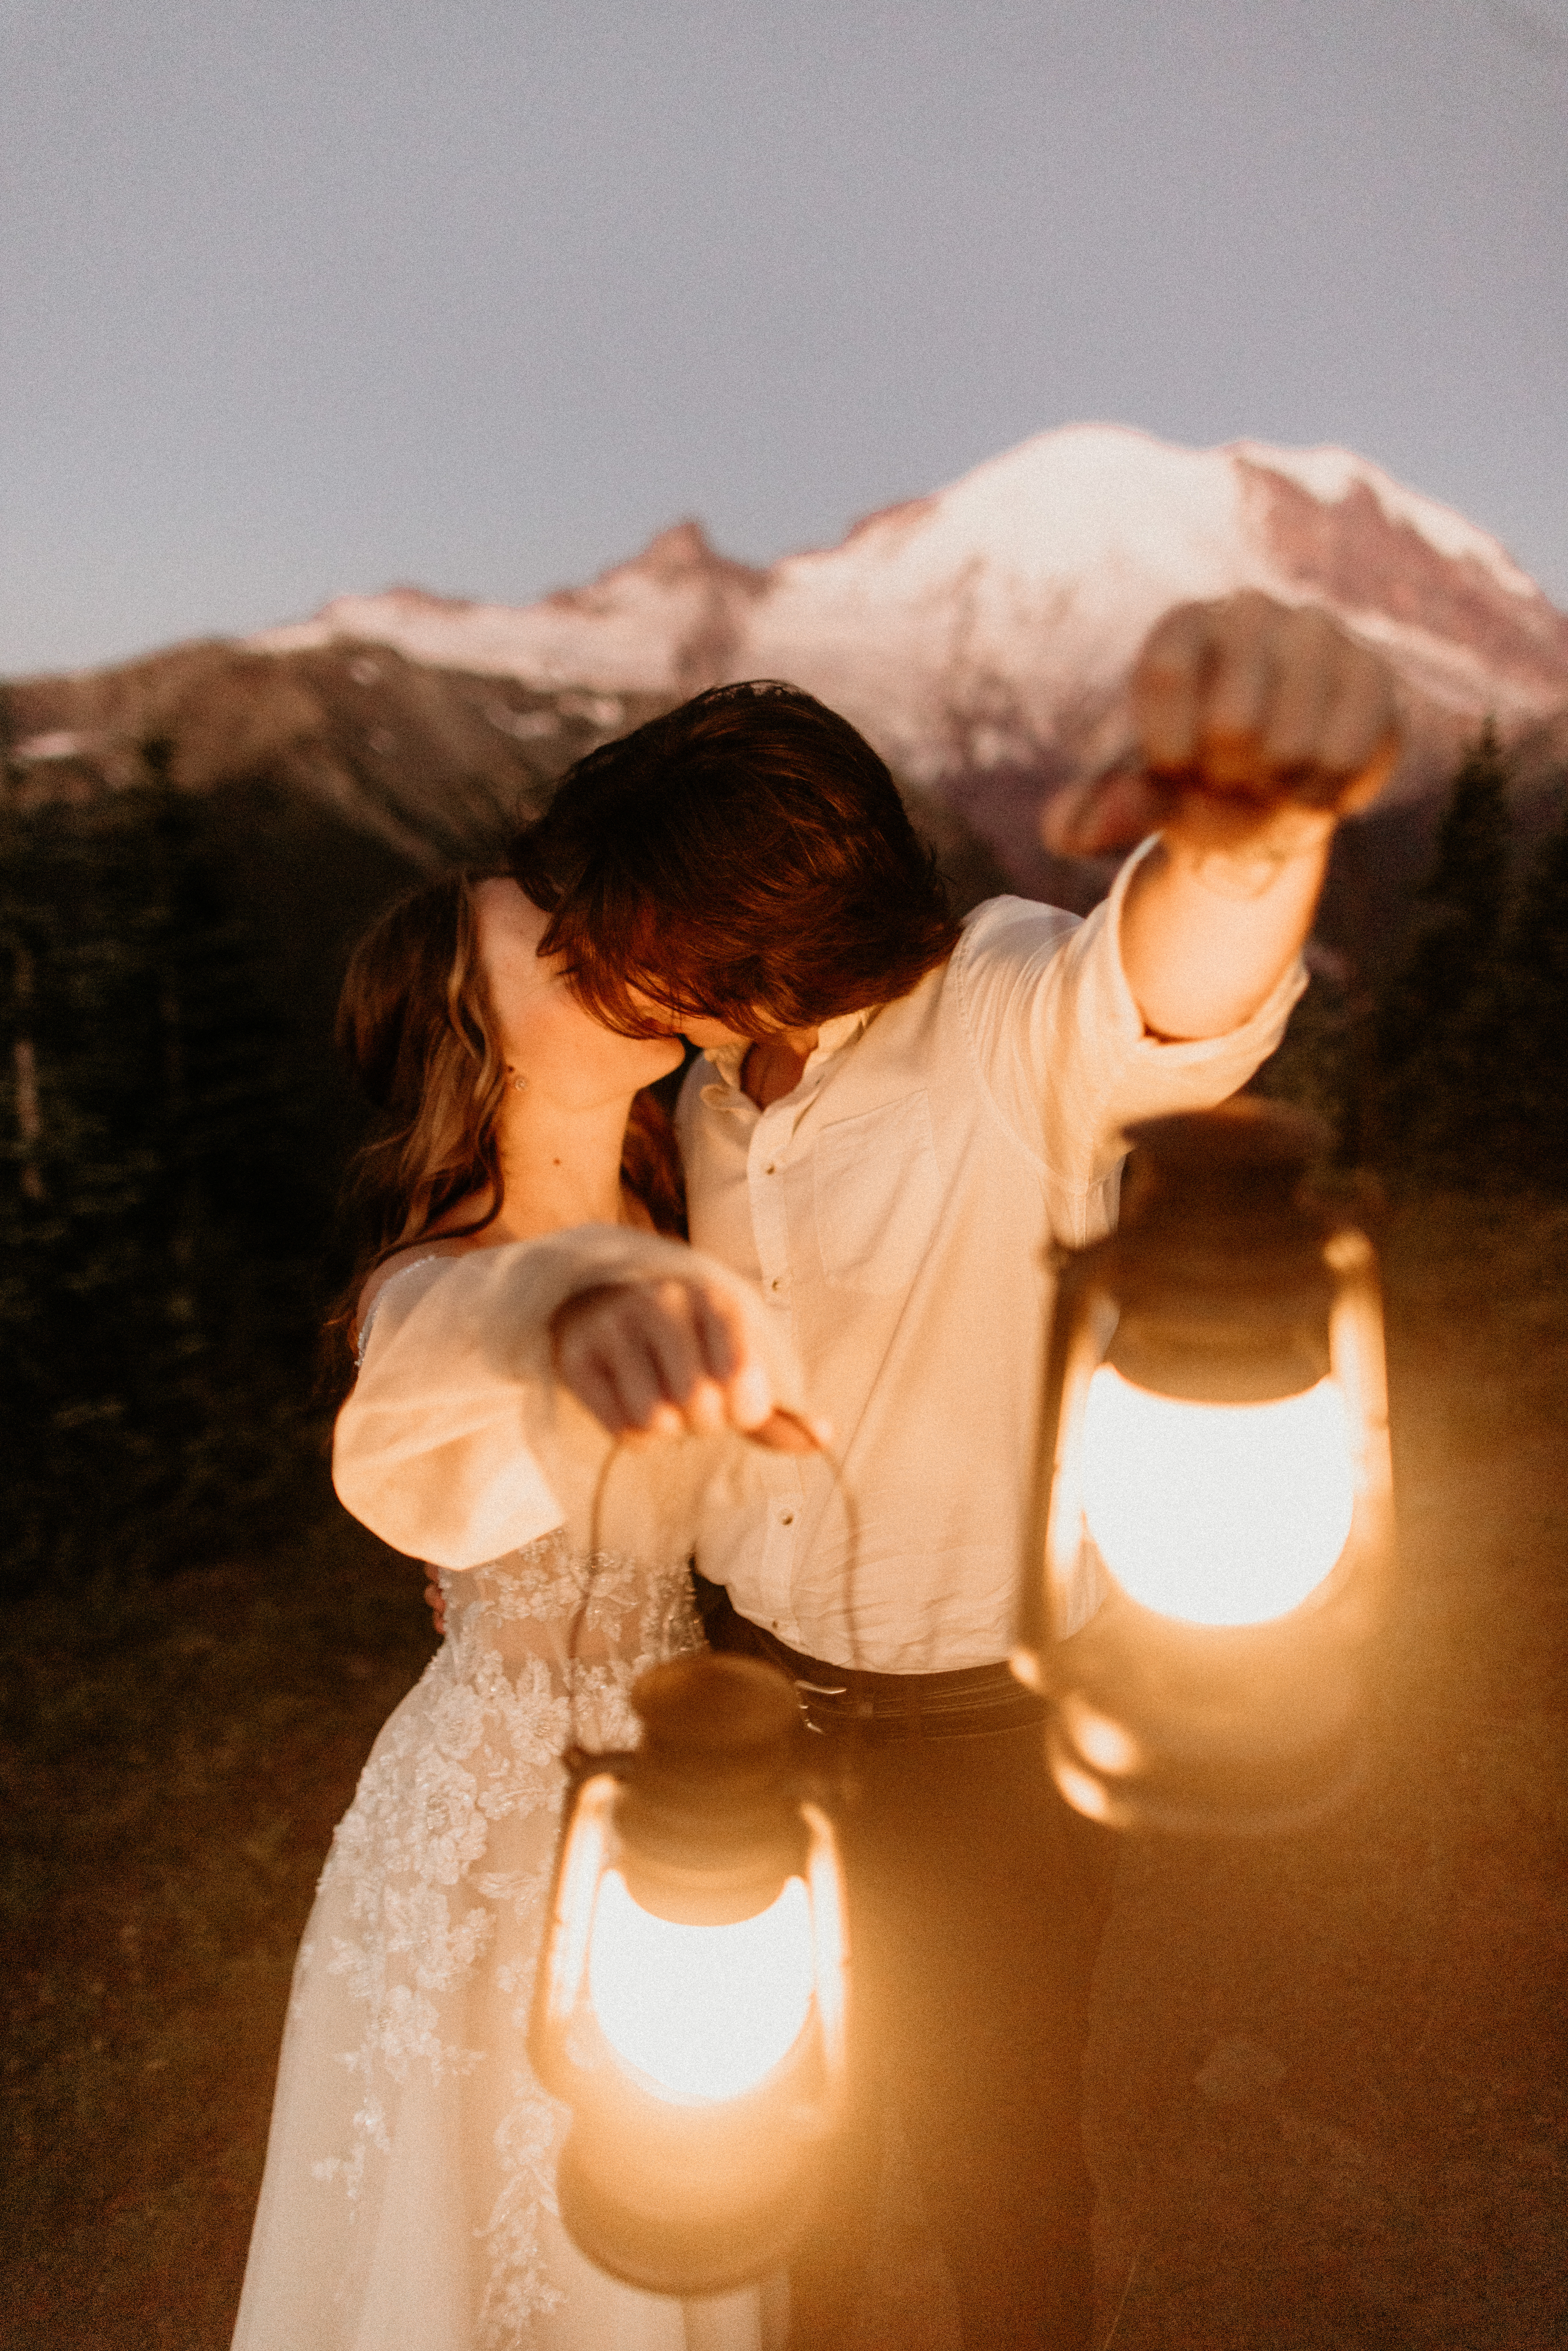
Morning blue hour happens around half an hour before sunrise, and is the period of twilight when the sun is just below the horizon, casting cool tones across the sky – typically shades of deep blue, sometimes with dark purple too. I love looove blue hour, because you can still see the stars and the moon, but you have just enough light to start seeing the world come to life & to light you up in photos! Blue hour is so magical, quiet, and calm, and the cool tones are sooo dreamy, especially here in the PNW if you’re surrounded by greenery, mountains, or if you’re on the coast. If you want to make your blue hour photos extra whimsical, bring a couple of lanterns or headlamps to give you some extra light to play around with!
Sunrise
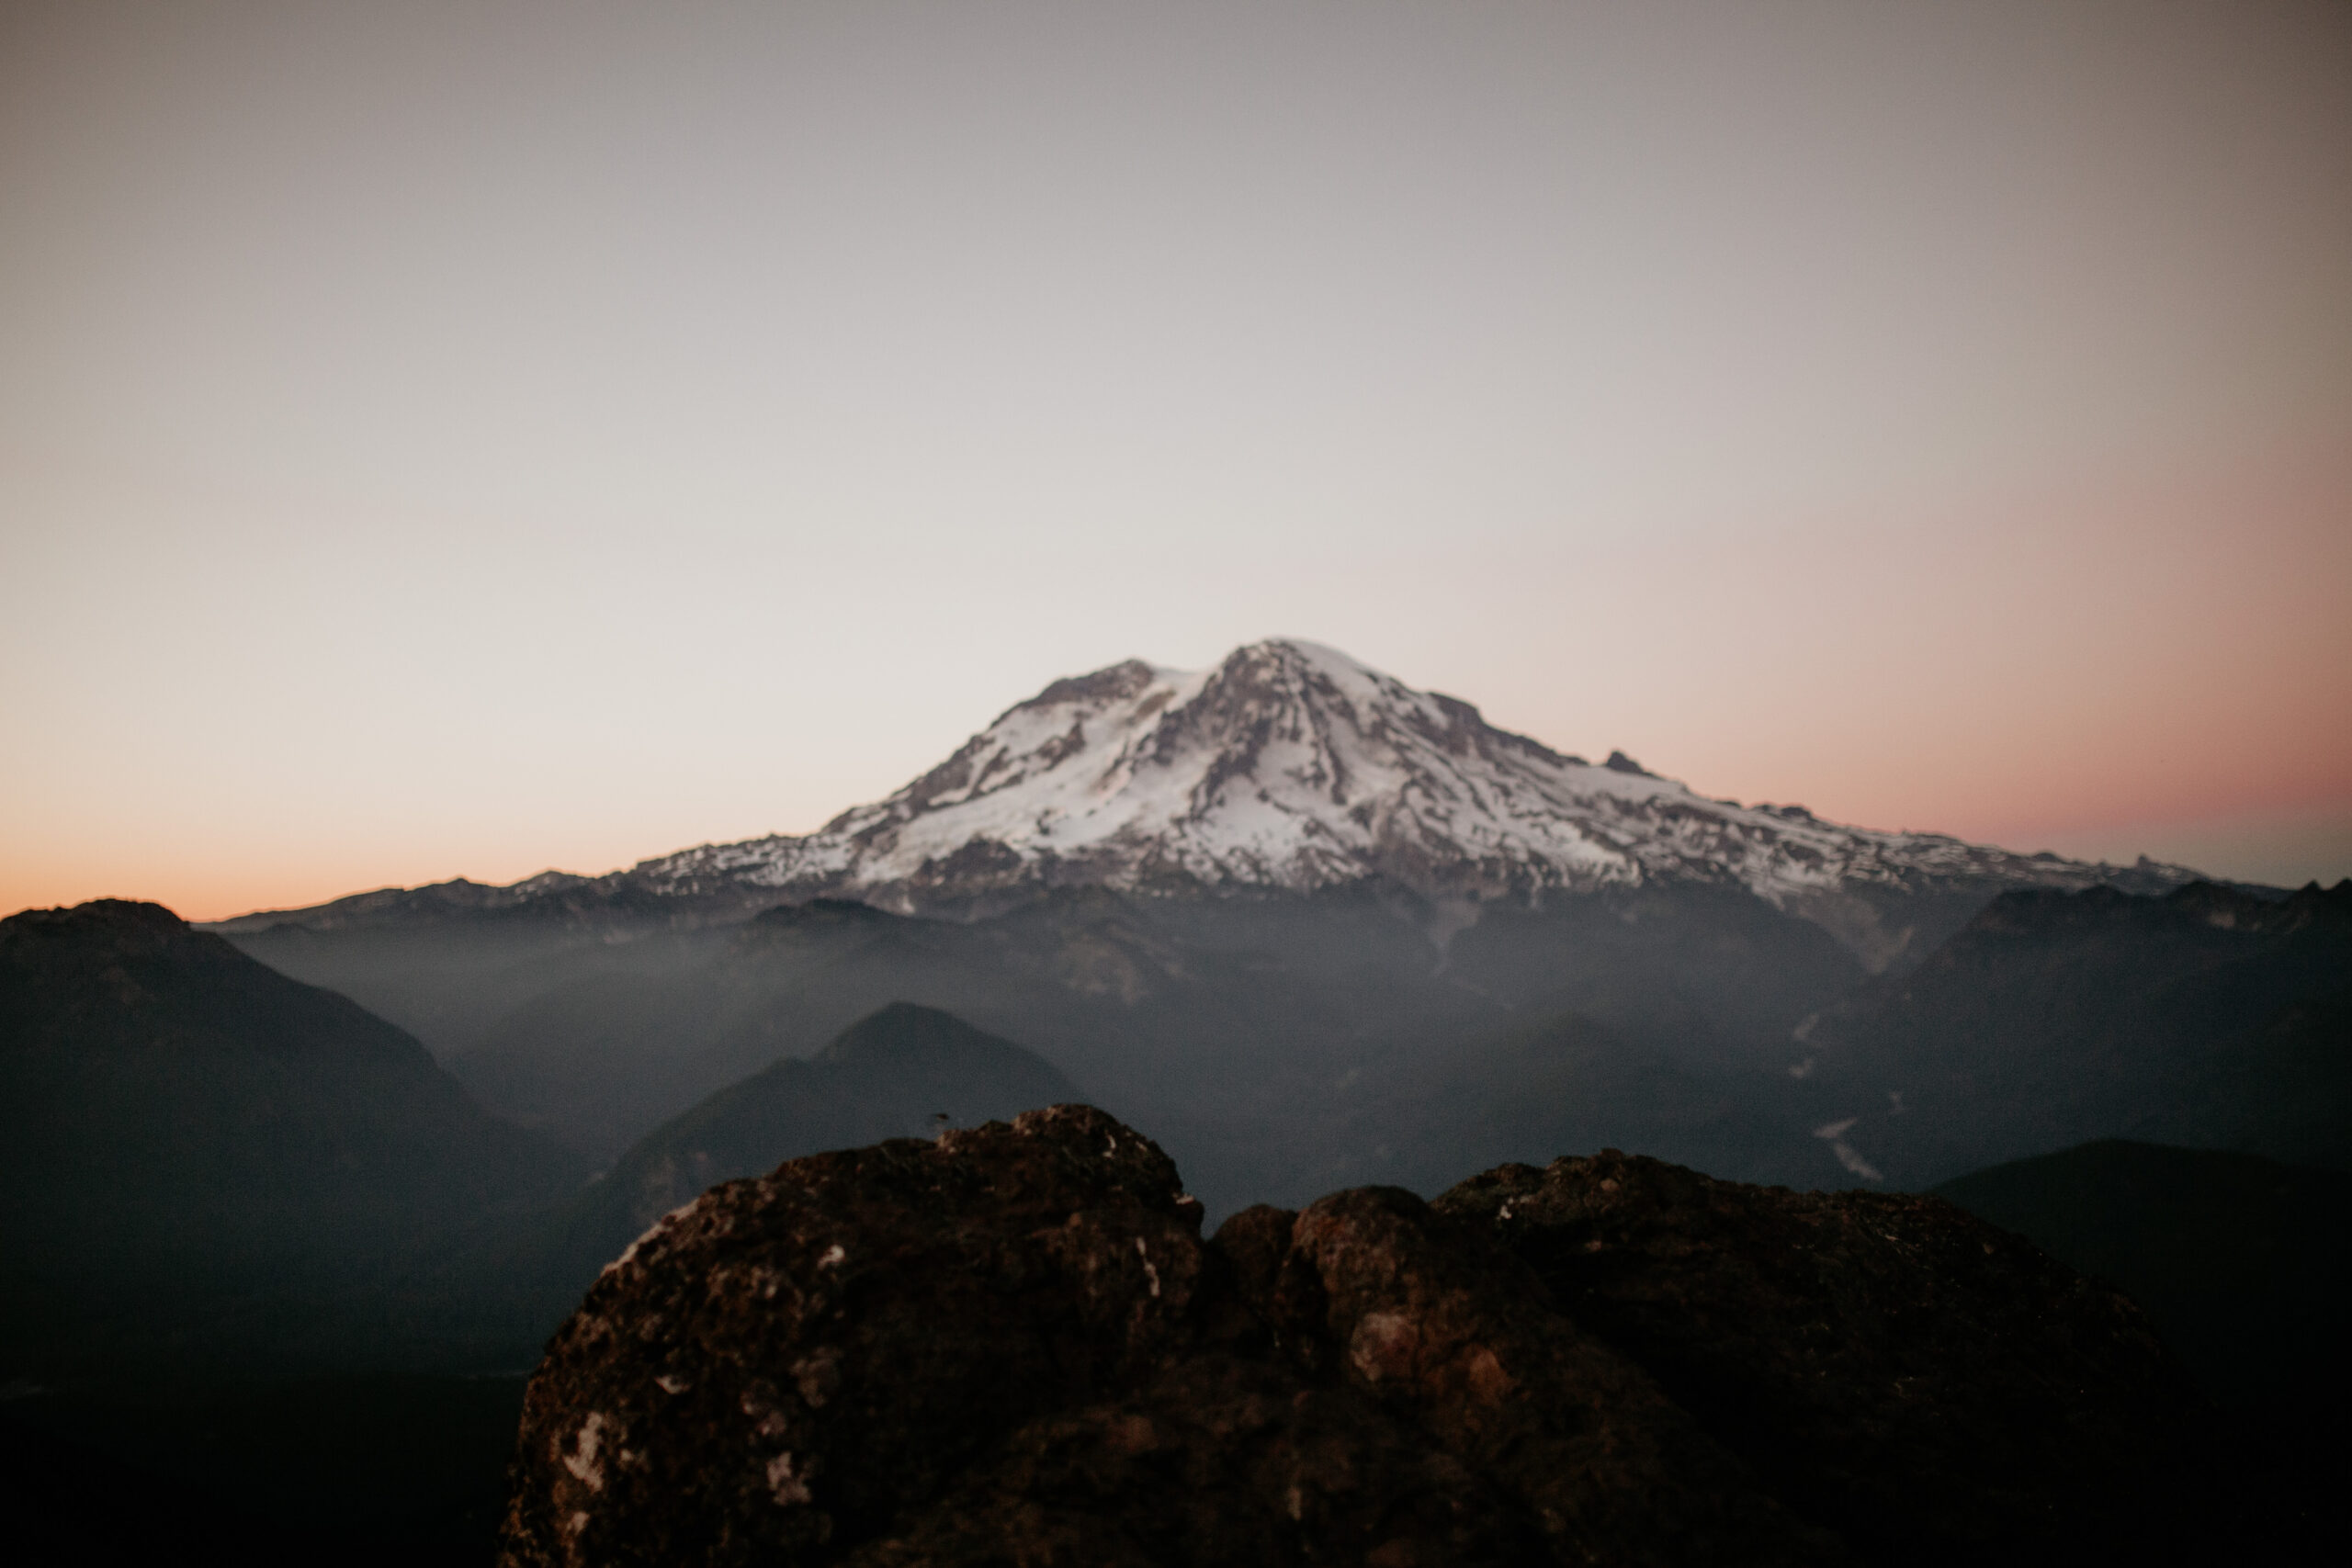
Sunrise is, well, sunrise – when the sun starts to rise on the horizon and bring the day to life! I know it’s hard to get up for a sunrise shoot (I don’t like setting my alarm for 2:30am in the summer any more than you do, hahaha), but trust me when I say it is soooo worth it! Seeing the world come to life from dawn to daylight is SO MAGICAL, especially when we’re taking photos through each stage of the morning and as the light + colors slowly change as time goes on. It’s such a peaceful experience, and is usually the best time of day to elope if you want to go to a popular location & avoid tourists!
Morning golden hour
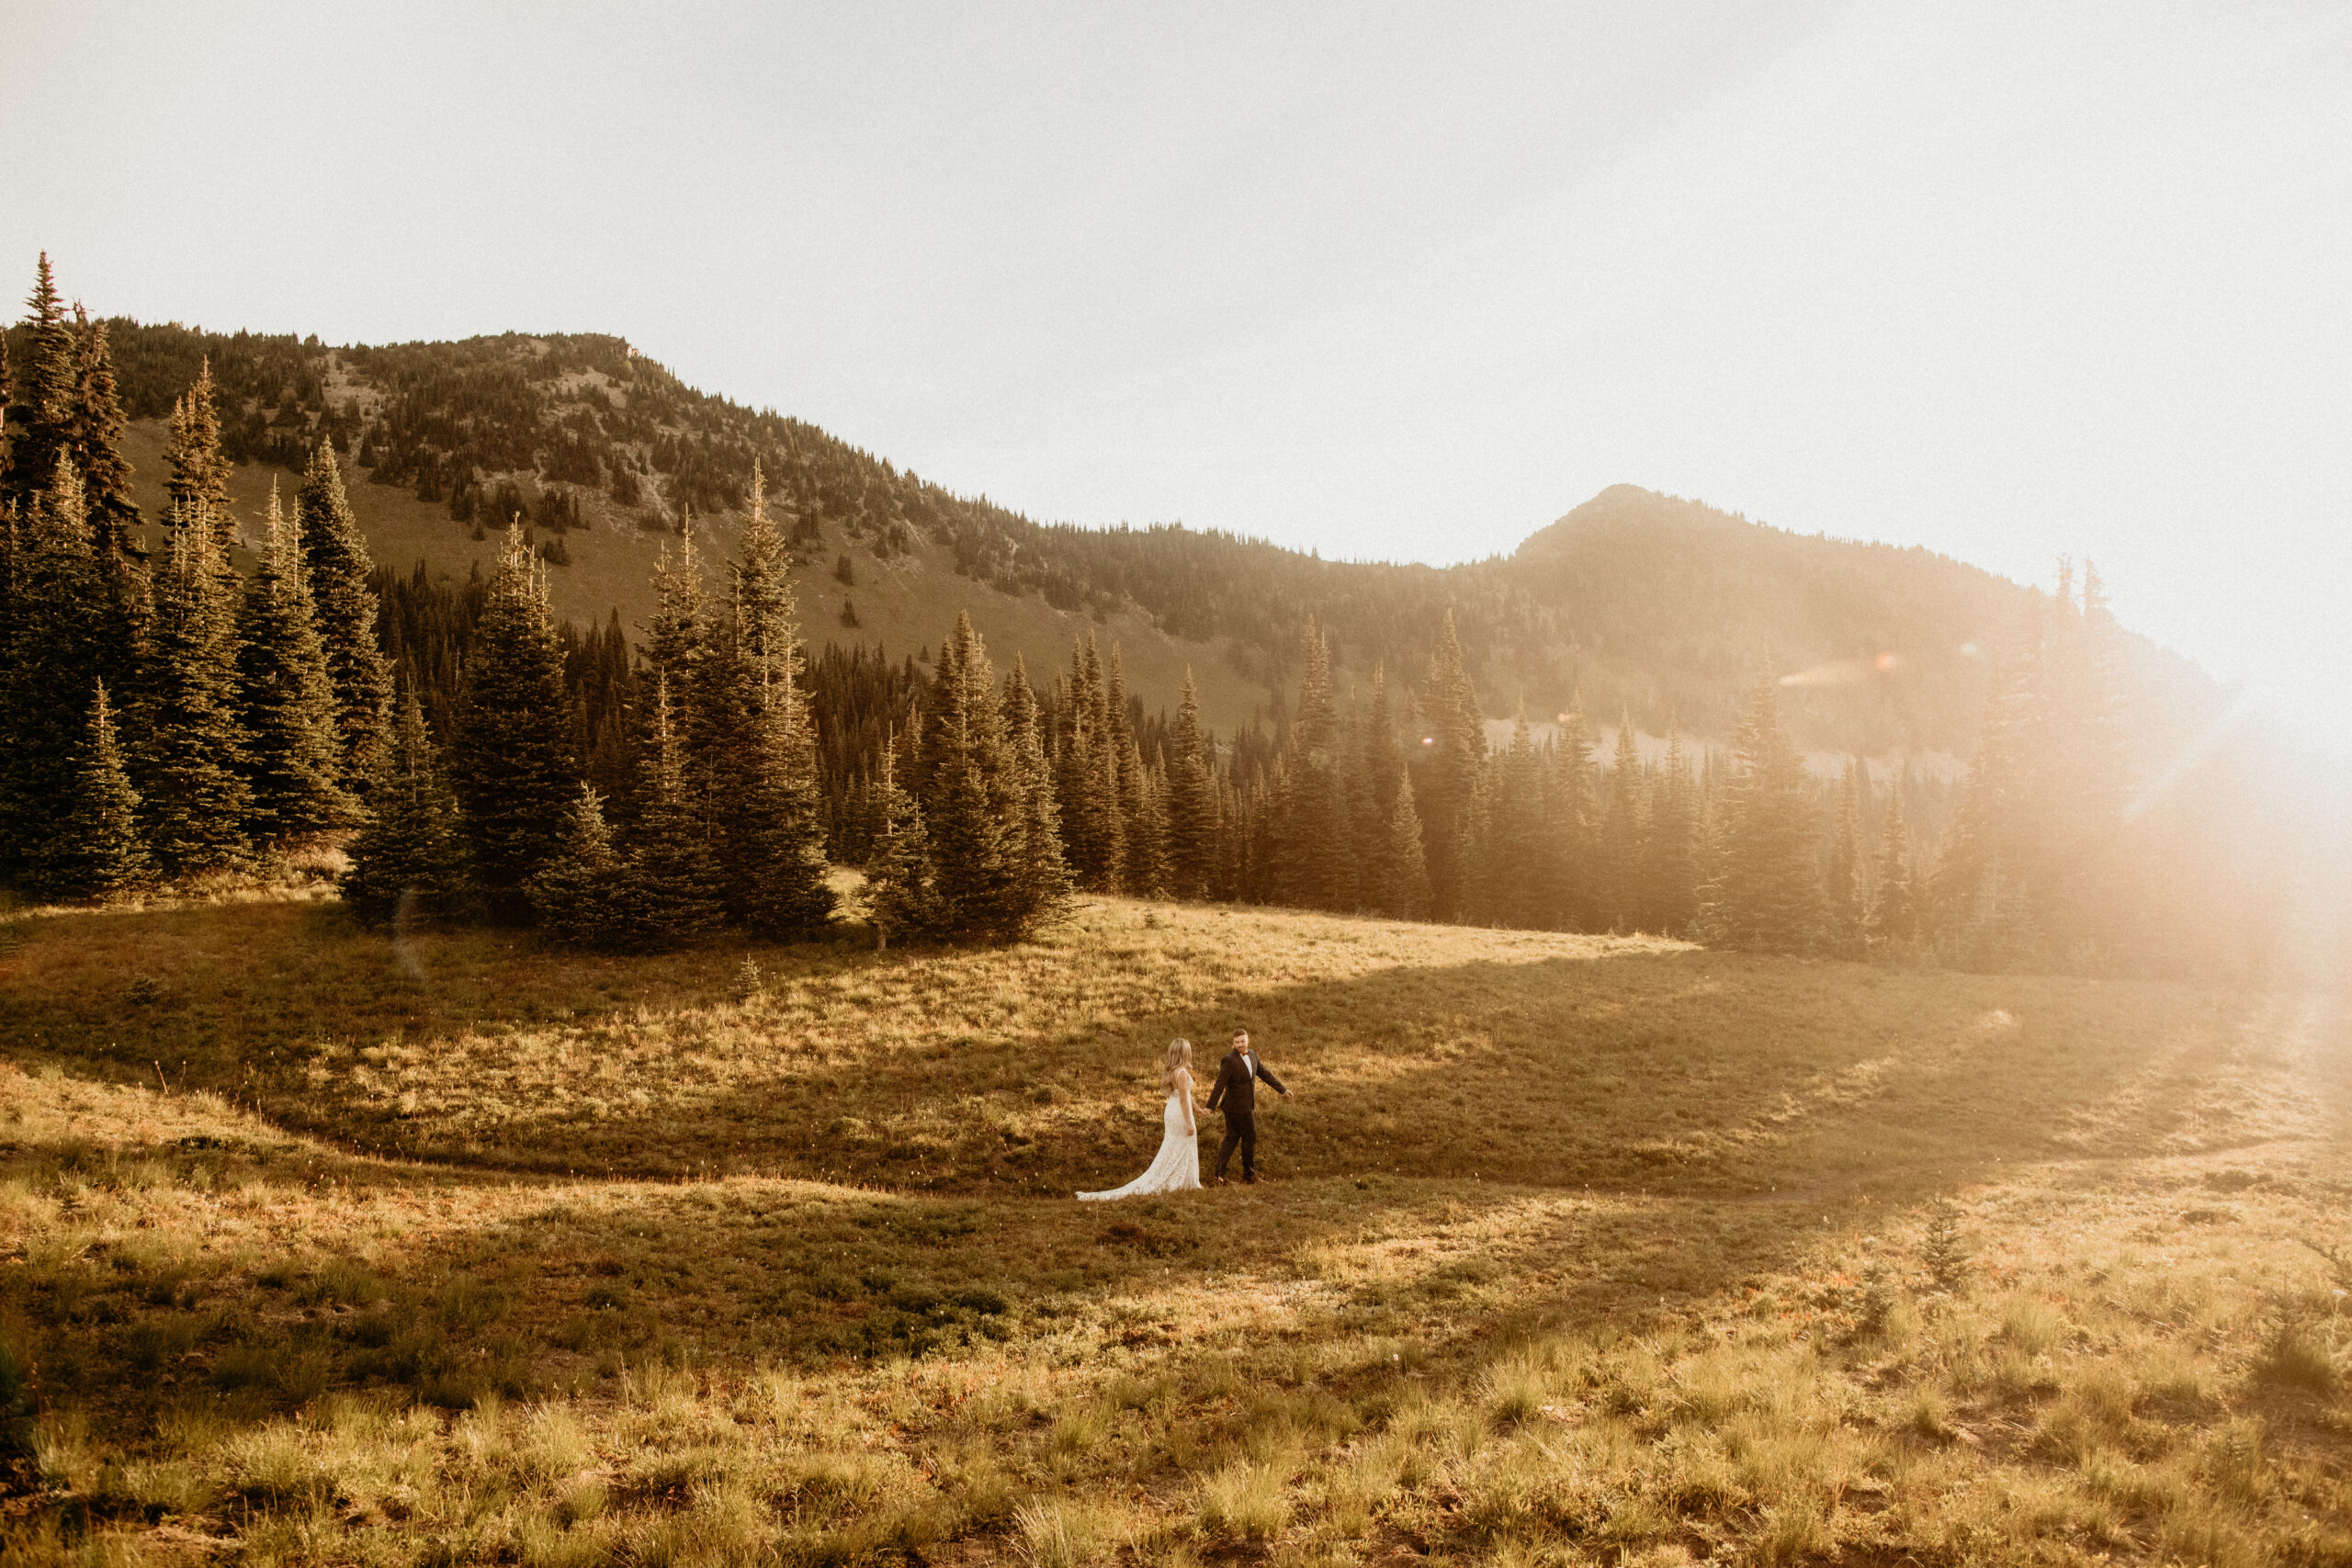
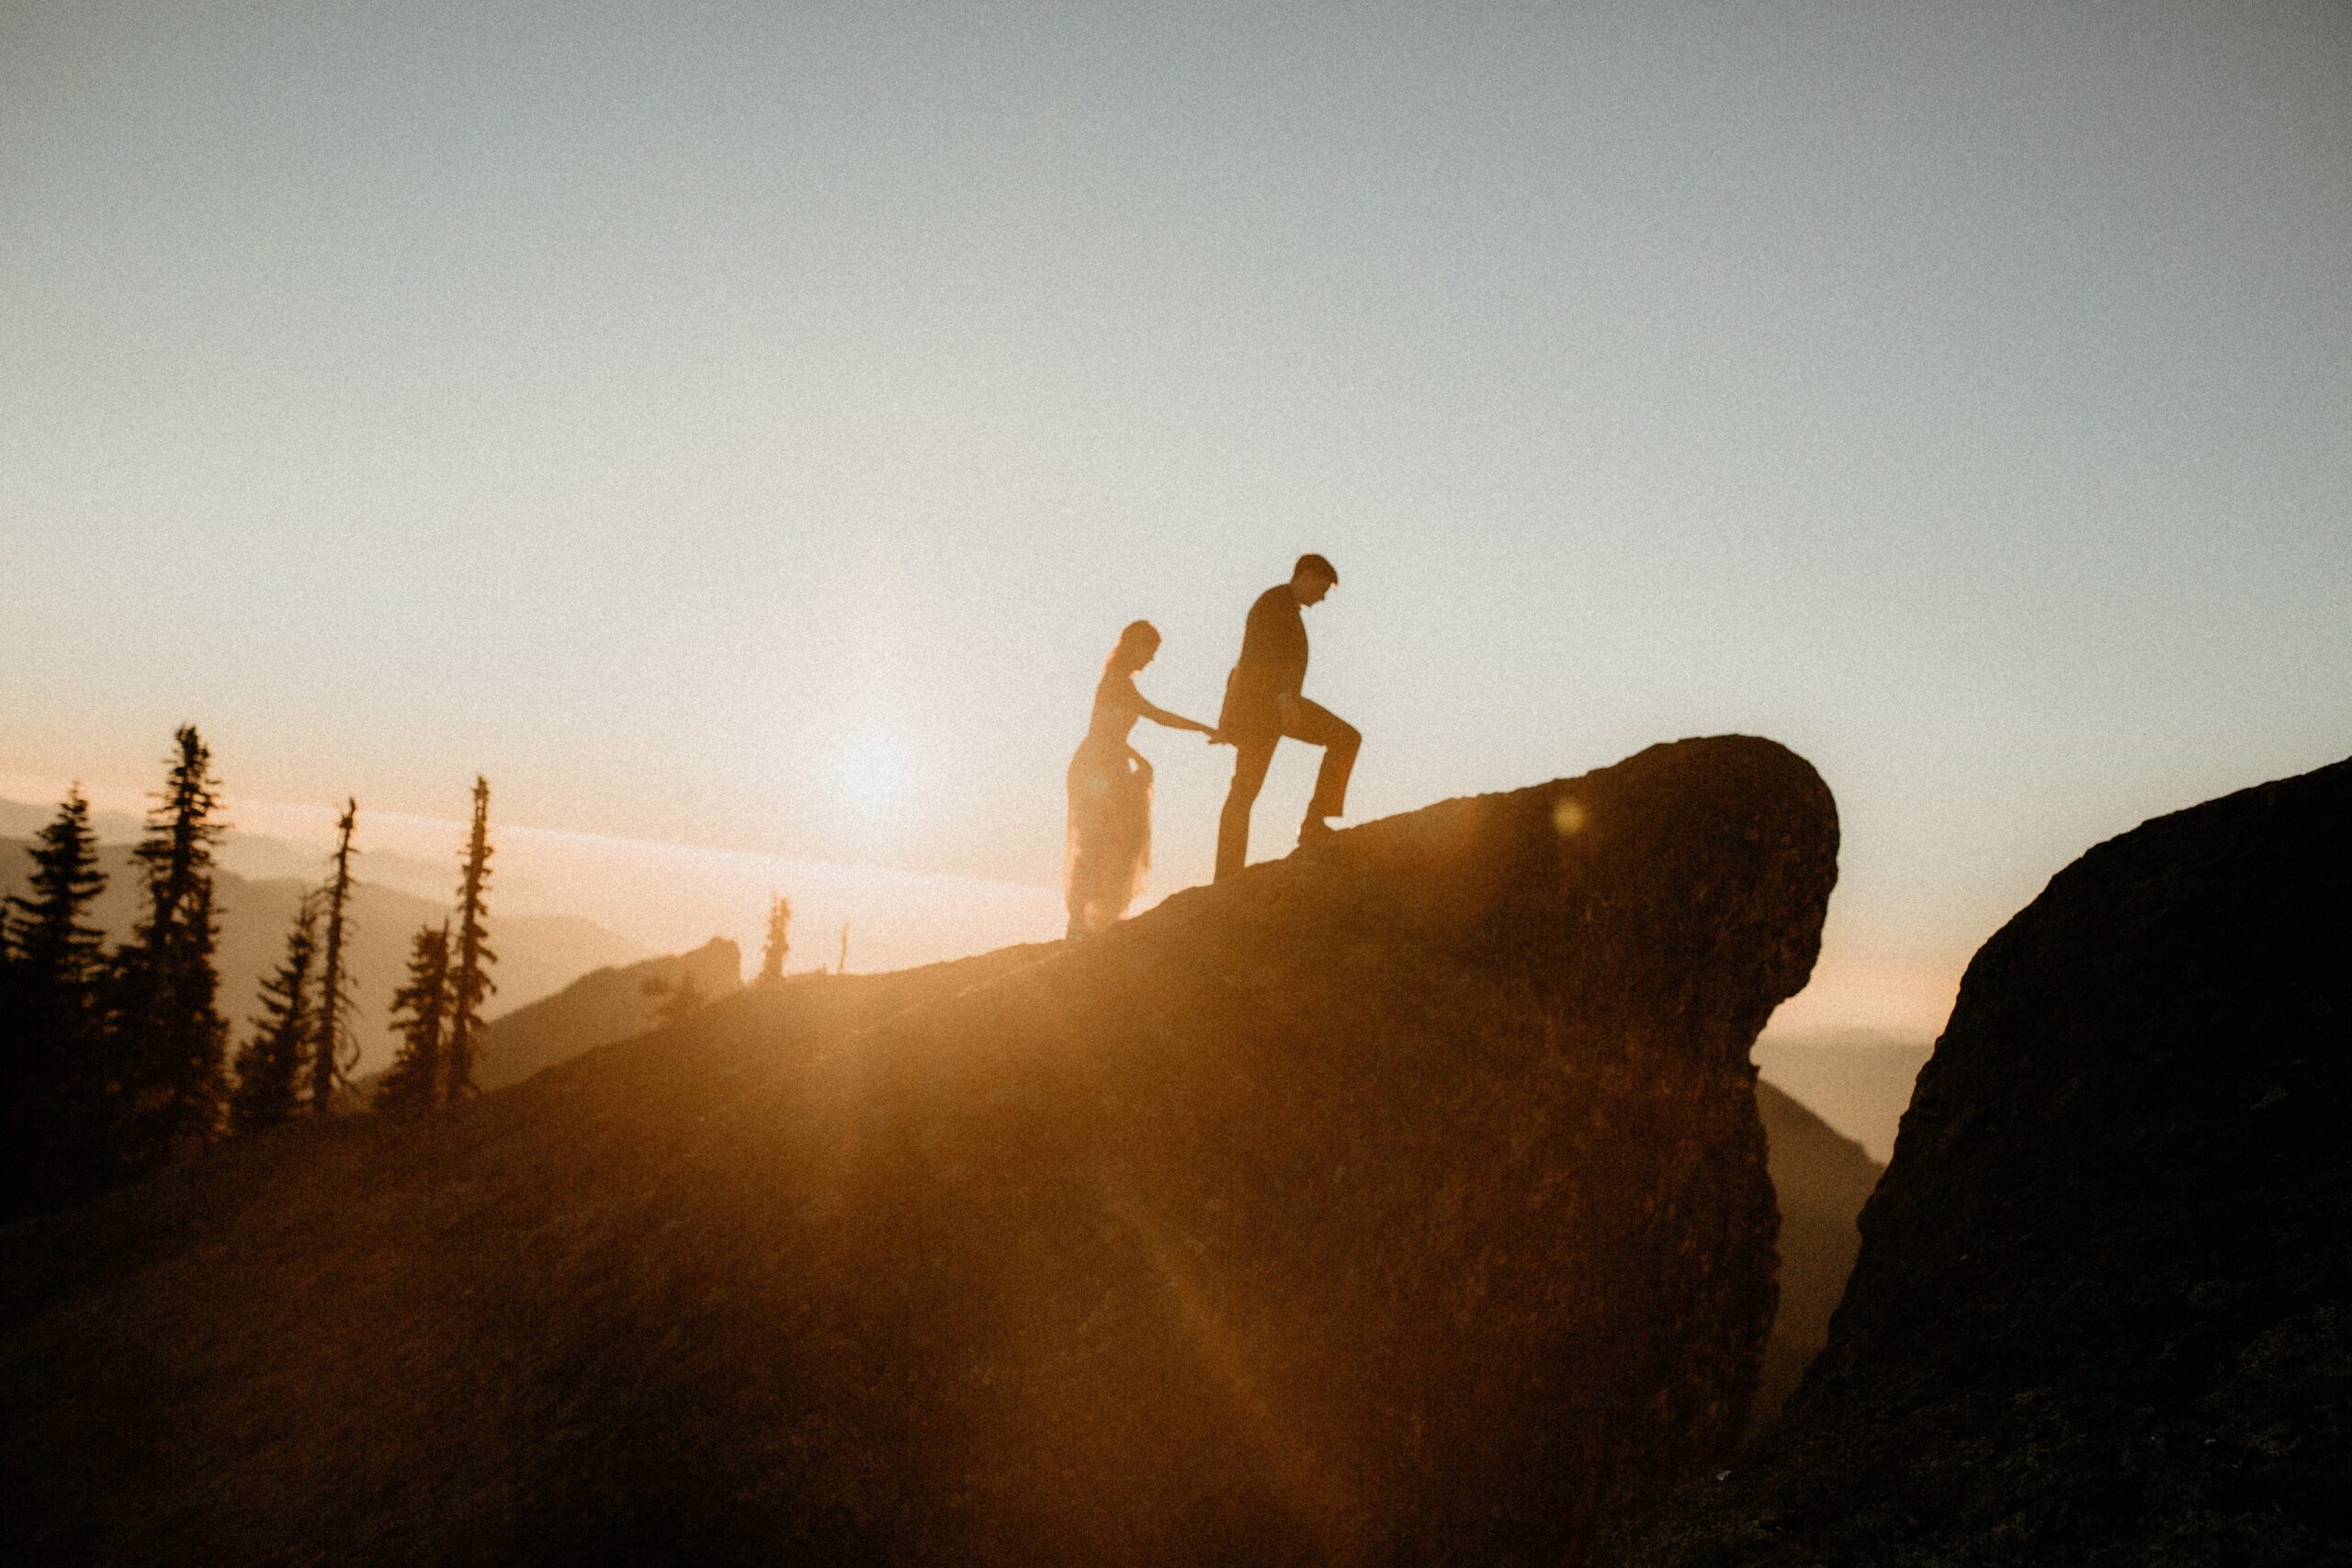
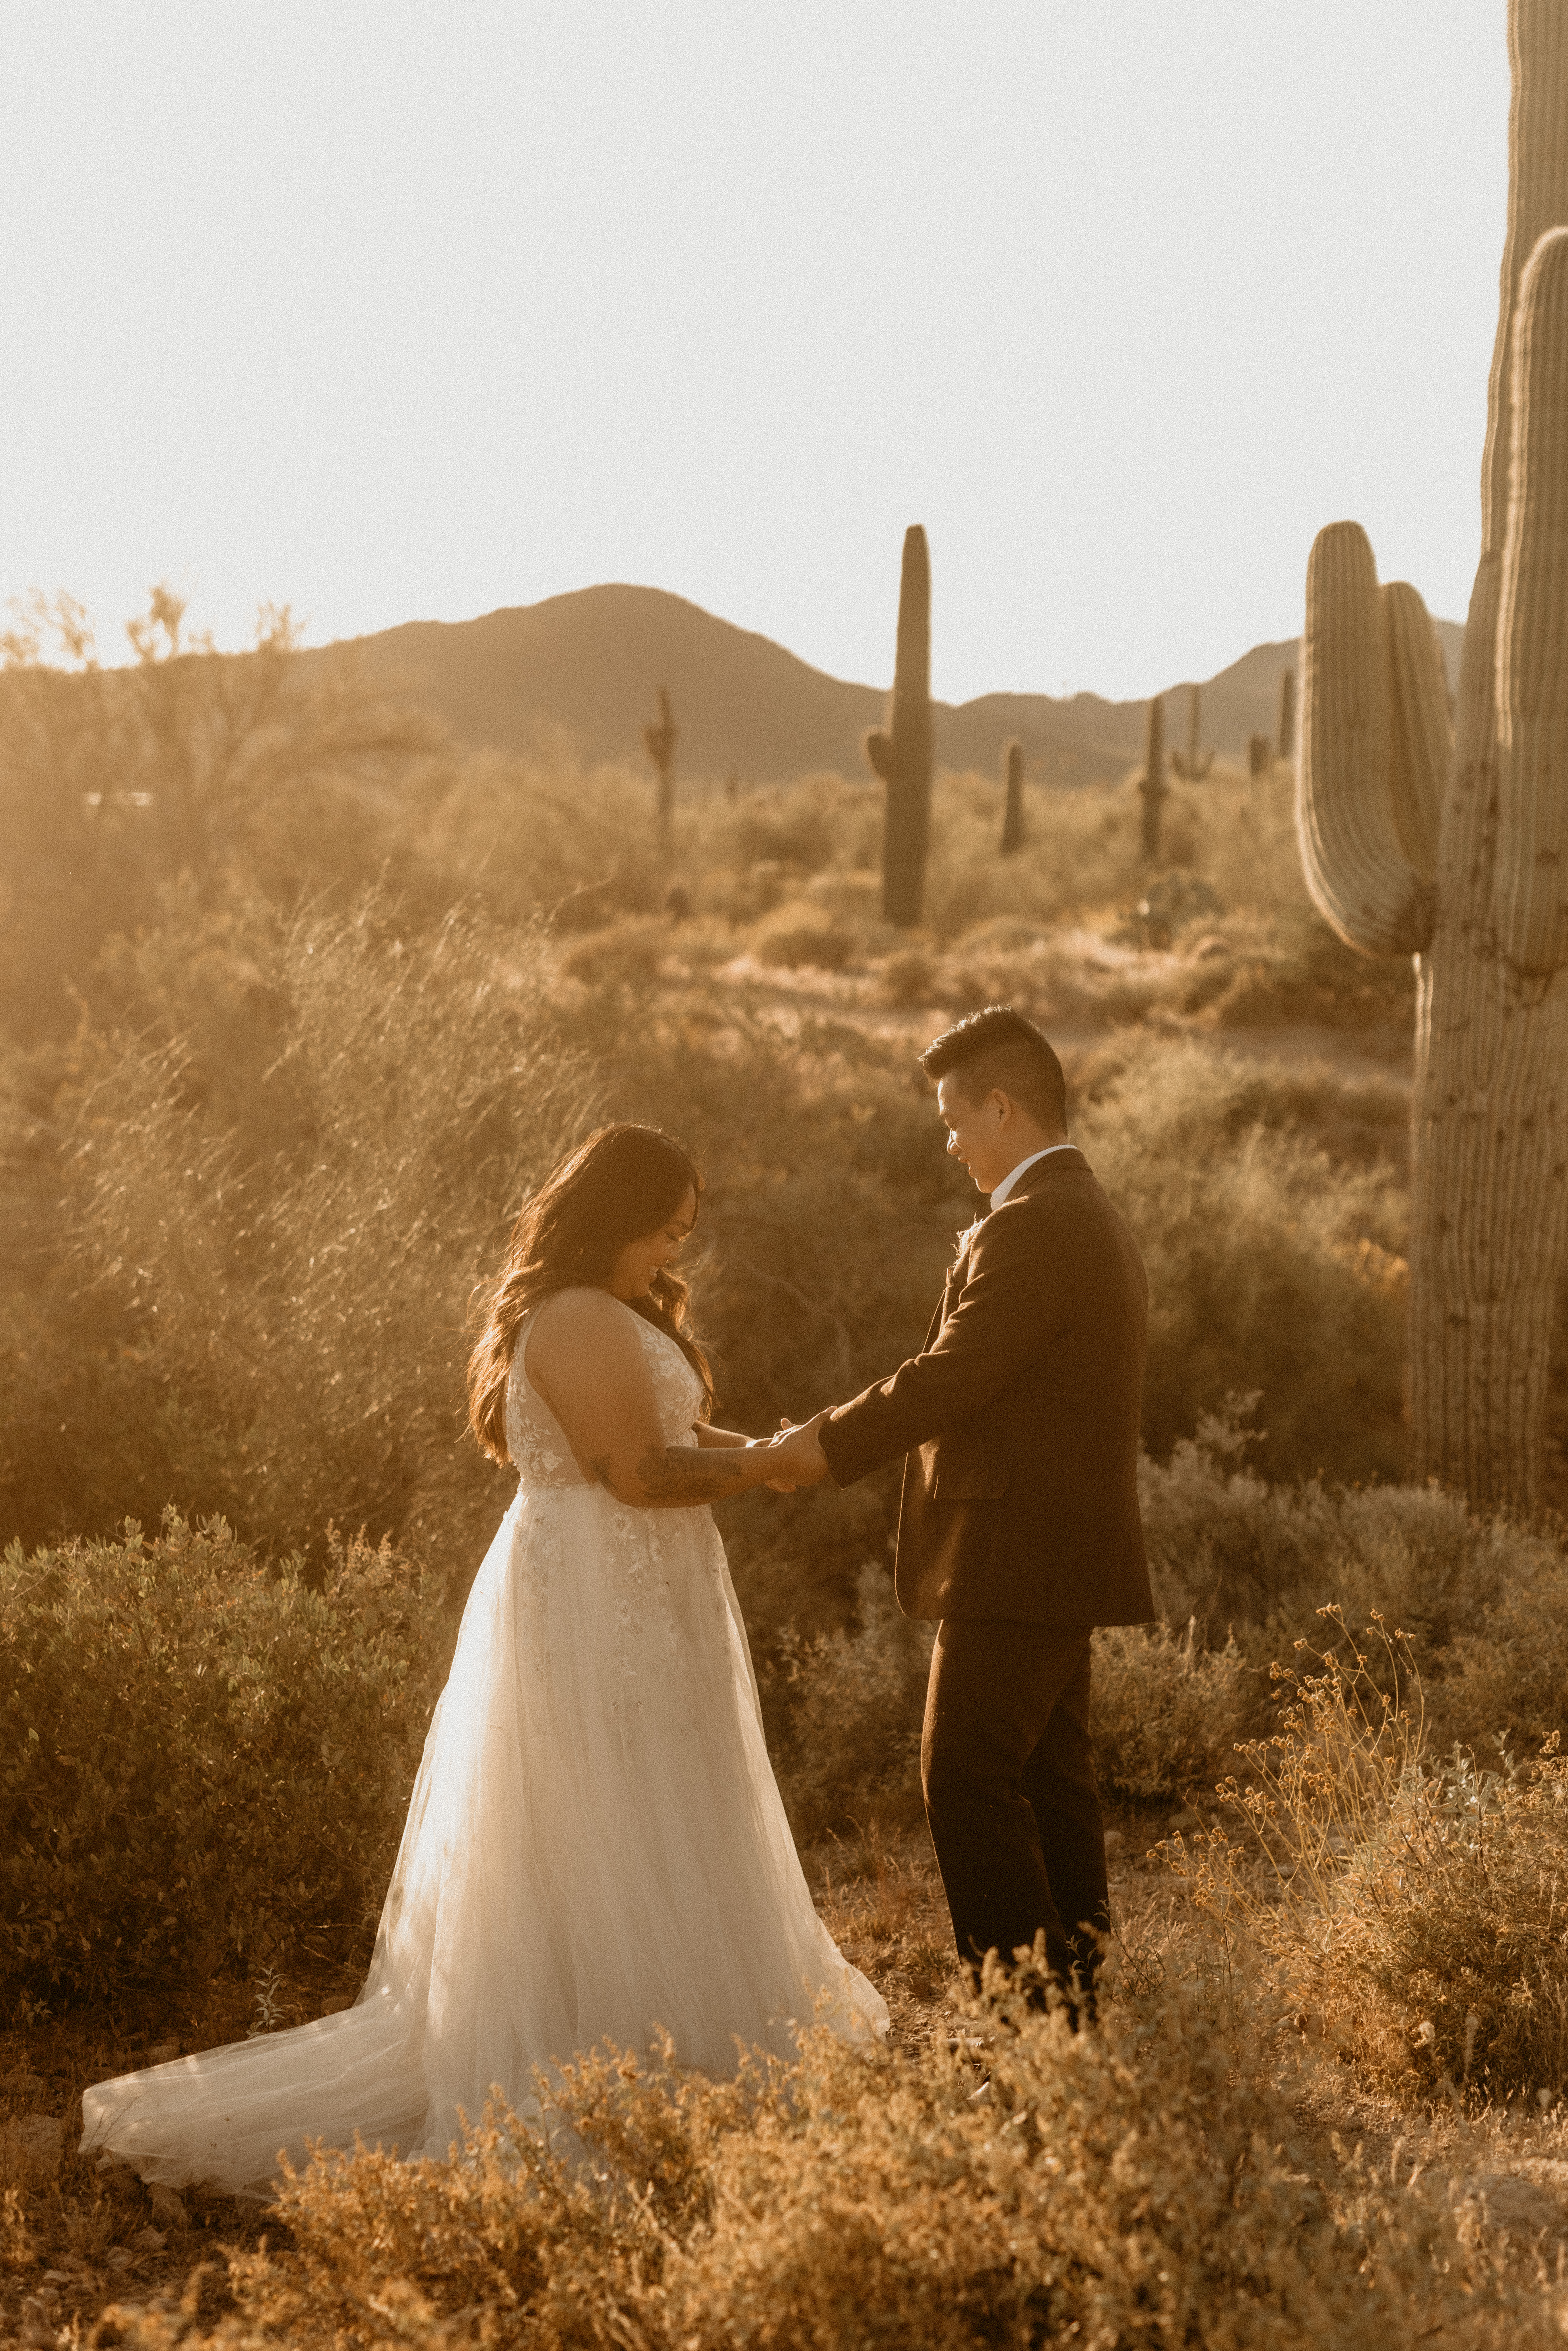
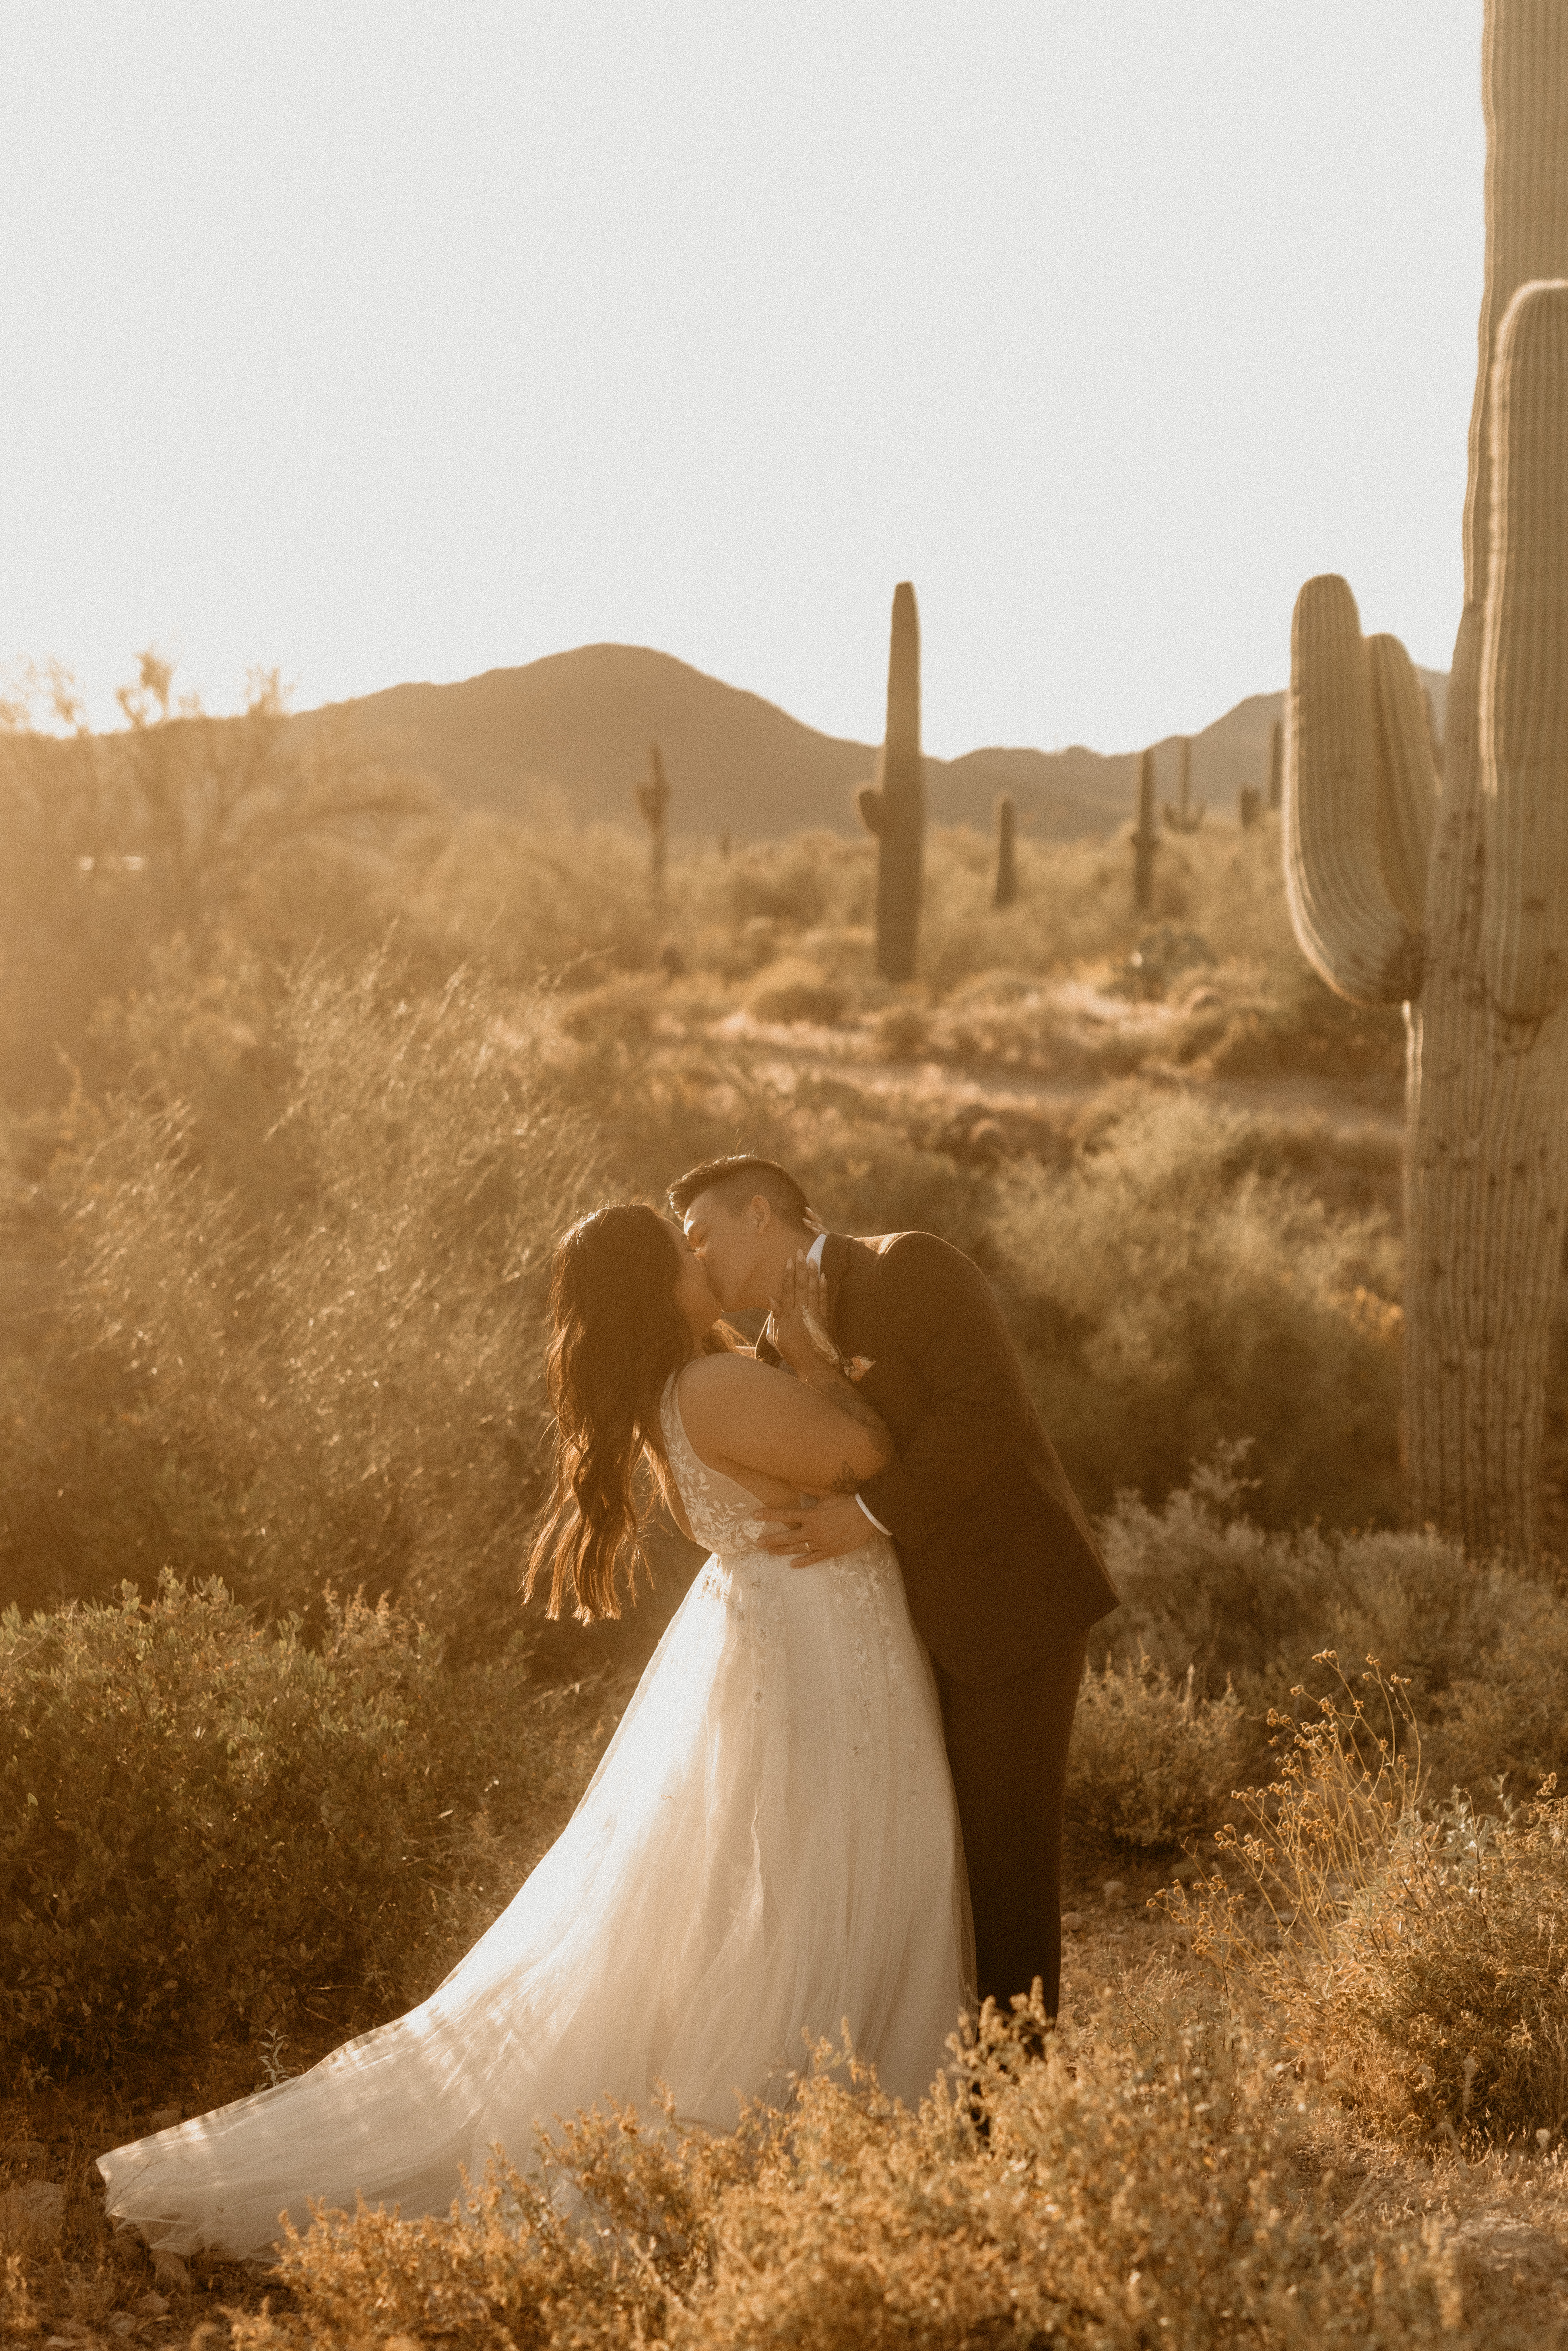
Nowww let’s talk about the ever-loved golden hour – a.k.a. that dreamy time of day where the sun casts a soft, golden glow over the world, and everything looks dreamy AF! Morning golden hour is typically the hour after sunrise, when the sun is rising in the sky but isn’t high enough yet to cast harsh shadows or super bright light. Everybody loooves golden hour (it was even nicknamed “magic hour”) because the light is super gentle and warm, giving everything a bit of a heavenly glow that looks AMAZING in photos! 10/10 recommend eloping during golden hour if you can time it right, and if it’s sunny out. Because keep in mind that golden hour may not happen (or may not last as long) on rainy or overcast days, since the sun will be blocked by clouds!
Daylight (sunny vs. overcast)
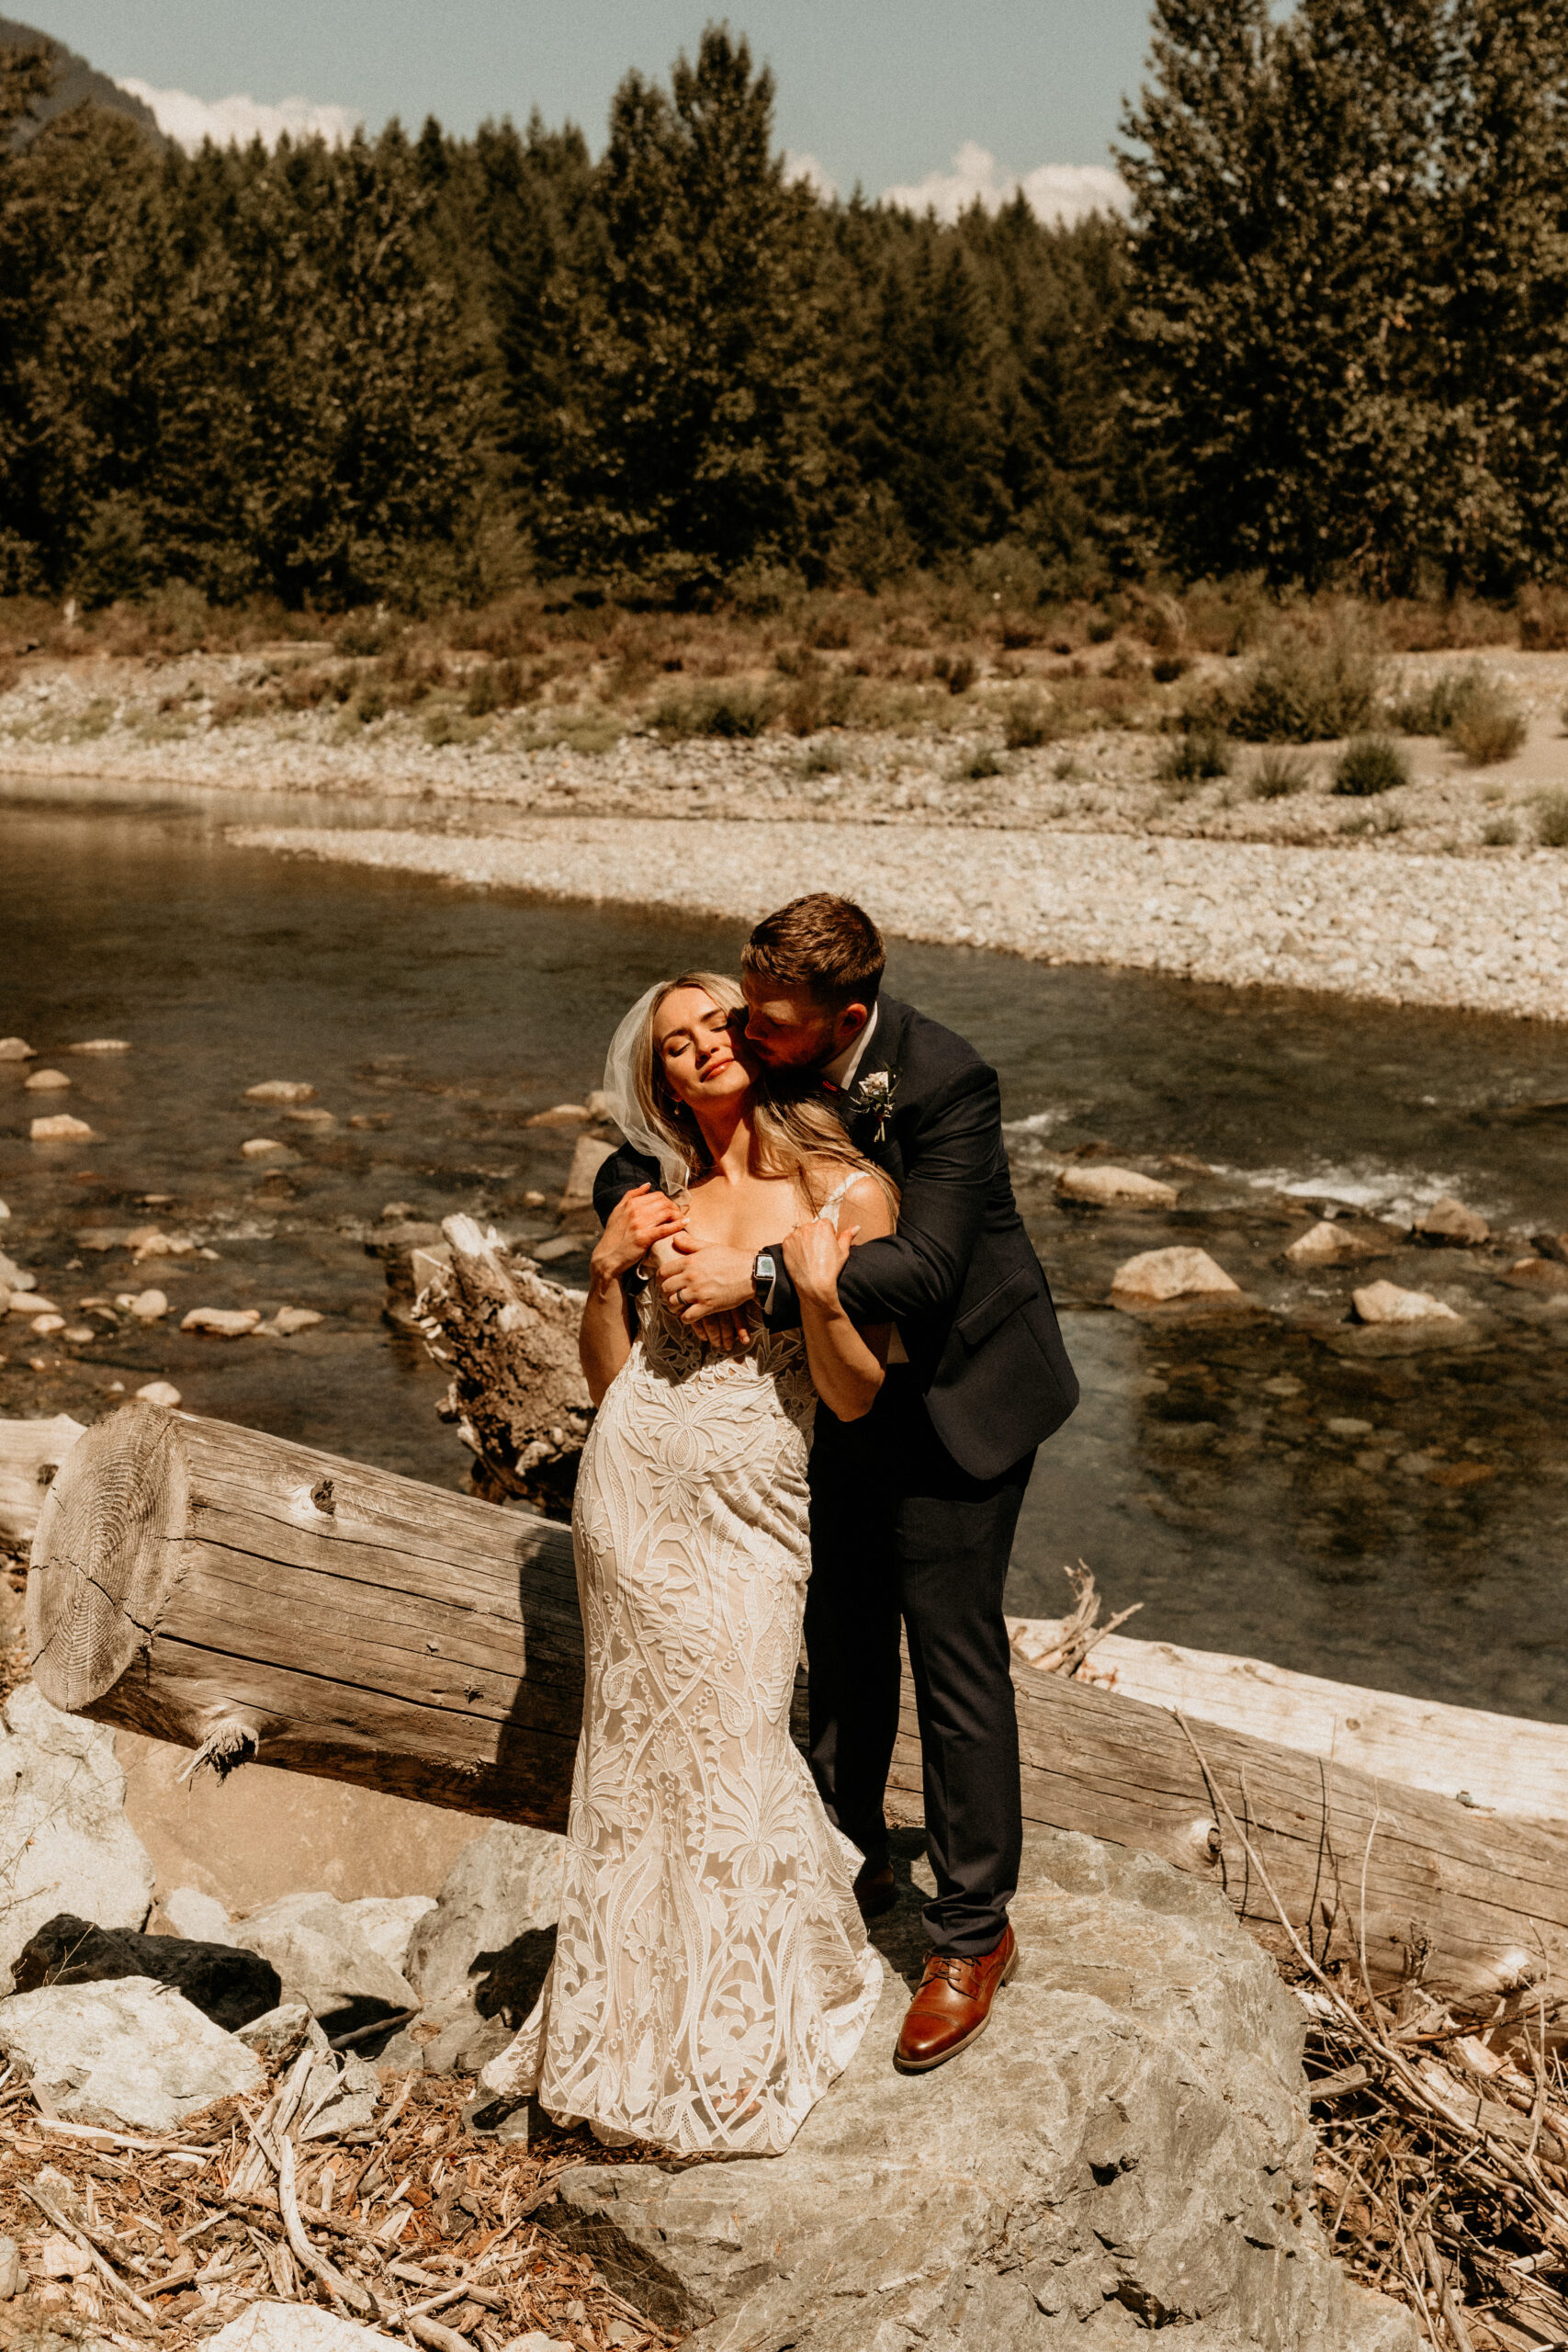
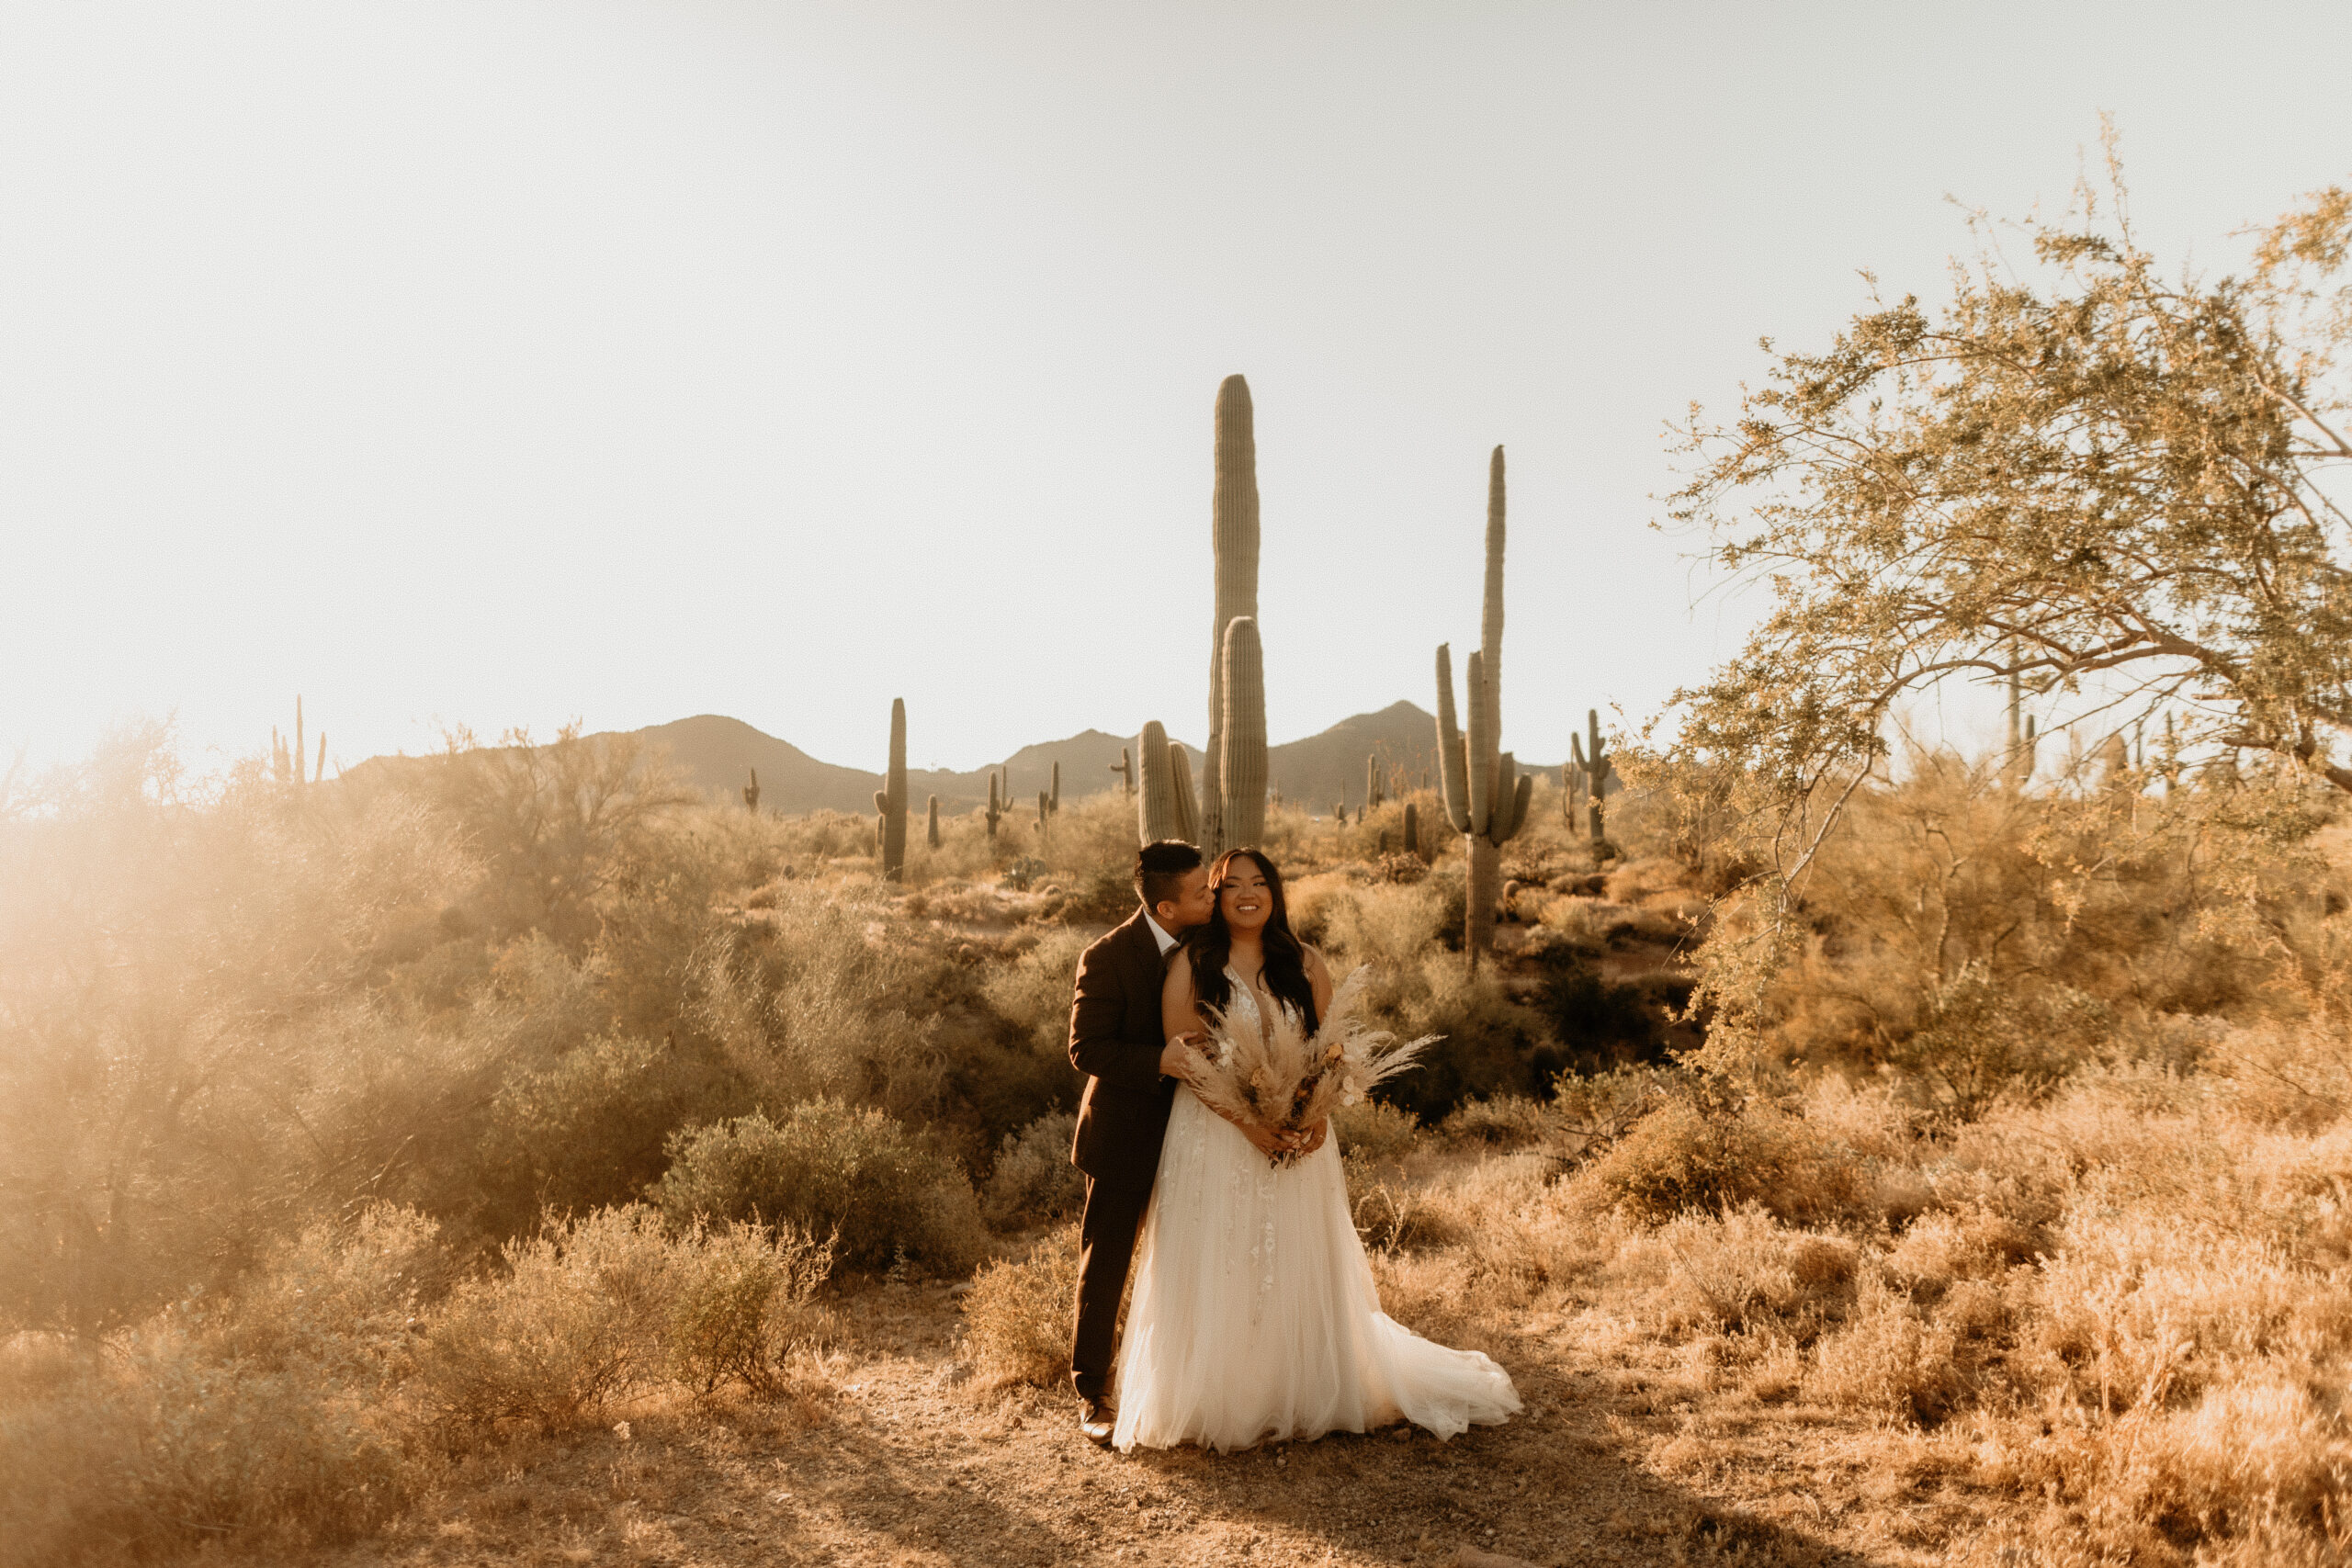
Daylight is what happens the rest of the day until the sun starts to set again, when it’s high up in the sky and shining light over everything! People often look down on daylight/midday light when it comes to photography since the harsh light can cast weird shadows and be a little too bright, but I think it’s the perfect time to get extra creative! You can totally use the shadows to get funky with your poses and create a super dramatic effect, so don’t be scared of it 🙂 If you have your ceremony during the day, just be aware that one direction will probably look great in photos with nice backlighting, but the other direction will have lots of shadows and harsh light. So it’s not always the best time for a ceremony, especially if you have people walking down an aisle because the light will either be bright in their eyes, or in yours while you say your vows!
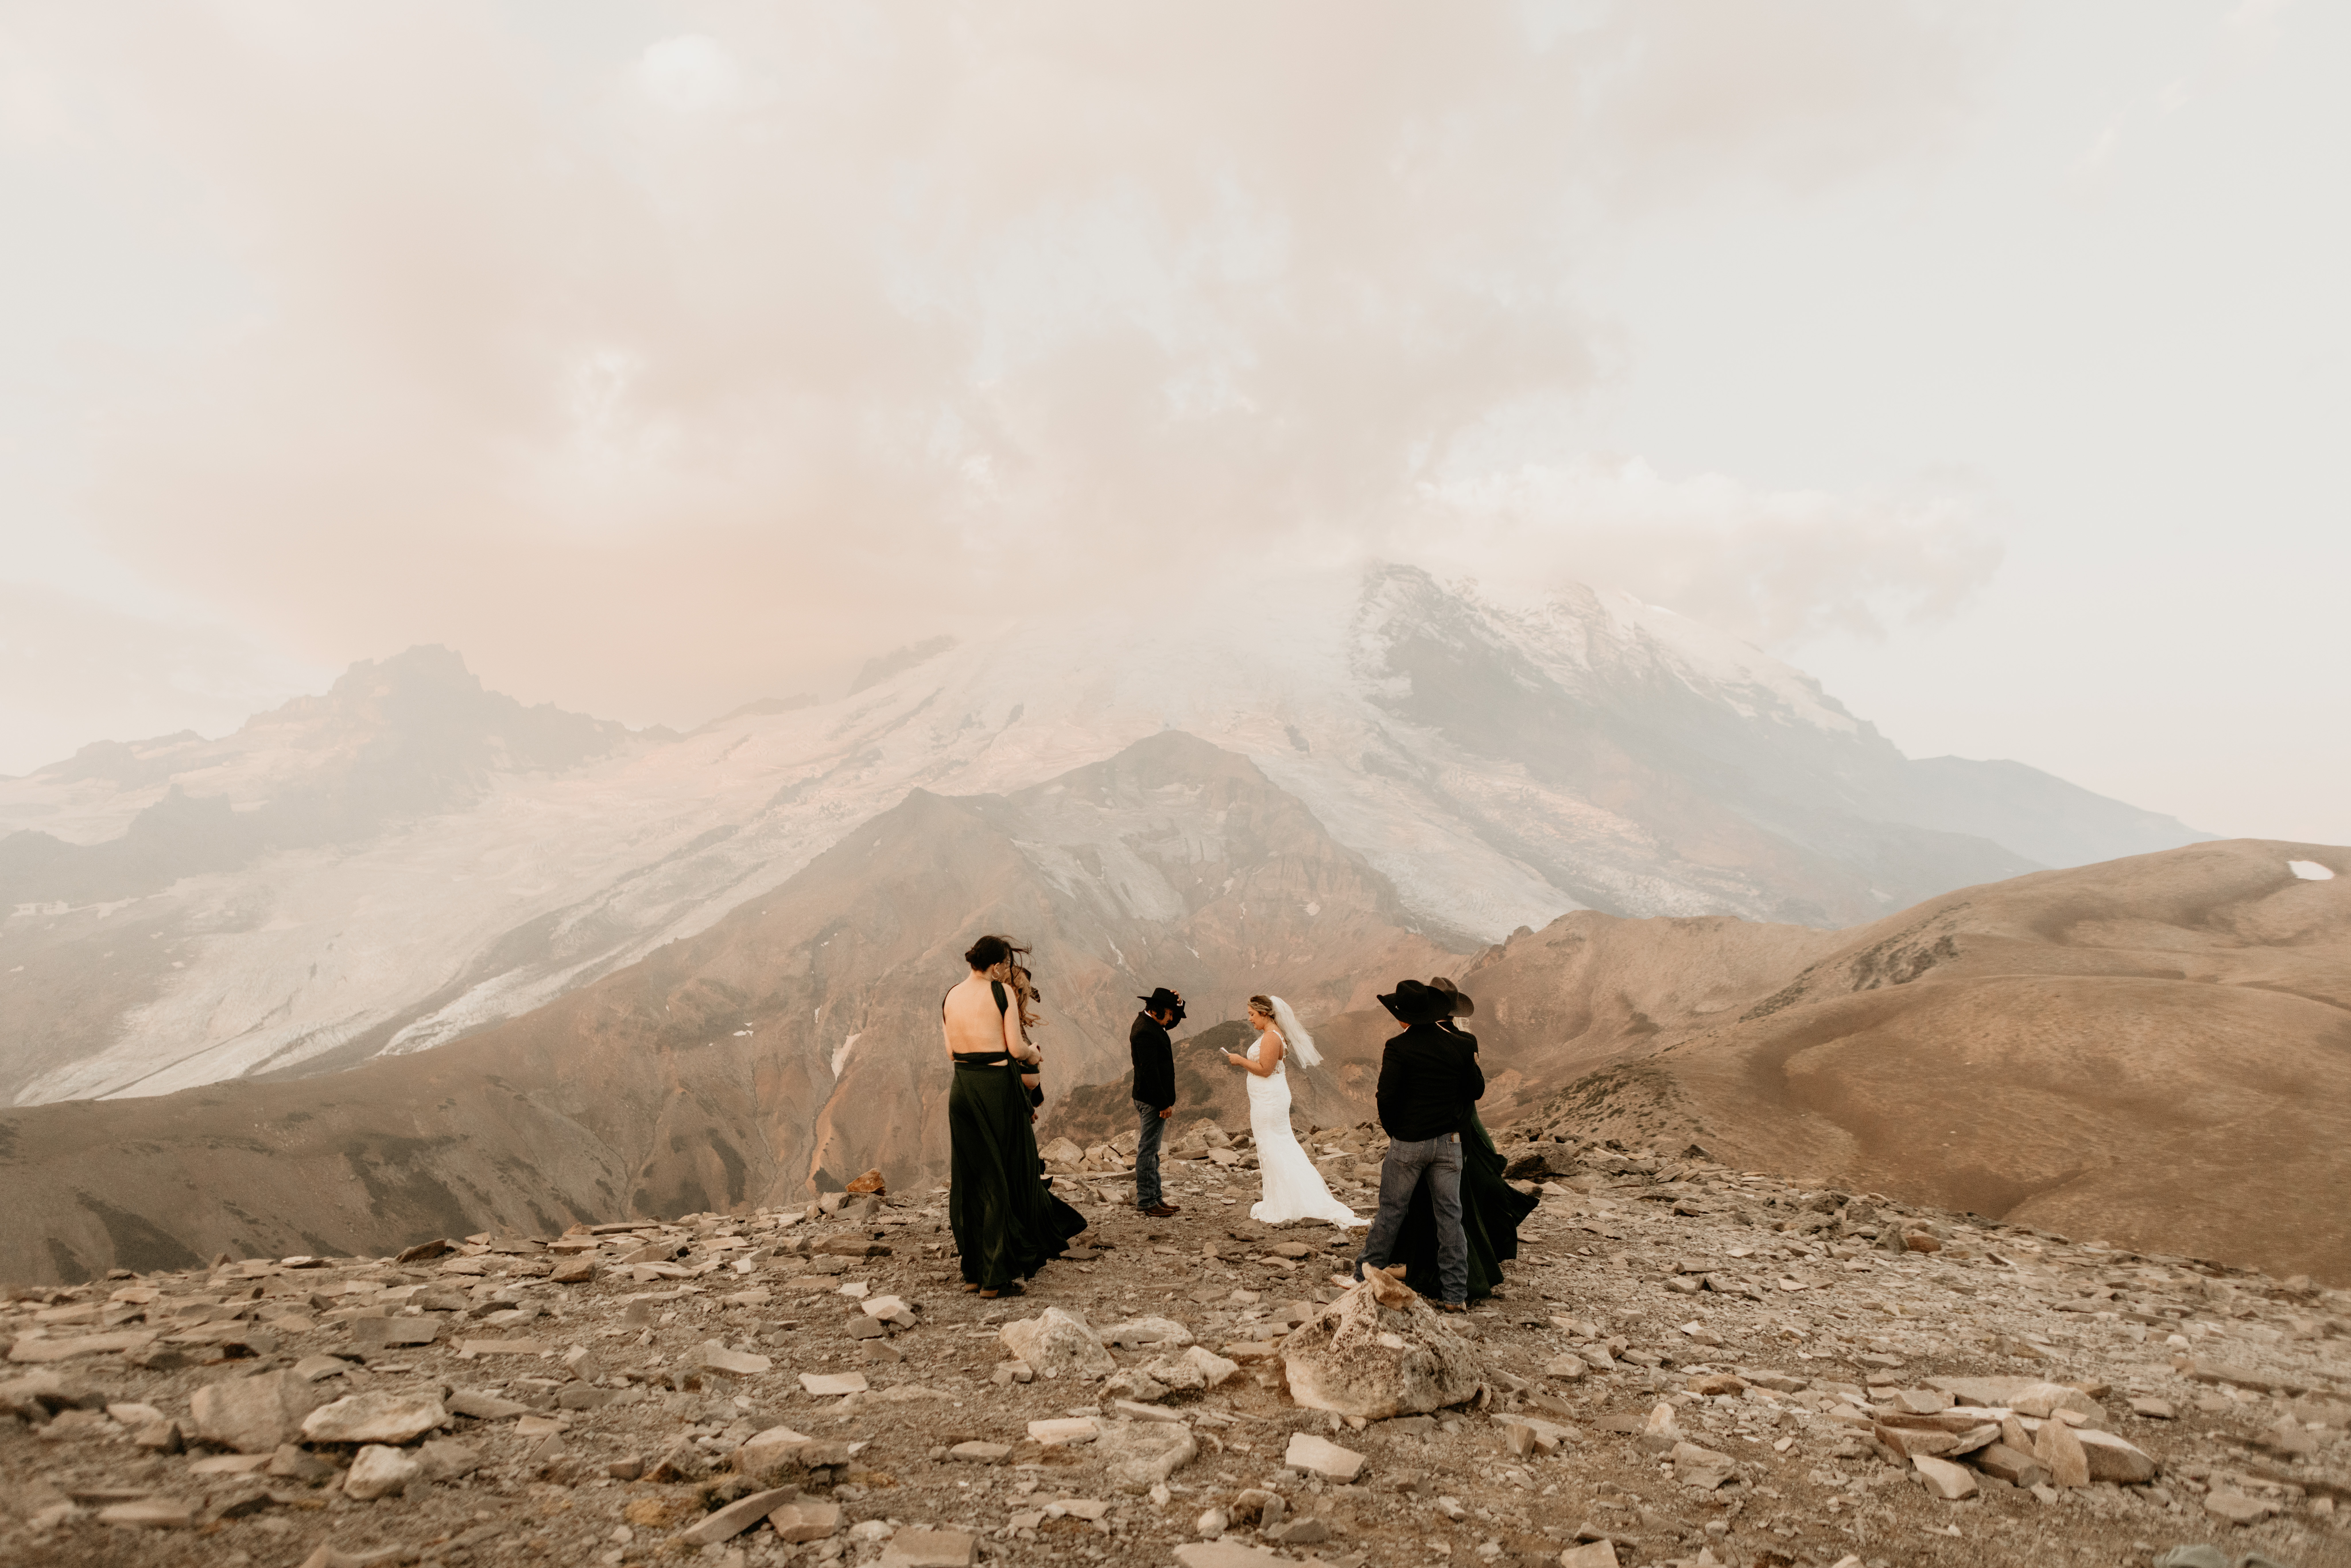
If it’s not sunny out, you’ll get overcast lighting, which I loooove (thankfully, since I live in the PNW and most days are overcast here). On cloudy/rainy/overcast days, the clouds will be covering the sun for the most part, which actually creates super soft, gentle lighting everywhere – which is amazing for photos, since we don’t have to worry about weird shadows or crazy bright light! So definitely don’t be too upset if you don’t get sunshine on your elopement day, because we can make magic with clouds and it’ll create a totally different, more peaceful atmosphere.
Evening golden hour
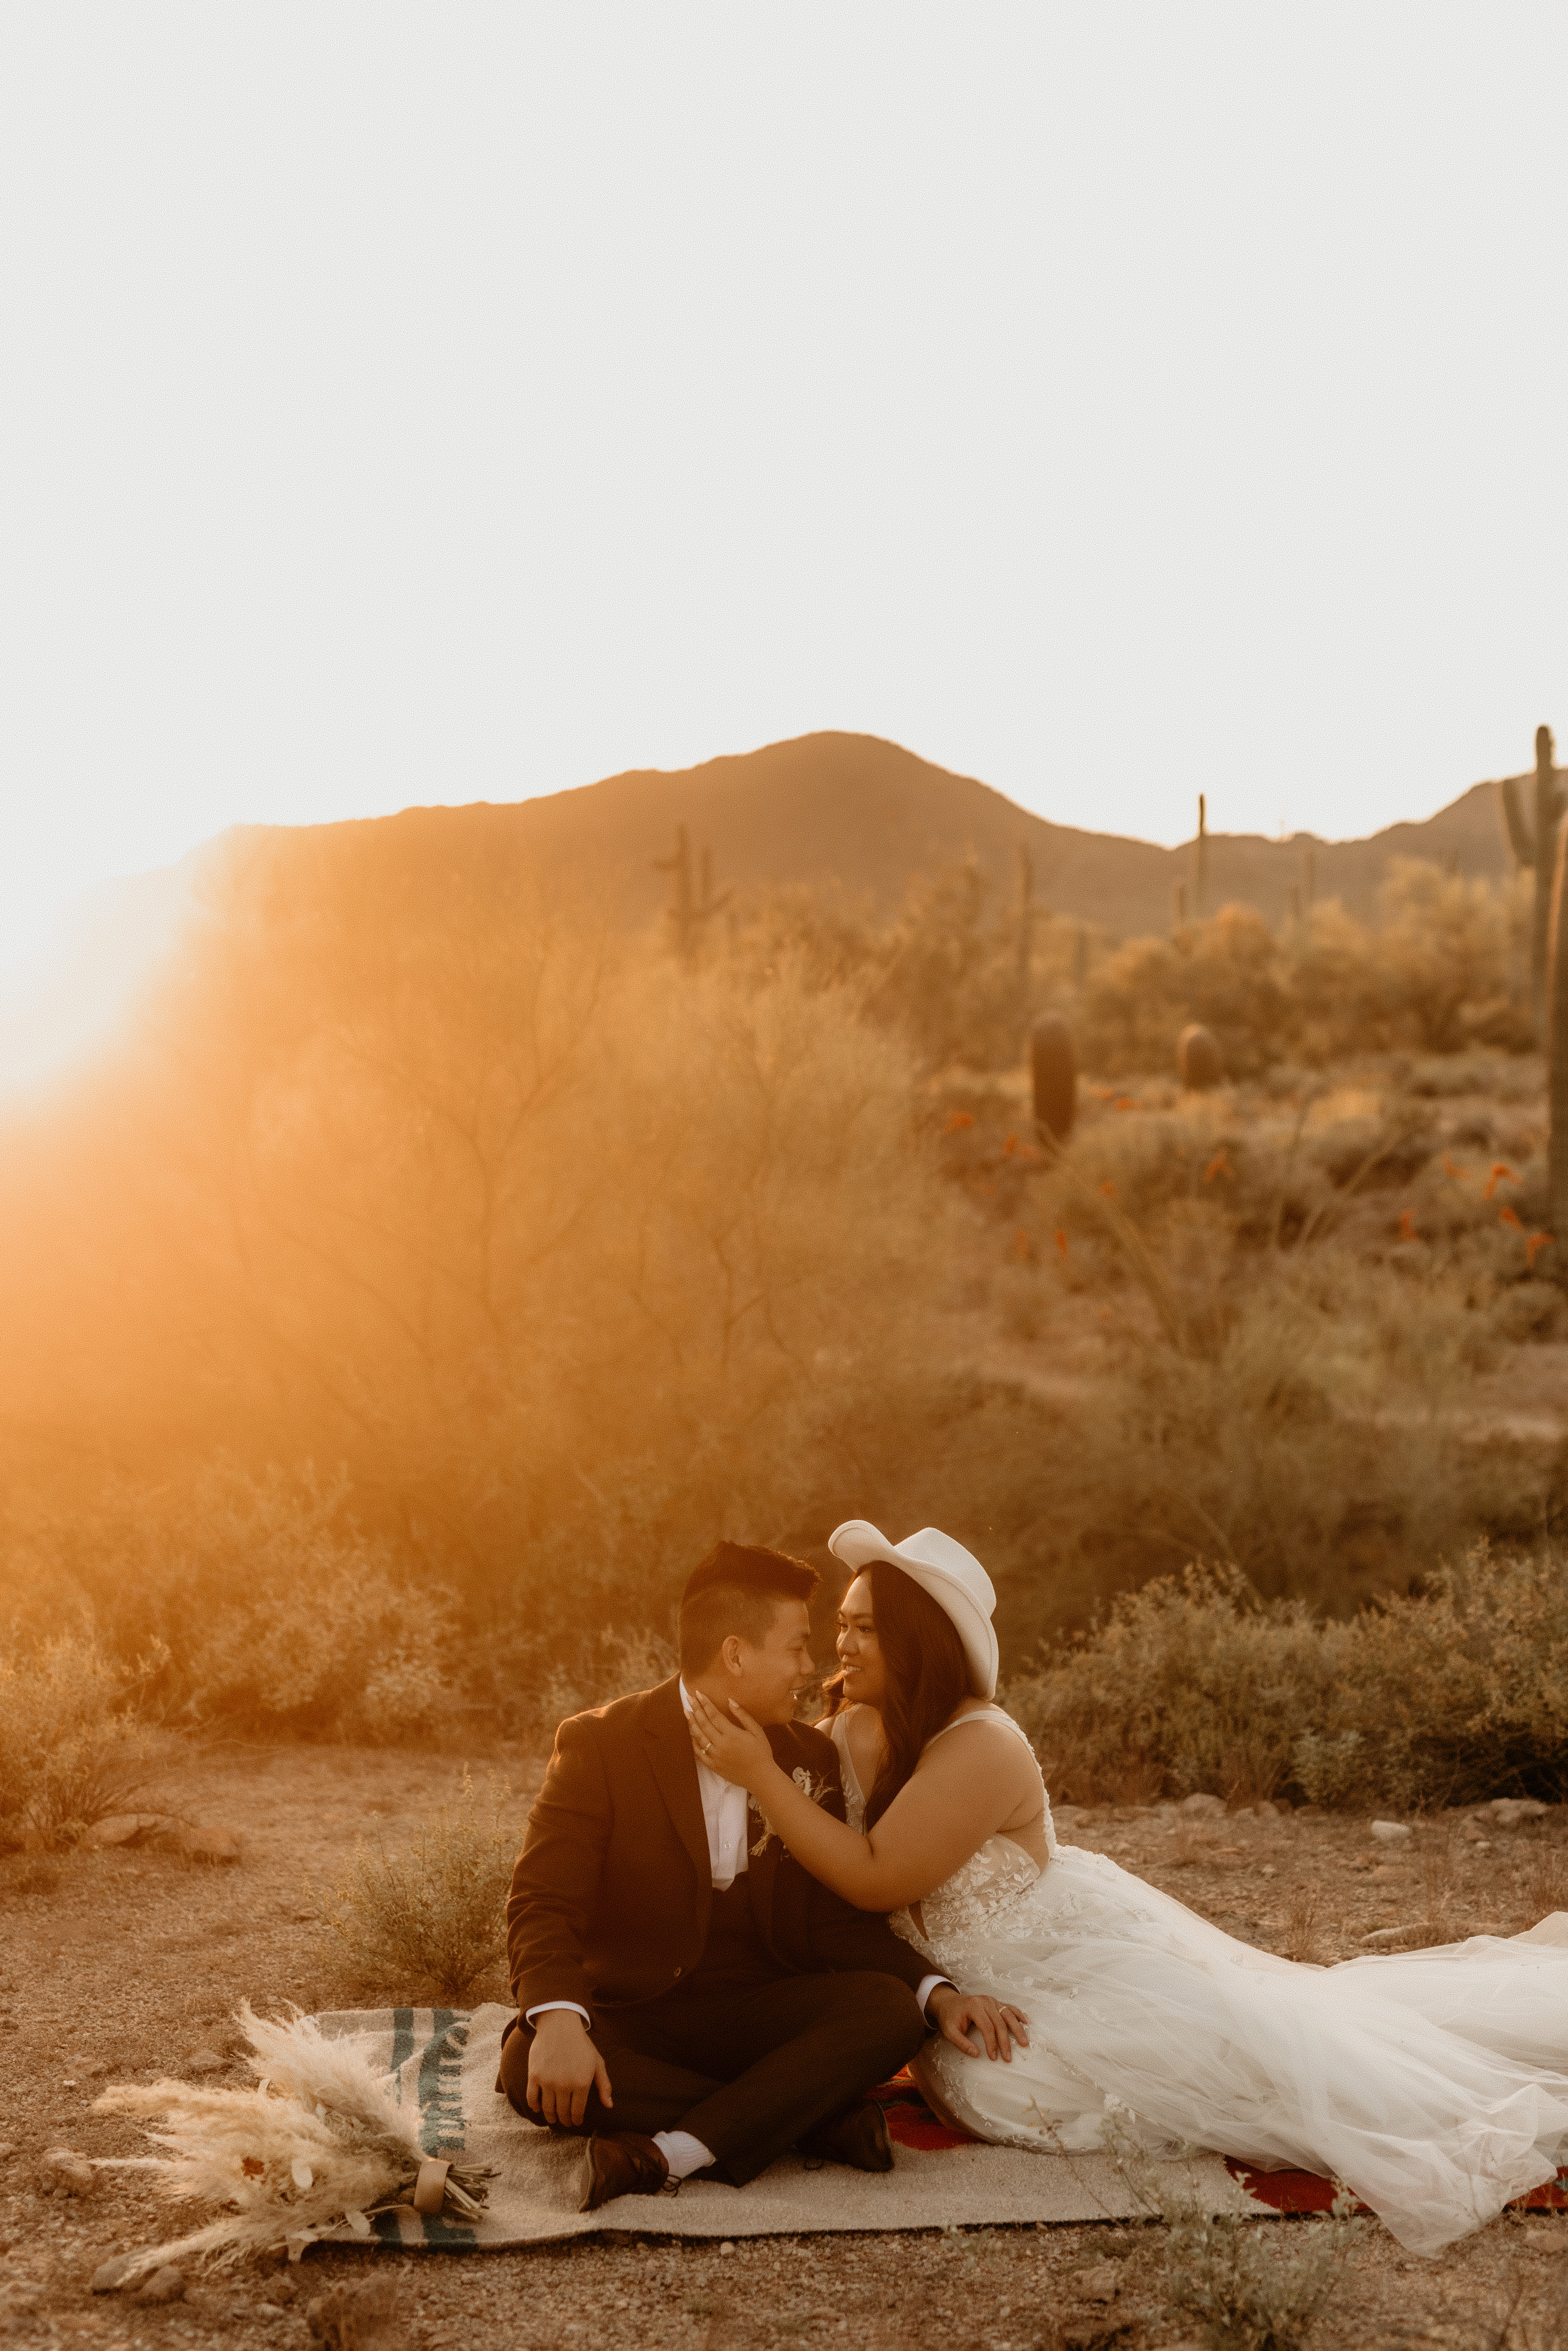
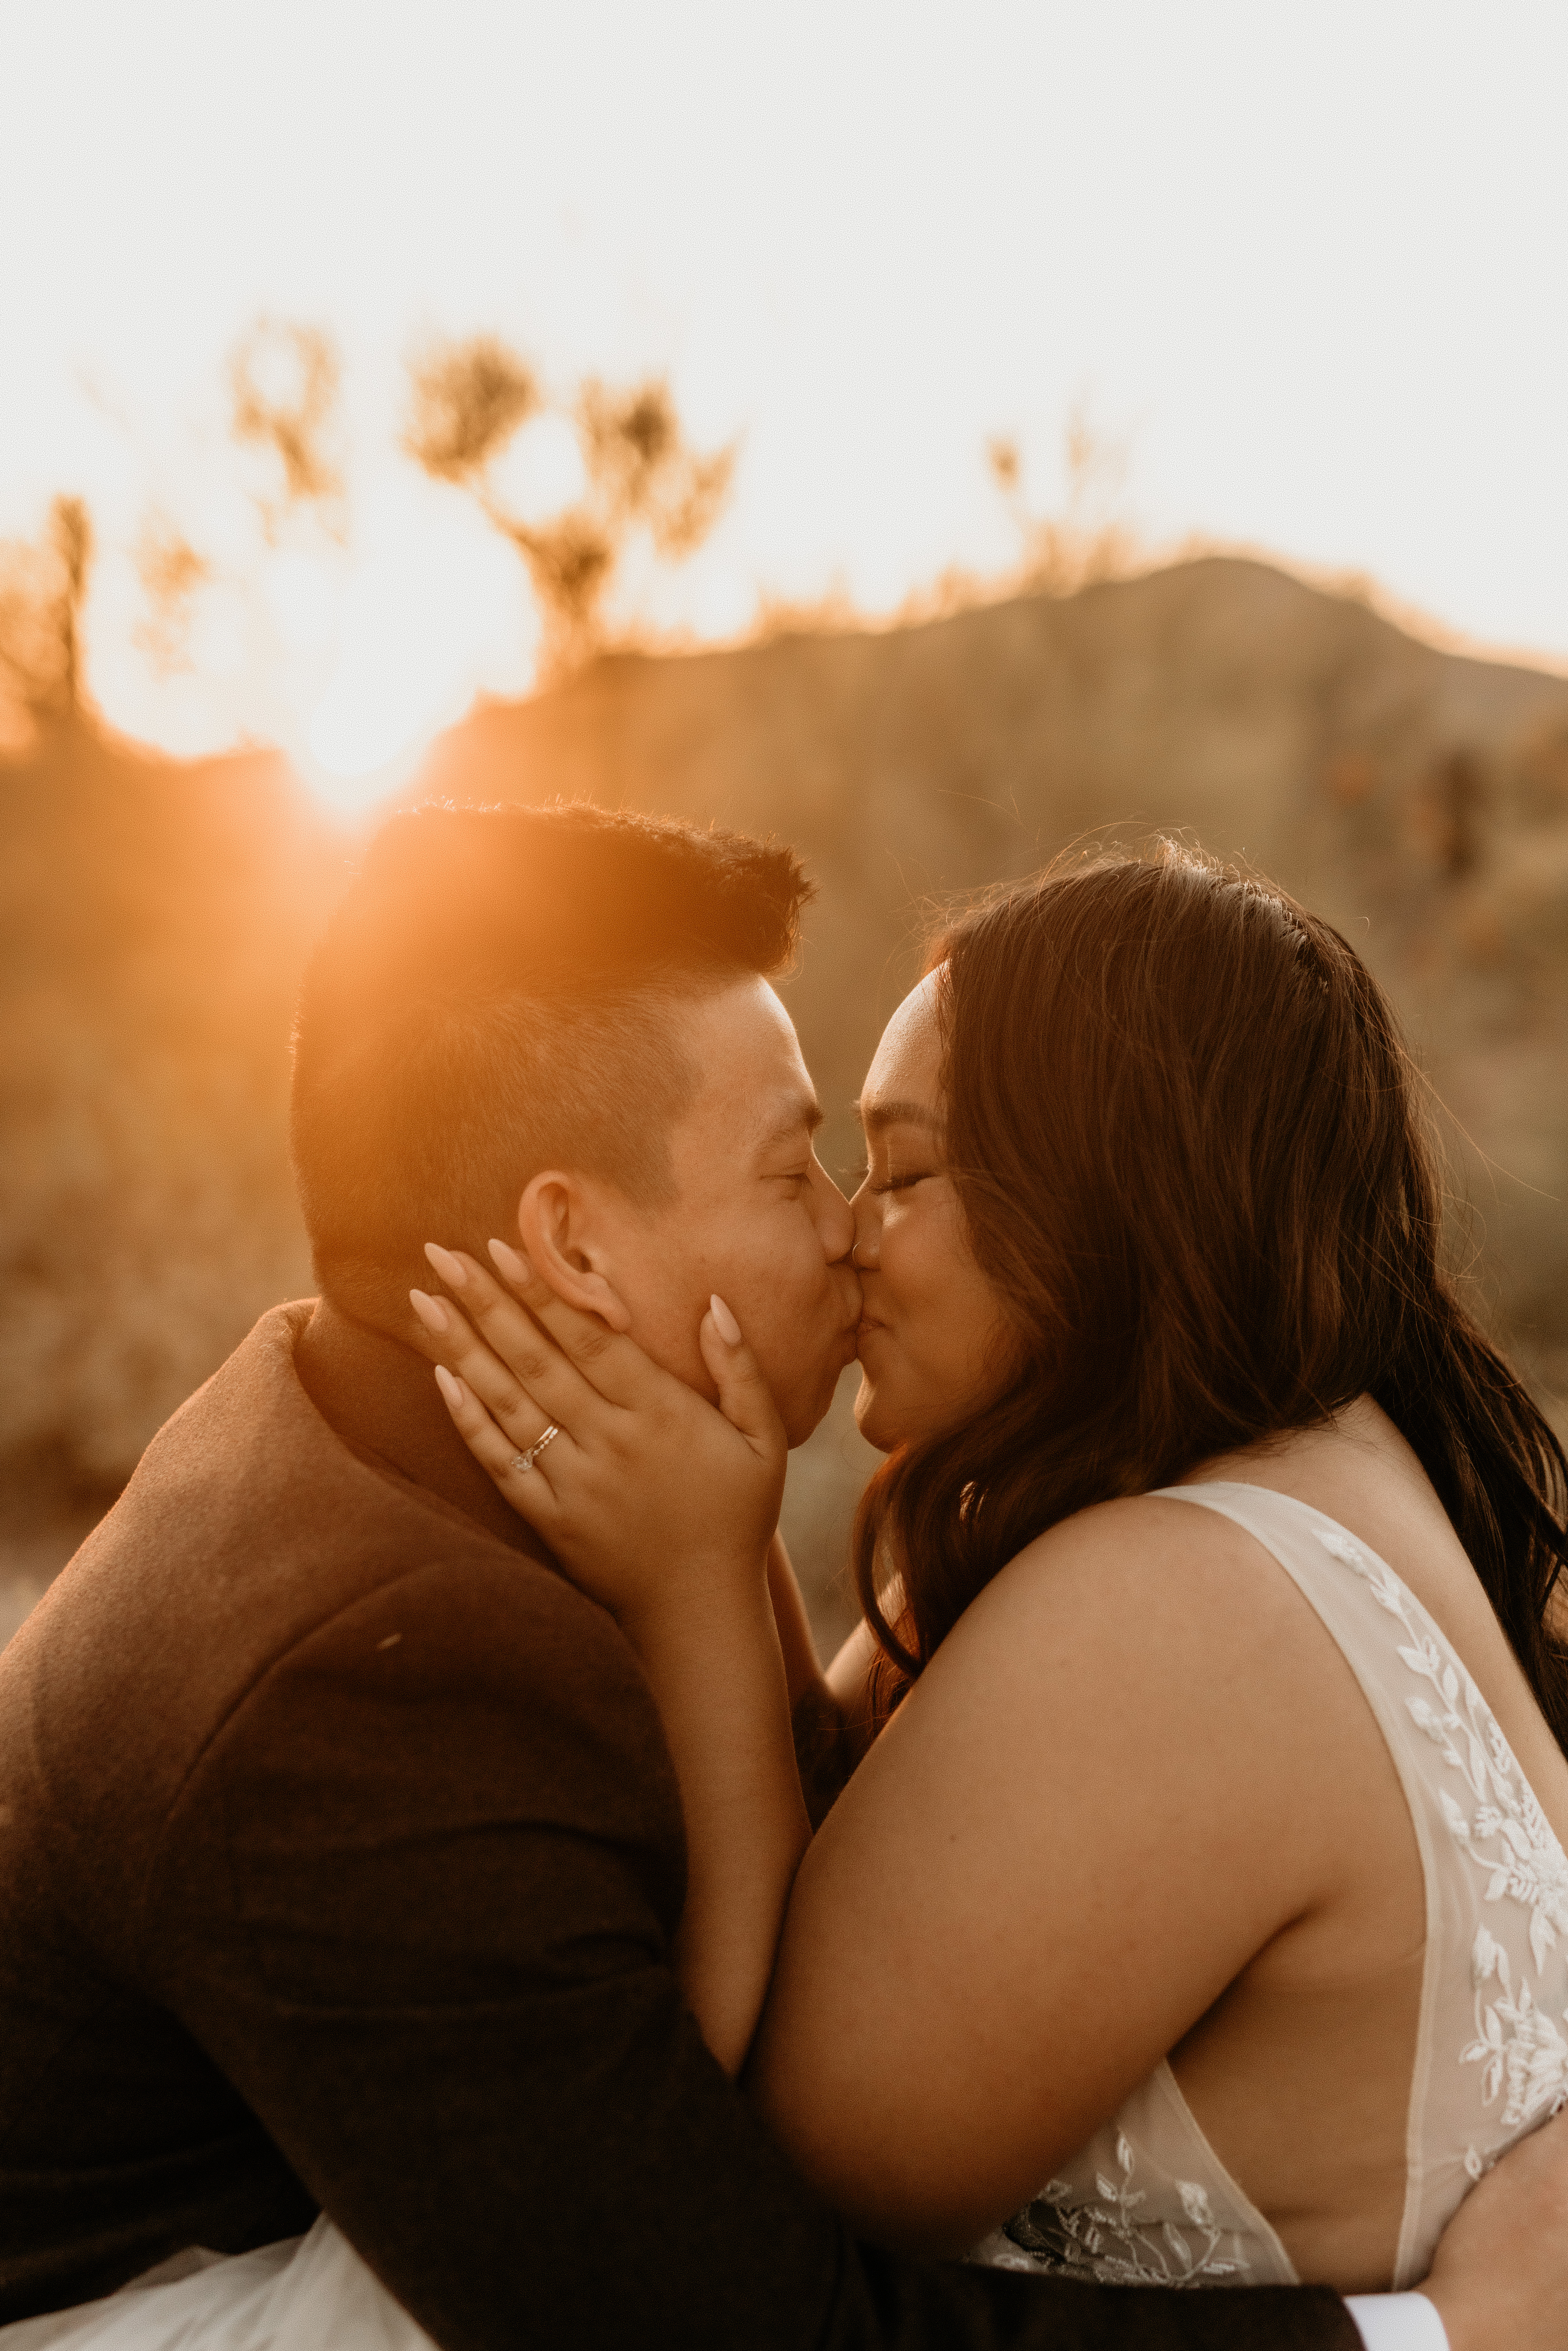
Now the same cycle repeats, just in the opposite direction of the morning! Once the sun starts to set in the sky, you’ll get an evening golden hour. If you pull up sunset time on a weather app on your elopement day, you’ll want to plan your golden hour photos for around an hour before! And yes, evening golden hour is justttt as dreamy as morning golden hour☀️
Sunset
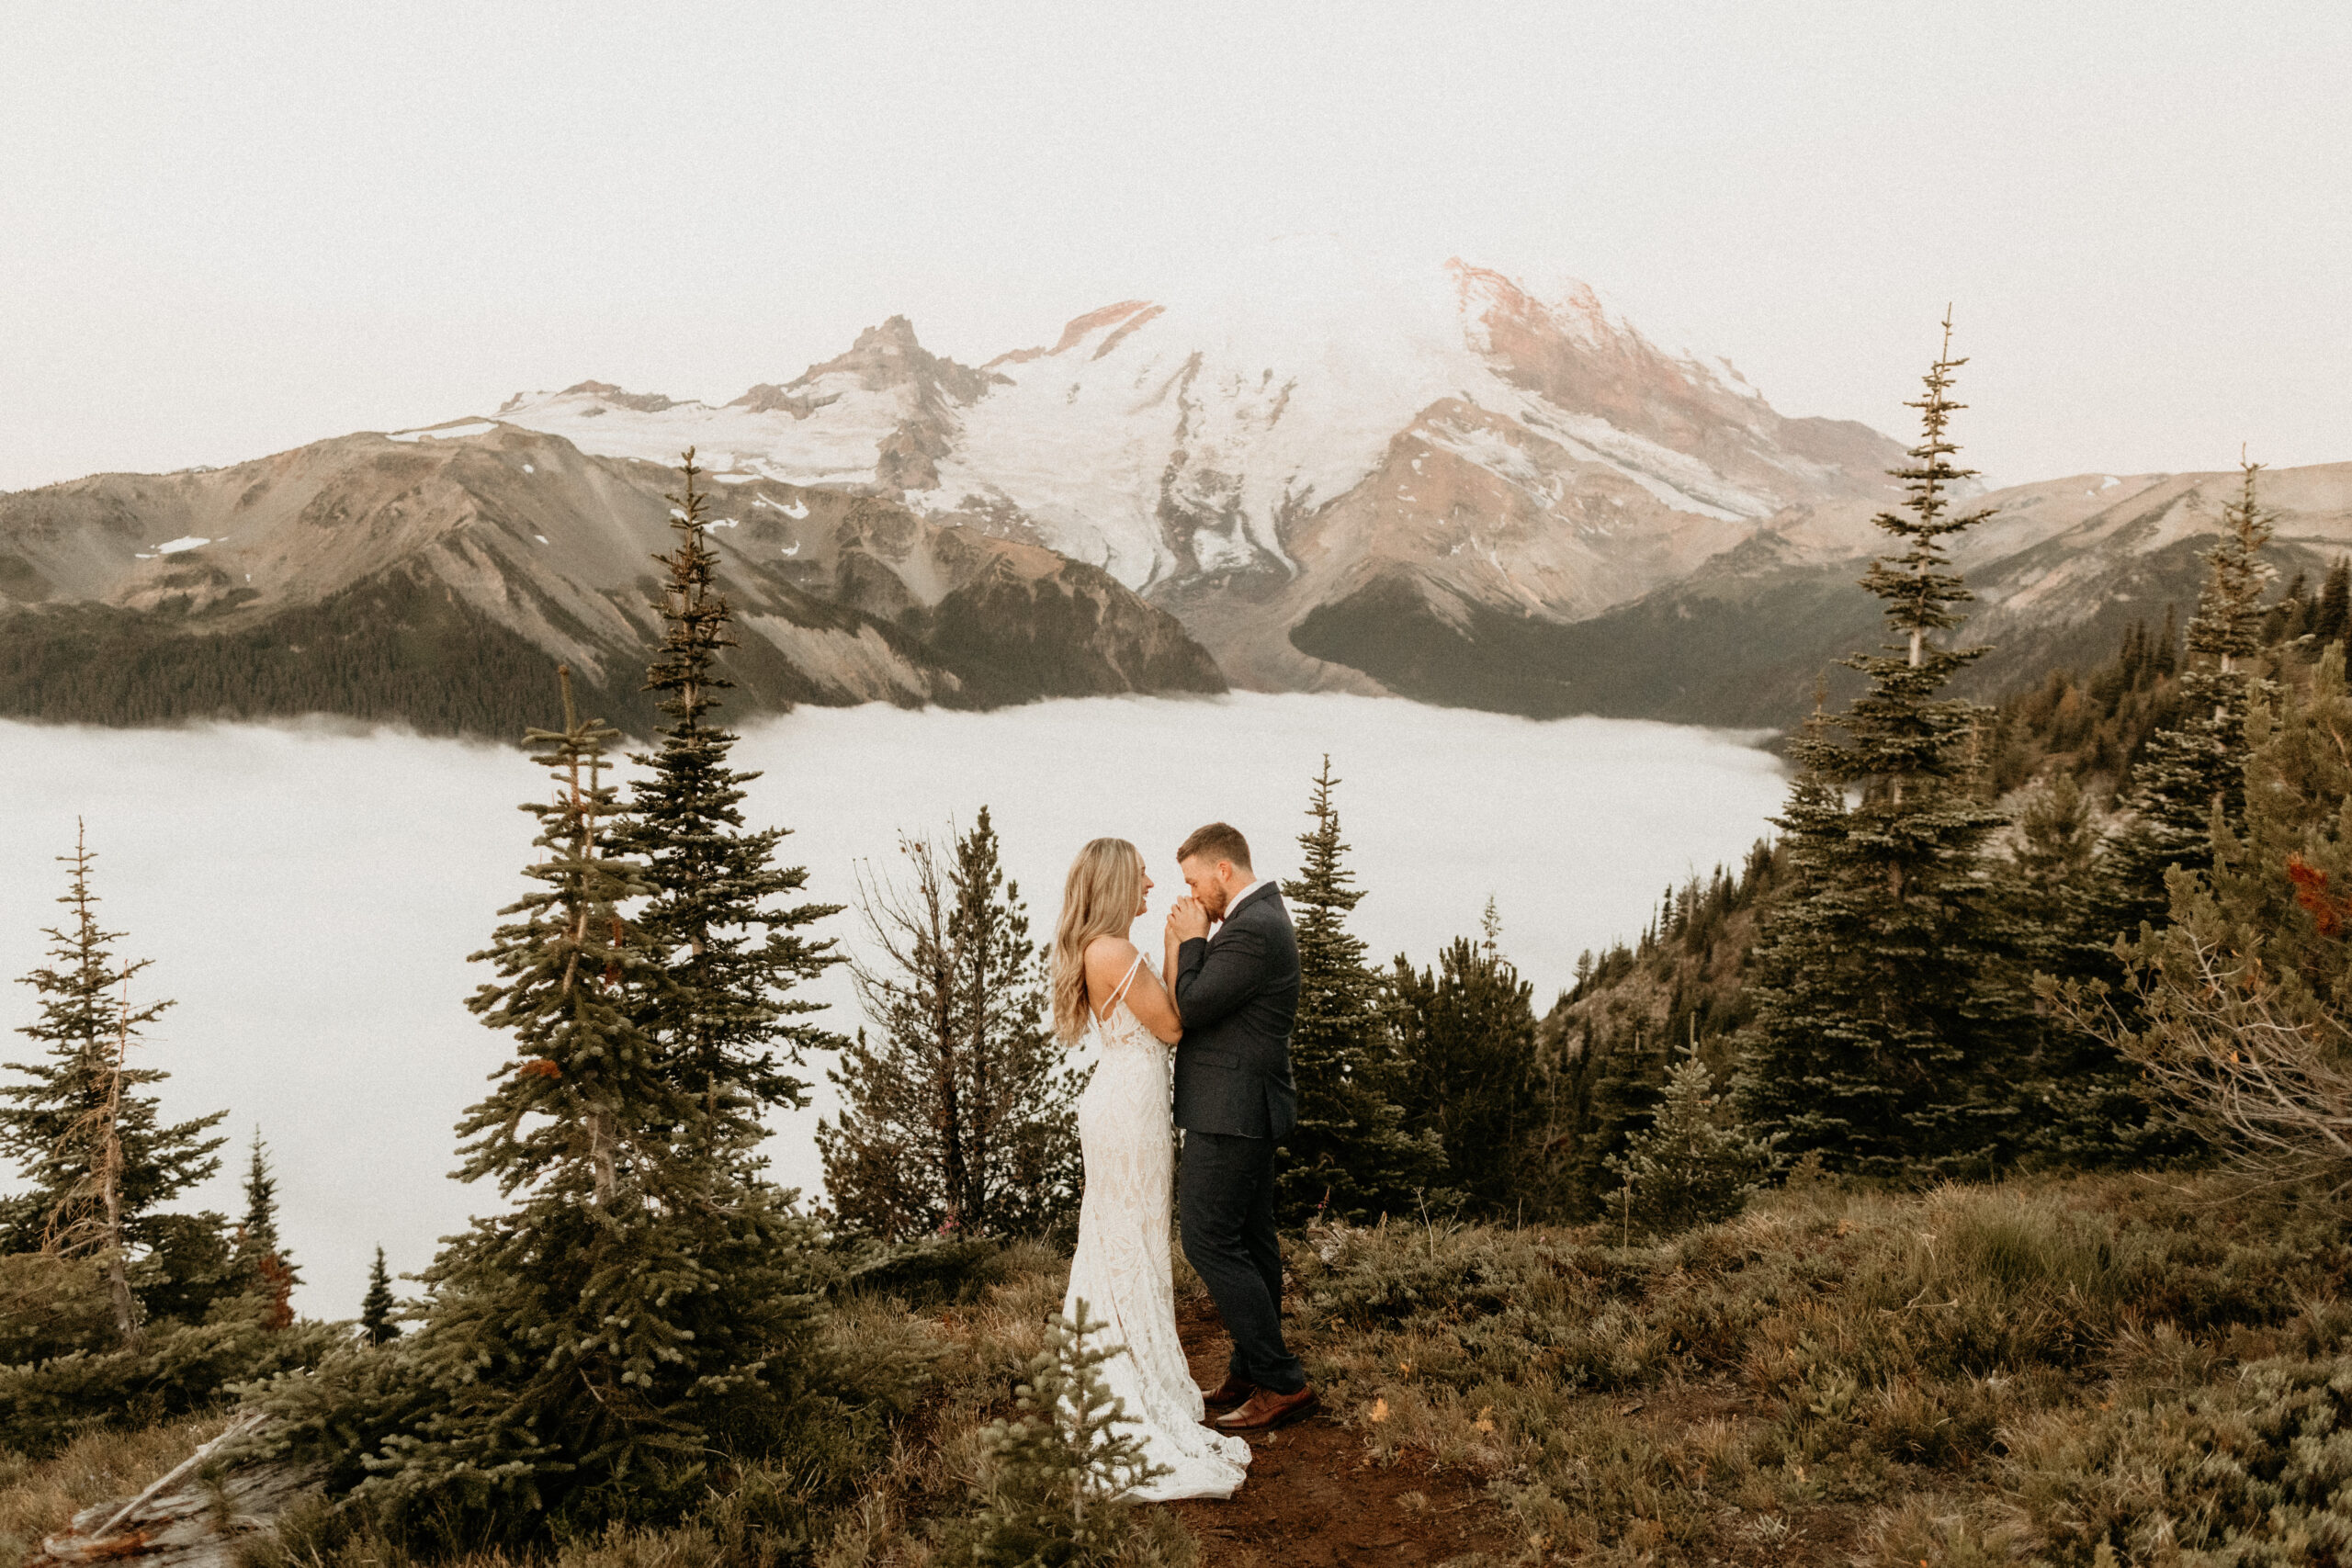
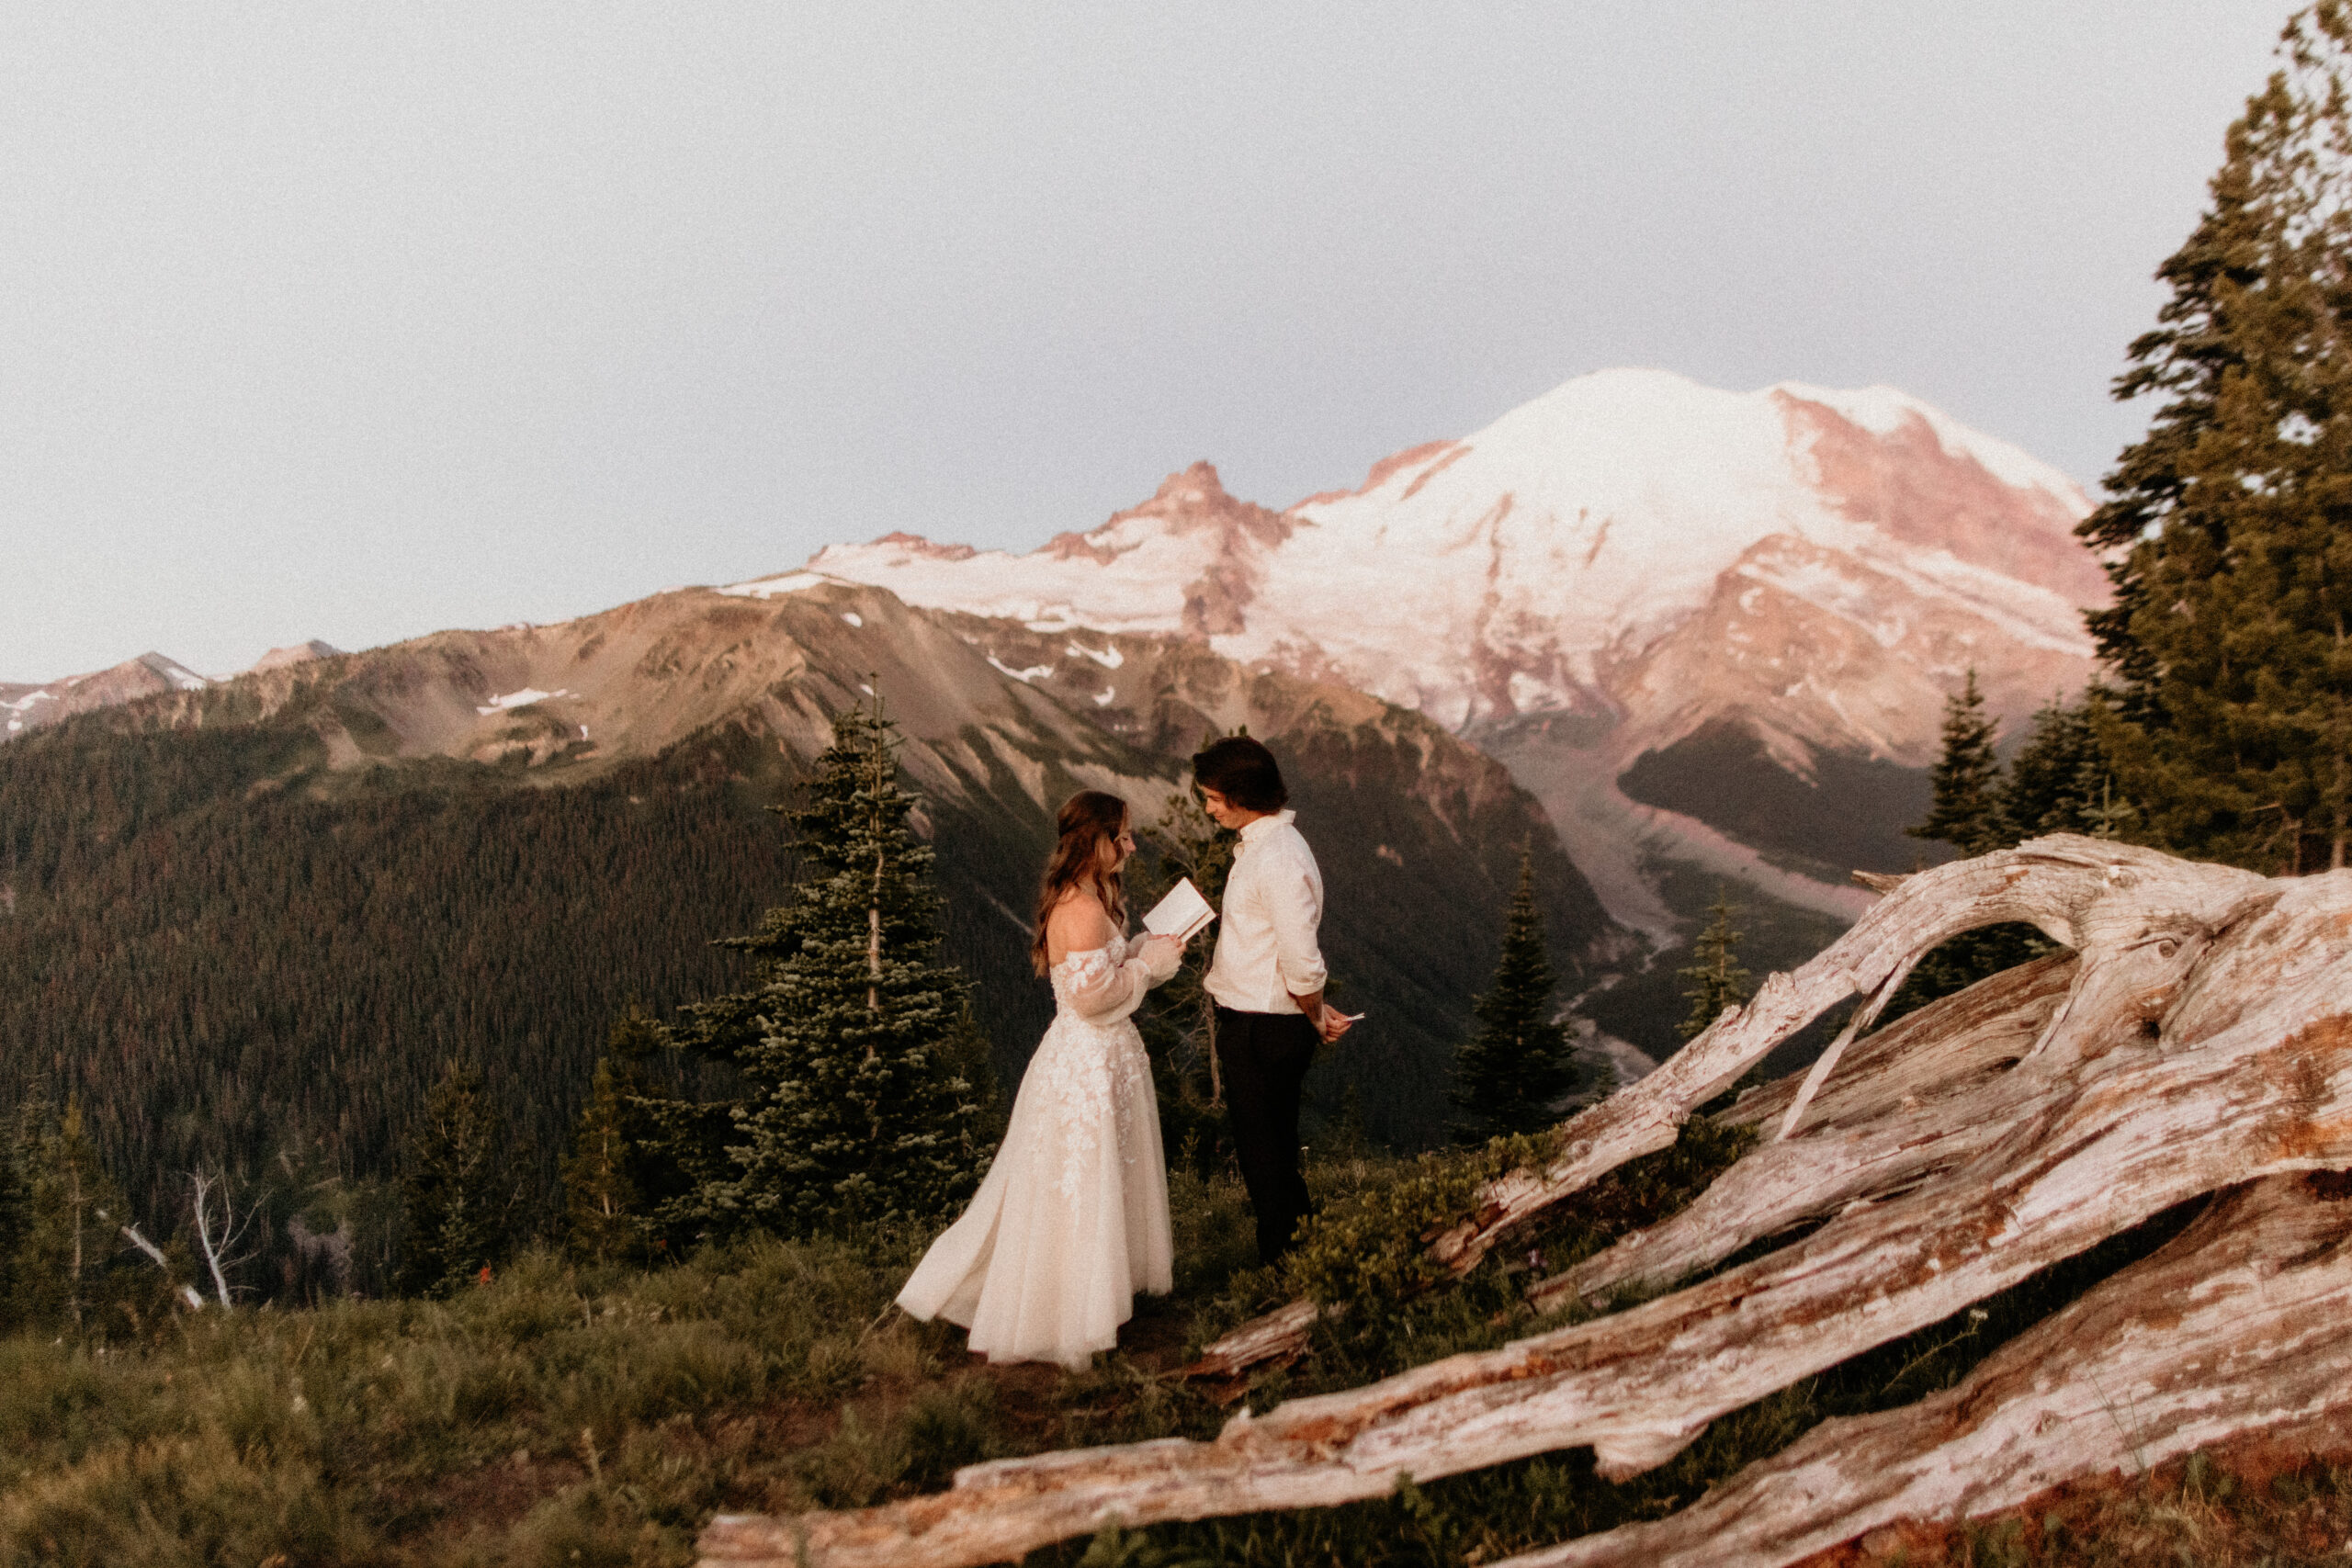
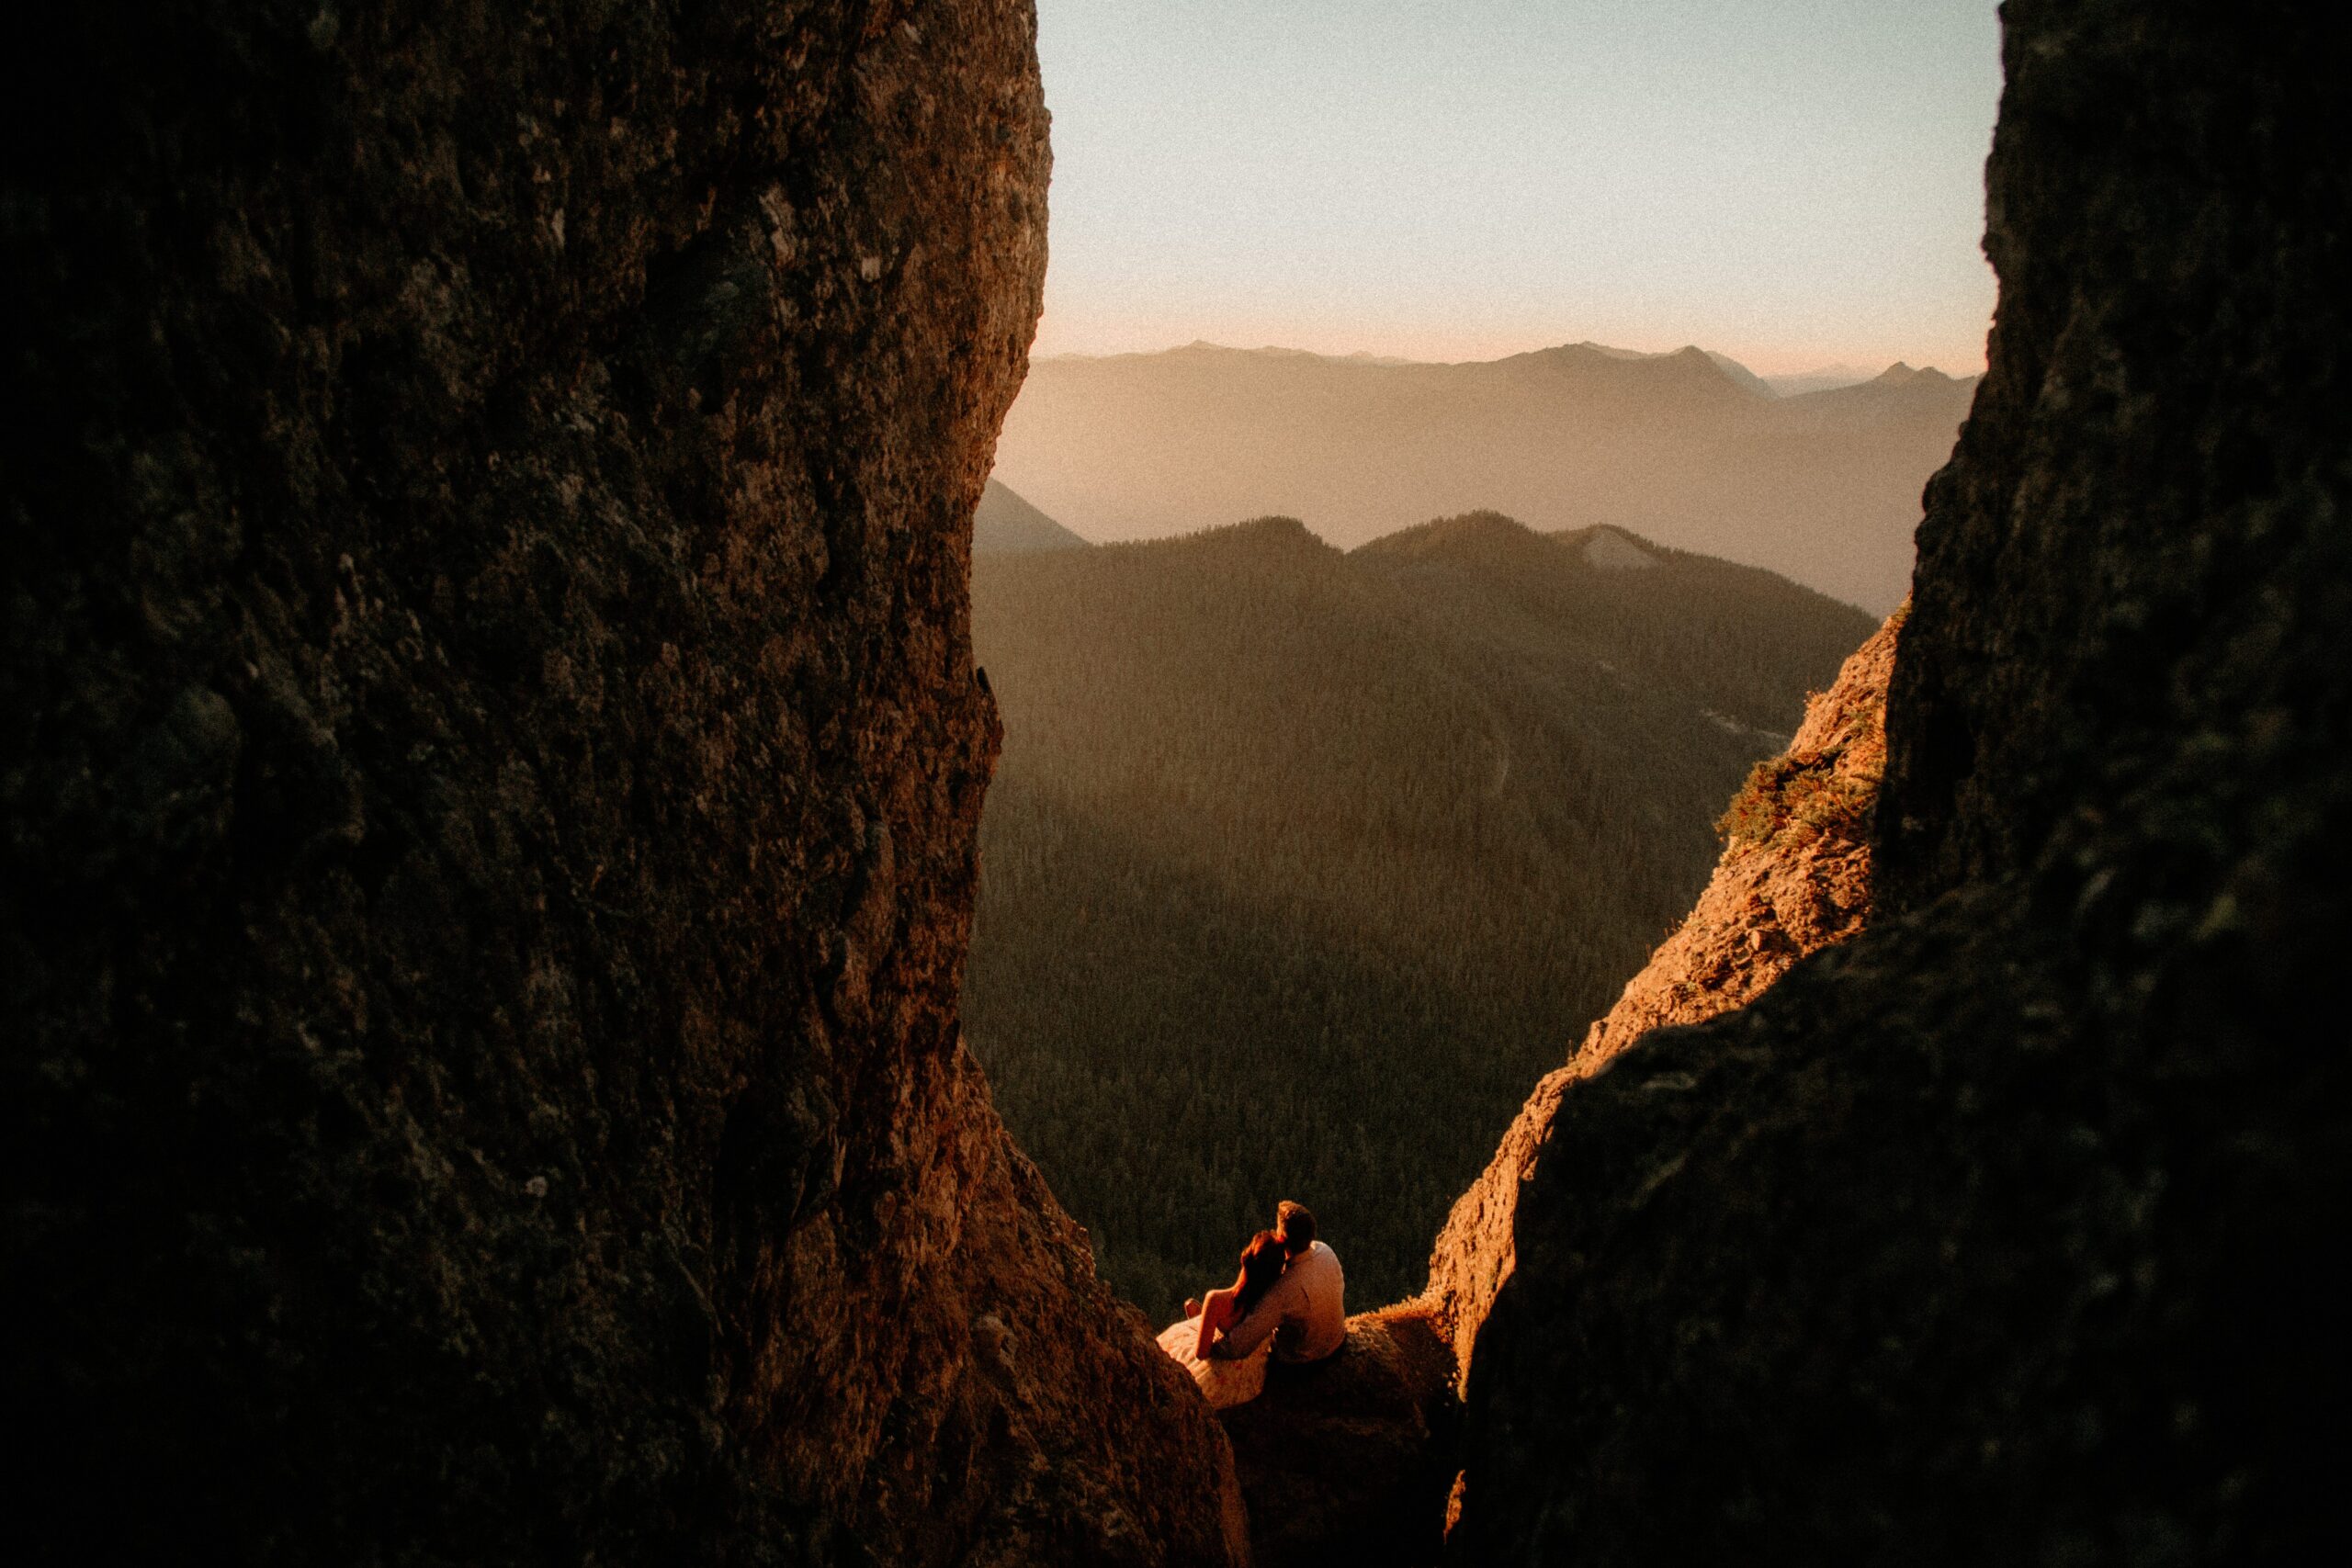
After evening golden hour comes sunset, duh! The sun is going away for the day, so this is your last chance to snap photos with sunlight in the sky before the stars come out. If you’re lucky, maybe you’ll get a colorful sunset with pinks, purples, and oranges, or a magical alpenglow over the mountains!
Evening blue hour
Whereas blue hour comes before sunrise in the morning, it comes after sunset in the evening (usually the half hour after the sun goes down below the horizon). Again, blue hour is dreamy AF, especially if you’re on the coast with the ocean in the background, or in the mountains, and you get to see the colors in the sky spread out over layers & layers of mountains😍The soft, cool light is honestly hard to beat and is the perfect way to end your elopement day on a relaxing note!
Dusk
The final part of the day before total nighttime is dusk, a.k.a. evening twilight. This is when you get to squeeze the final few drops of sunlight out of the day, as it sets further & further below the horizon with the stars starting to come out in the night sky🌃
Should You Elope at Sunrise or Sunset?
Okayyyy so you’re a total outdoor lighting pro now, right?! Before I leave ya with my last elopement day lighting tips, I wanted to do a quick comparison between sunrise and sunset, since those are the two most popular times of day for adventure elopement ceremonies. While your decision will definitely depend on the location you elope at, there are some general pros & cons to eloping at sunrise vs. sunset no matter where you are – so here ya go!
Eloping at Sunrise
Pros:
- Popular spots are typically less crowded
- It’s quiet & calm outside
- Parking is usually easier to find at popular trailheads/viewpoints
- You get to experience the world waking up & the sky coming to life
- You have the rest of the day to celebrate & do whatever you want
Cons:
- You have to get up early (CRAZY early in the summer), especially if you want to take photos during morning twilight/blue hour
- If you’re hiking to get to your elopement spot, you’ll have to start your hike reallyyyy early in order to time it right
- Shadows can be wonky at certain locations
- You might need a nap/break later in the day
Eloping at Sunset
Pros:
- You don’t have to get up early (and you don’t have to hike half-asleep)
- You can take full advantage of golden hour, sunset, blue hour, & evening twilight
- You can celebrate for the whole day, then end with a magical golden hour/sunset shoot & stargazing
Cons:
- Popular spots are typically very crowded
- Parking is usually harder to find at popular trailheads/viewpoints
- If you’re hiking to get to your elopement spot, you have to time it right and give yourselves plenty of time to make it before the sun goes away
- If you’re eloping in the mountains, you’ll have to remember that the sun sets earlier in the mountains & plan accordingly
3 Tips for Beautiful Adventure Elopement Day Lighting
Let’s end this guide with a few of my final tips for the best elopement day lighting!
1. Plan your timeline around your ceremony
If you want to have the BEST lighting possible for your ceremony, I recommend planning your ceremony time first – then planning the rest of the day around it. E.g. if you want to have a dreamy sunset ceremony, plan your ceremony for right around golden hour, and have the rest of your festivities/activities/etc. before it! That way, you have soft, magical light during your ceremony, and then you can take photos during blue hour/twilight afterward. If you plan the rest of your day first, your ceremony might end up at a random time of day when daylight will be super harsh and shadows will be weird at your location!
2. Have backup plans in place
It’s alwaysss important to have backup plans in place, but especially in a place like the PNW where rain is kinda inevitable. If you really want your ceremony to take place under beautiful light without rain getting in the way, but you’re eloping at a rainy location or during fall/winter/spring, it’s a good idea to have a backup indoor location in place just in case, such as a photography studio space or even a small venue! This way, you can still have beautiful light for your ceremony even if you have to move indoors, and you won’t have to resort to a random hotel room with dim light or anything like that.
3. Ask your photographer for help
Finally, you should def ask your photographer for help!! I always help my couples out when it comes to lighting, since I’ve photographed COUNTLESS elopements and have experience with every type of light out there. If you’re confused or don’t know what to do, just ask me and I’ve gotcha covered!!
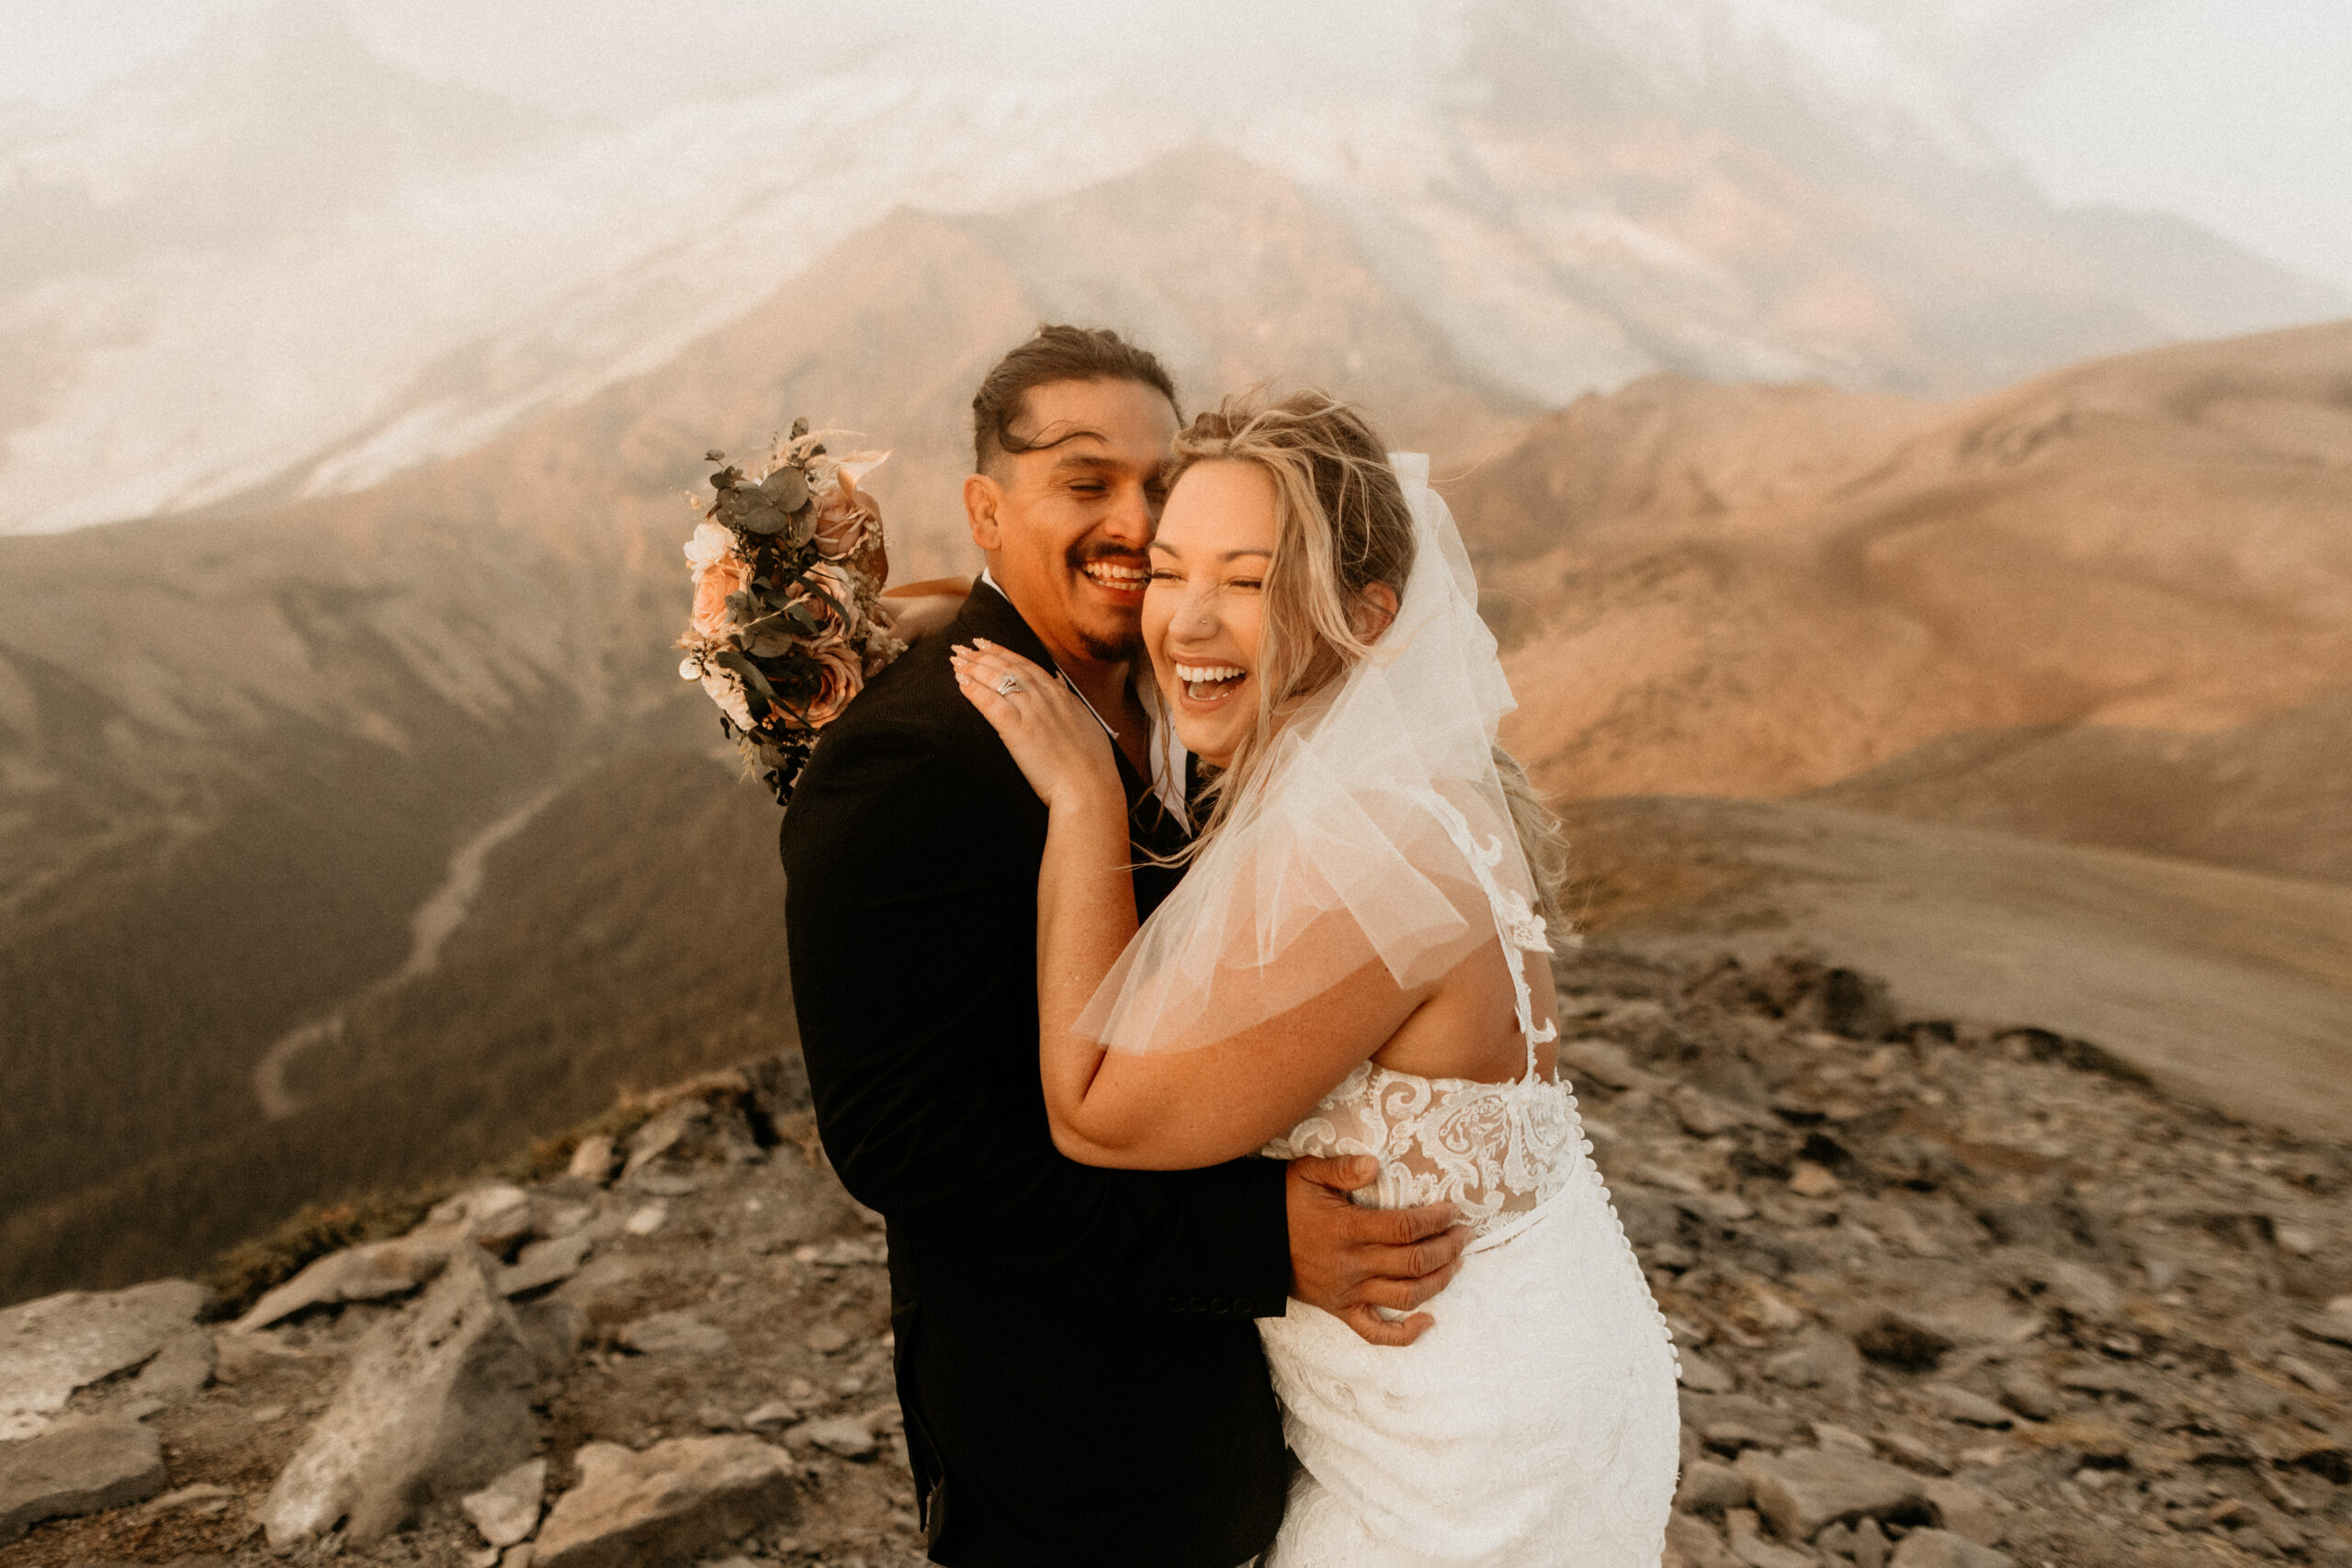
So now that you’re a TOTAL elopement lighting pro, let’s start planning your dream day with your dream light 😉 Get in touch here & make sure ya check out a few more of my fav elopement planning resources below for more tips!!
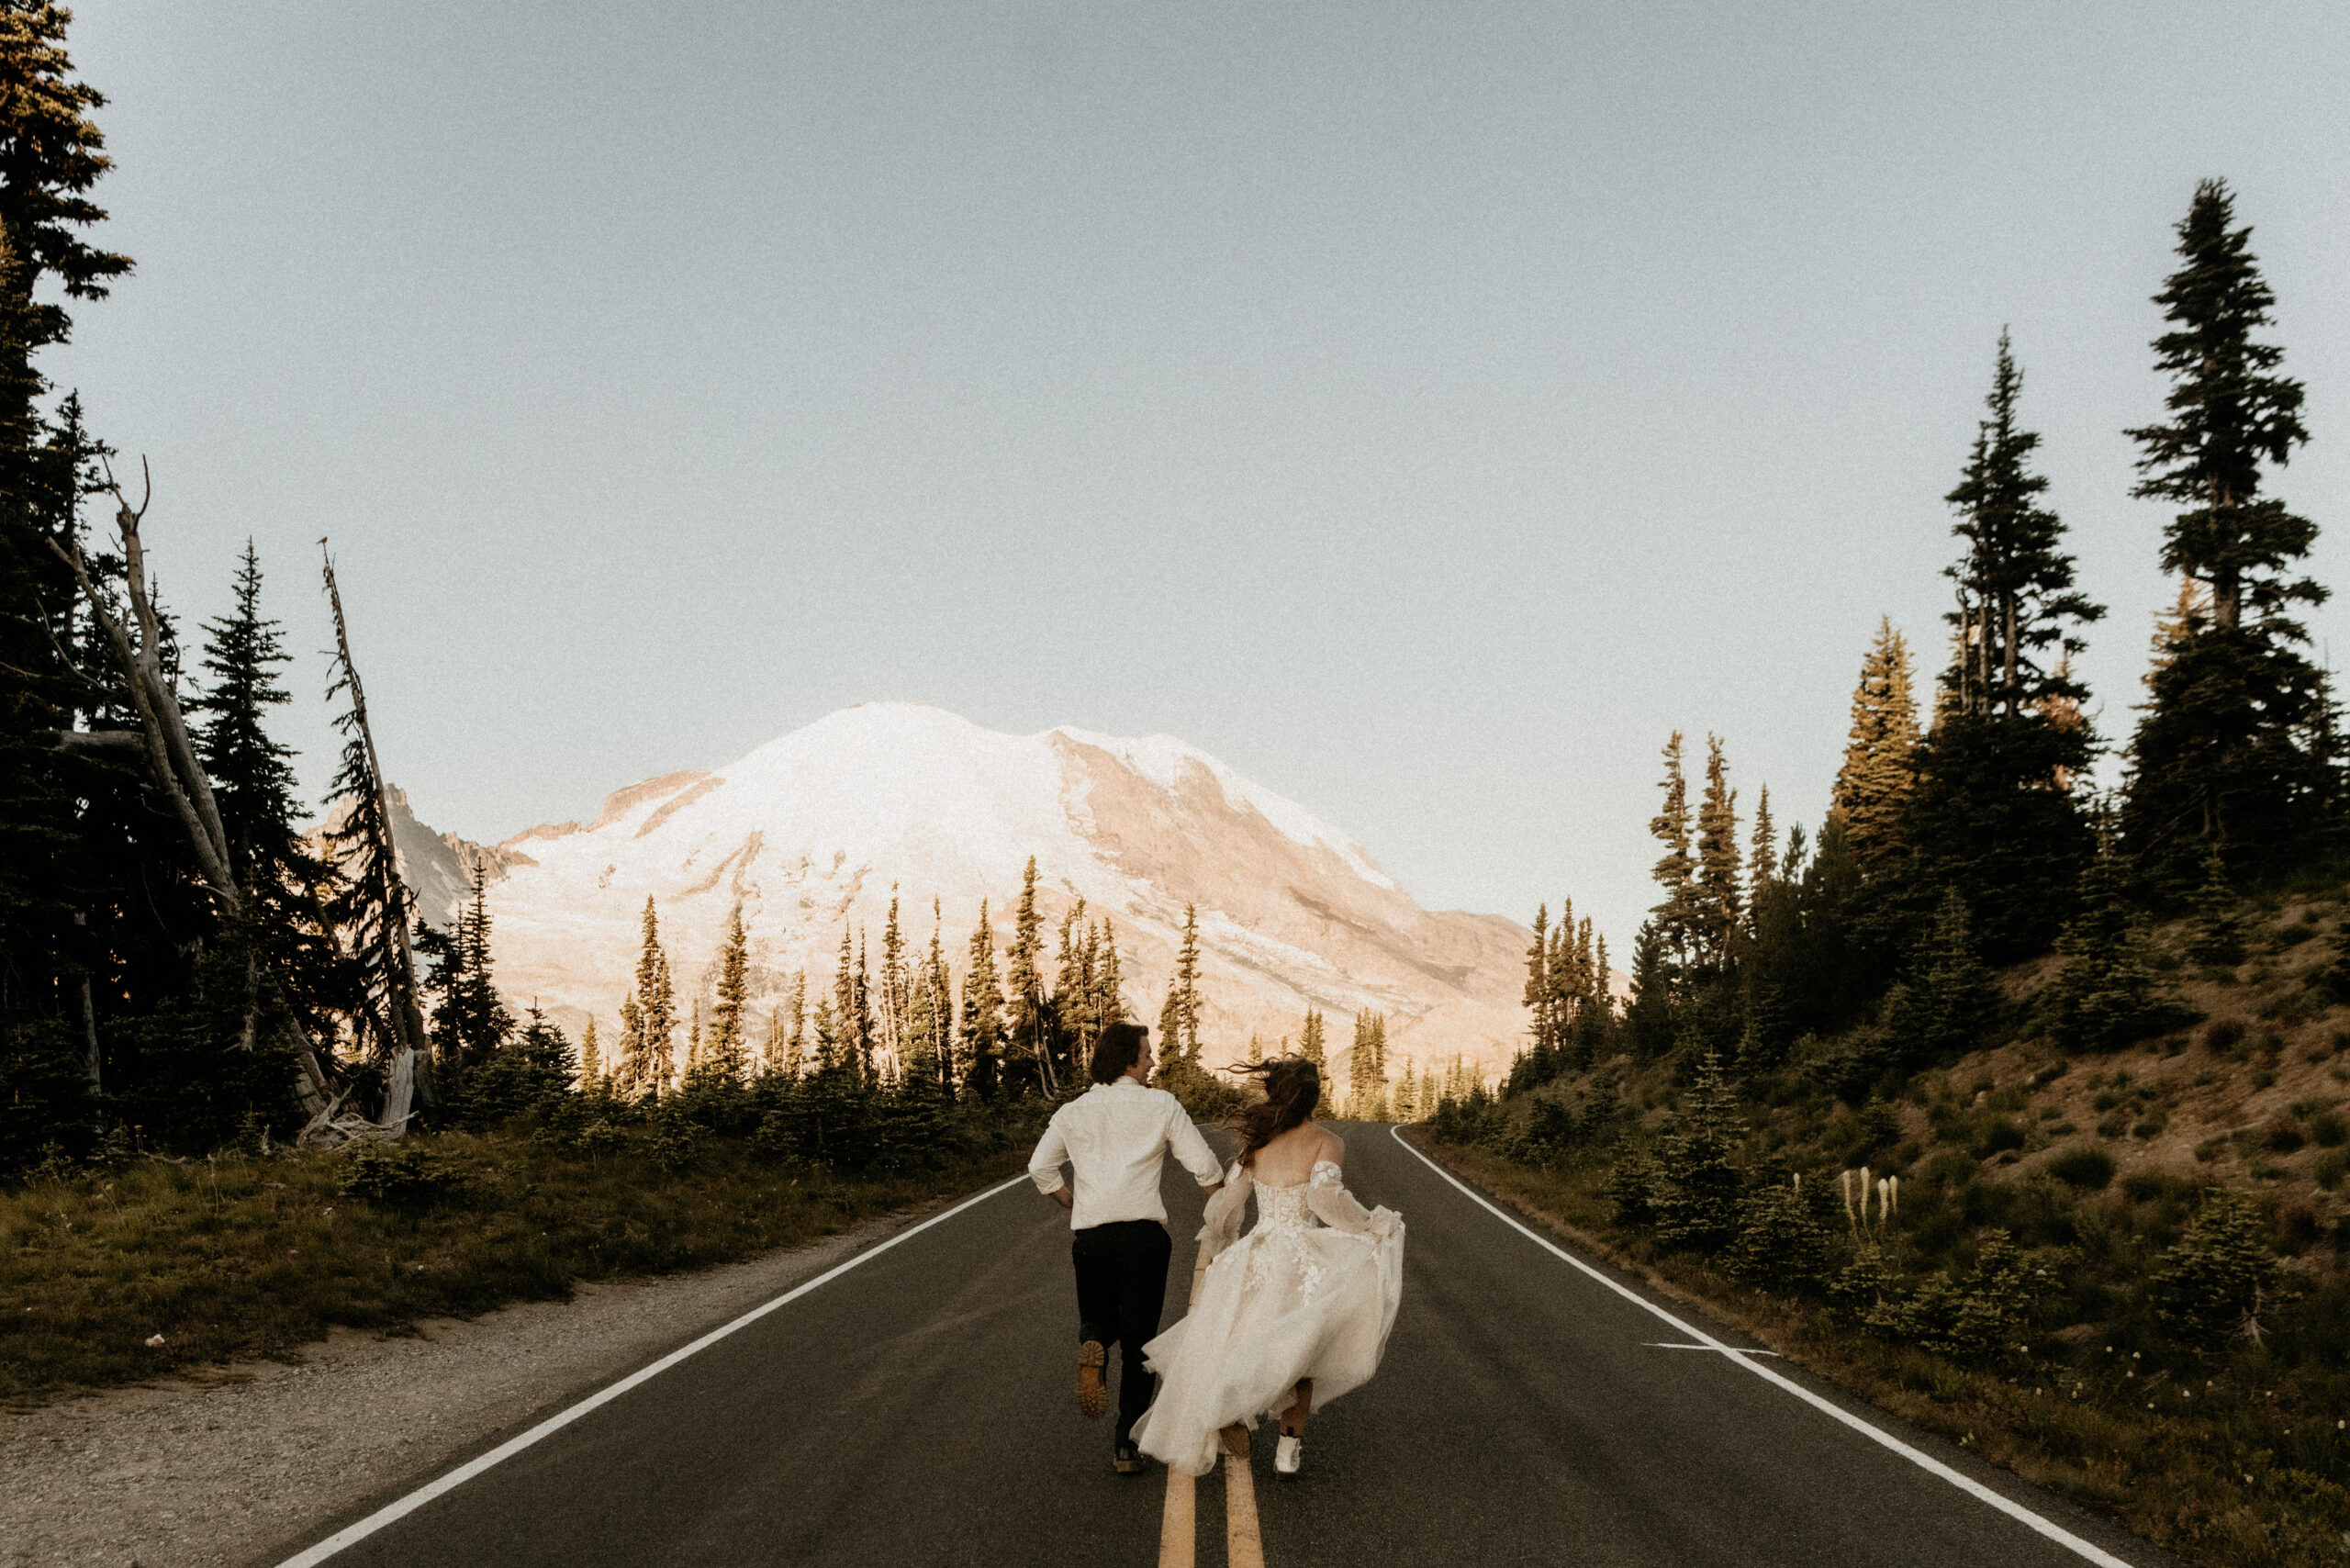
[…] of day for an elopement ceremony. So I went ahead and did just that 😉 Check out my guide to the Best Time of Day for an Adventure Elopement where I talk about why lighting is so important for your elopement, what the best time of day is […]